Mold Making
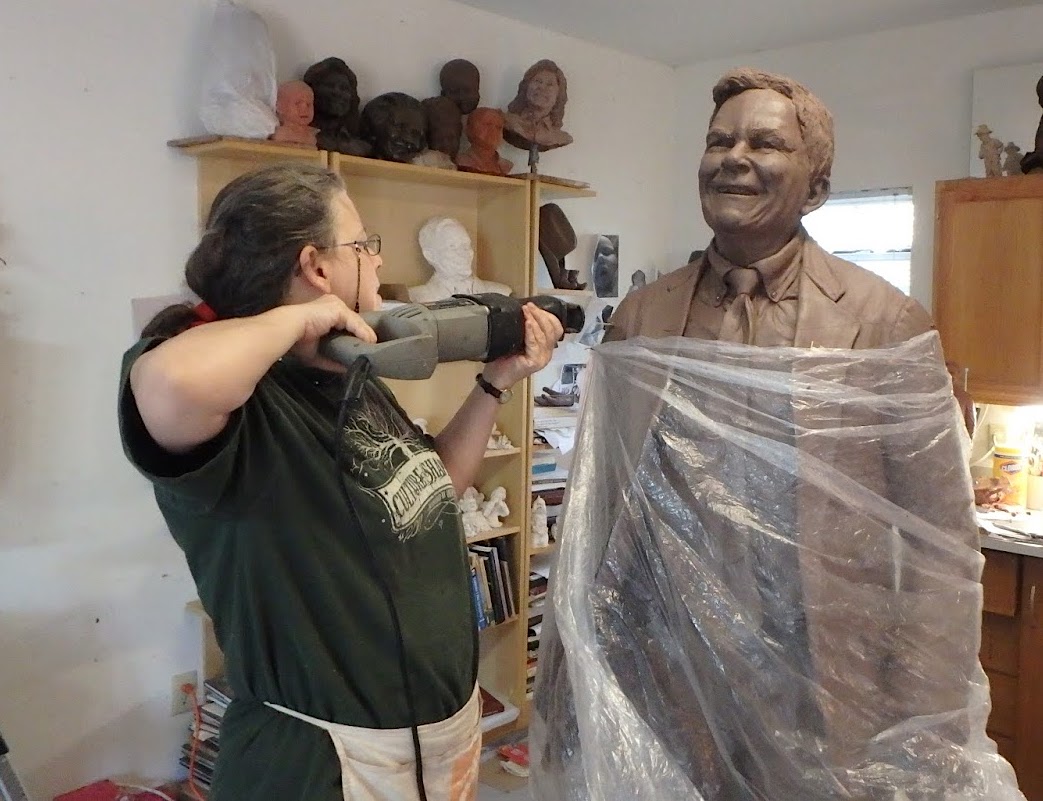
It feels strange to see that Bridgette has gone through painstaking hours to get everything perfect for the client, and now, she is going to cut it all apart. As the artist takes apart the sculpture, it gives her access to hard to reach places. So, she can refine her work even further. Cutting it apart is a major part of the process.
The mold making process begins with the creation of a master mold composed of two separate parts, the rubber mold, and the mother mold. The artist's foundry will use the mold to create a duplicate hollow wax positive. Making a mold for bronze casting is a lot of work and has to be done correctly. Some artists ship their art to a foundry, and they make the mold. But it can be very tricky trying to transport a fragile clay sculpture. Other artists have the mold maker come to their studio. Bridgette and her team have made many of her molds in house. Molds are much easier to ship to a foundry than the clay sculpture. Here is her process.

Preparing to Make a Mold
After taking reference photos of the finished sculpted clay piece, Brigette will cut apart the sculpture. Because of her vas experience in bronze sculpture, Bridgette is extremely familiar with how bronze pieces come together. She cuts in areas that will best help the mold making and casting process. The photos of the finished clay sculpture will be used later in assembling the metal sculpture.
There may be parts of the armature that sticks out of the sculpture. The artist uses pipes to support the foam. She cuts these away. This is where careful planning in the armature stage is critical. Parts of the armature, and the mother mold on the outside support the weight of the sculpture.

Creating Mold Seams
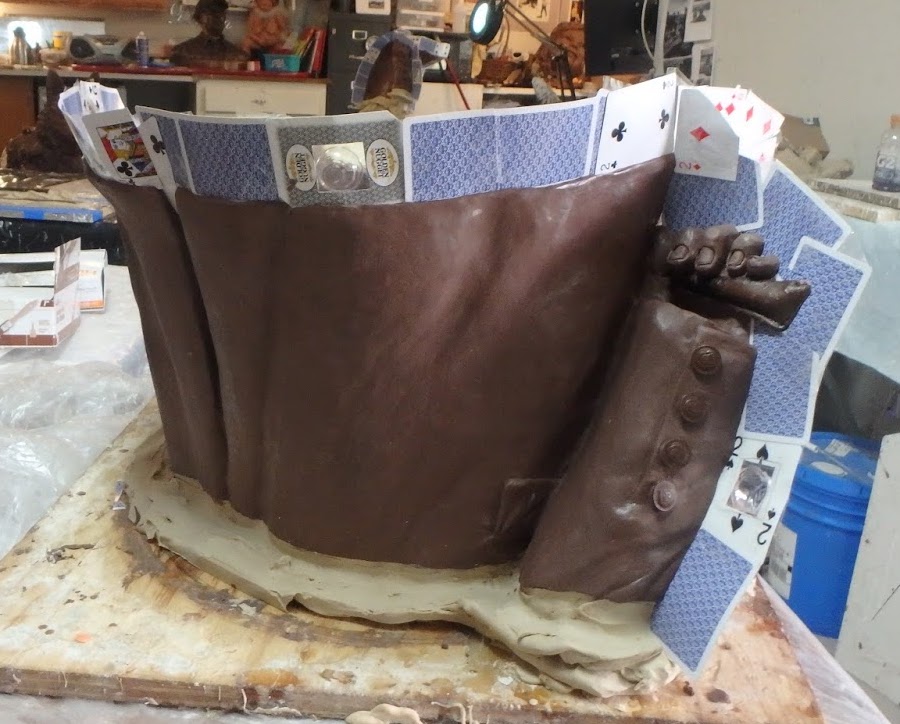
There are several ways of making seams for molds. This process consists of using playing cards as shims in the clay sculpture in a specific pattern. For example, the shims will separate the front mold from the back mold, creating a seam between them. Like anything else, placing of the shims must be planned. These shims are what cause the molds to fit together like pieces of a puzzle.


Applying the Rubber Mold
Bridgette and her assistants paint rubber on the sculpture very carefully, one layer at a time. It is important not to get any air bubbles in the rubber and to give a thorough covering to retain detail. She will need many layers of rubber to create a sturdy, thick mold that holds detail.
The rubber mold is composed of a two-part liquid mixture. The artist keeps these two parts separate until just seconds before applying it to the clay sculpture. Once combined, the mixture cures within a minute to a hardened rubber. Because the rubber dries so quickly, her assistants mix the rubber six ounces at a time.
Applying the Mother Mold
After the artist applies several coats of rubber, she makes a plaster or fiberglass mother mold. Without the mother mold, the rubber mold would not keep its shape when pouring wax. She made John Turner's mother mold out of plaster and hemp.
Once she completes the molds, they are taken apart and cleaned. Unfortunately, the artist destroys the original sculpture in the mold making process. The artist will recoup the clay to use on future projects. However, there are large pieces of the original clay sculpture that survive and she saves. She stores these as a reference until the foundry casts the sculpture in bronze. These pieces, along with the photographic reference material, will help when assembling the metal sculpture.
Now, Bridgette will take these molds to the foundry for bronze casting. Be sure to follow along, it is magic.

Check Out the Next Steps in the Process...
Let's get started on your project


