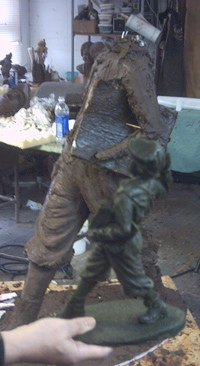
Creating an Armature- Part 1

to the enlarged Newsboy sculpture
piece, point by point. This will
not be the process used to
create the armature of Evelyn.
Instead new digital process
will be used by the artist.
Traditional sculpture has changed for some over the years. When it comes to creating a sculpture for a client, many start with a small maquette, or small sculpture. This is usually done to try to obtain a pose and work out the movement of a piece. An example of creating a maquette can be seen in my Newsboy blog, and is shown on this page.
In the case of the Evelyn sculpture we are not going to create a maquette. Instead, we are going right to a large sculpture. The reason for this is that we know the pose. It has been decided on, and there is little to figure out in this sculpture project.

life-size sculpture
of the newsboy.
Going from a maquette to a large sculpture in the traditional process can be very, very time consuming, and up until adding digital technology to my process, it was one of my least favorite things to do. There is some detail about this traditional process in my journal of creating the newsboy. The process consists of measuring up the sculpture, point by point, creating an armature, made up of rebar, and or pipe, chicken wire, spray foam and then of course clay. It is time consuming and not a very creative part of the process, but it is necessary.
New part of my creative process
Over the last few years I have been incorporating both traditional process of sculpting with digital technology. You will see this in the up and coming posts about the armature. I call this tra-digi art. I love it, it expedites my process, gives me more control over my tools, and when these tools are used to help to create a pose, as the example of Jenna in the video below, it helps my client to visualize the piece.
Here is a video that describes how I have used tra-digi art in the past. Check back to see how we are using this with Evelyn.
