Mold Making
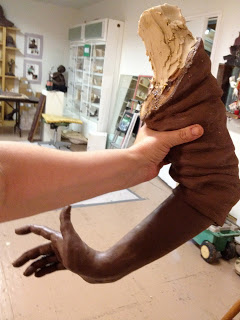
I like that I can work on the area under
the skirt.
The mold making process is often done by the foundry. However, I create my own molds. It takes about 2 weeks of time and is very labor intensive. I’m thankful for the interns and helpers who have come to assist in the last two weeks of mold making. My husband kept coming down from his clean office and watching me tug, lift and pull and just shakes his head. My interns say it is better and more physical than working out in the gym. The mold making process consists of several steps.
1. Cutting up- This was already mentioned in an earlier post
2. Claying up- In this part of the process the mold is divided into two halves with clay seams. Pour cups are also added to the mold- This offers a place for the foundry to pour the wax.
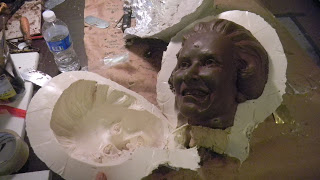
3. Painting Rubber- Once the pieces are cut, cleaned and clayed up the rubber is painted on both halves of the sculpture. Four plus coats are used on each piece. It takes about an hour for the rubber to dry in between coats.
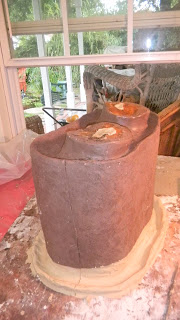
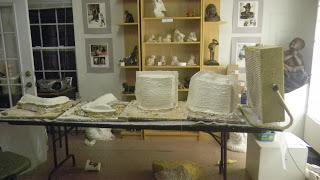
4. Mother mold- the mother mold is called that because it is placed on top of the rubber mold and holds the rubber in place. Without it, when someone tried to pour wax into the mold the mold would be miss shapen. Creating the mother mold is hard work. A very stiff plaster/cement is mixed for each half. I mix my plaster by hand. It takes about 40 minutes for each half of the mother mold. Everyone of the molds that I made had at least 2 mother molds- front and back. The chest had three because it was so large.
You can follow along with this entire process of creating a life size bronze for the ERJCC on the Evelyn Rubenstein project blog located at http://erjcc.blogspot.com/
coats of rubber.
to be sent to the foundry .