Posts by admin
Spending Time On The Head And Paws
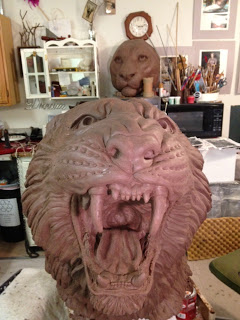
behind the Tiger?
We have lots of paws and legs around the studio. I’m alternating from head to paws. Here is the progress from the last few days.
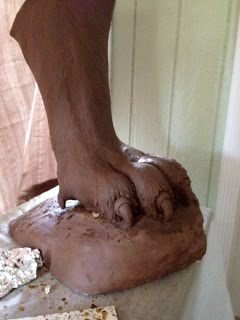
My Distractions
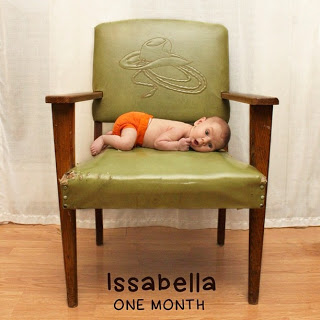
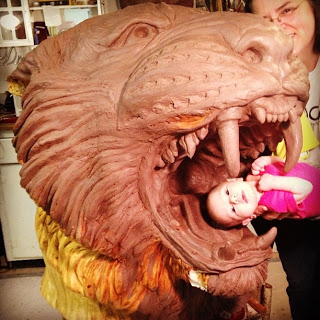
I’m not always sculpting. It is true that I have a life beyond the Grambling tiger, though I have to say, the tiger holds a great deal of my attention, even in my dreams. My biggest distraction is the birth of my new granddaughter Issabella, but you could say that we sacrificed her to the Grambling Tiger as well. Now don’t get upset with me, I didn’t come up with this idea on my own. It was my daughter who thought of it as we were wandering around the studio looking at the progress. Christina is a very creative person, and by the way, my photographer from Diliberto Photo and Design. We both kind of made up with the idea of putting Issa in the mouth of the tiger.
Presented The Tiger Process At The Houston Alumni Group
This past Saturday I went to the Houston Grambling Alumni group to present how the sculpture is coming along. The best part was to hear the school cheer. I think everyone enjoyed the presentation. I volunteered to come back and to show more slides when it was further along.
“How can we get involved,”someone from the group asked. Well if you are following the blog you know that we have been looking for warehouse space to put the sculpted tiger together. That means I have to move my entire studio. So we may need helping moving the tiger pieces and the studio to the “temporary” location. Moving within the next week or so.
Sorry I don’t have pictures, I thought I saw someone taking pictures, if they want to send them to me I’d be happy to post them on this post.
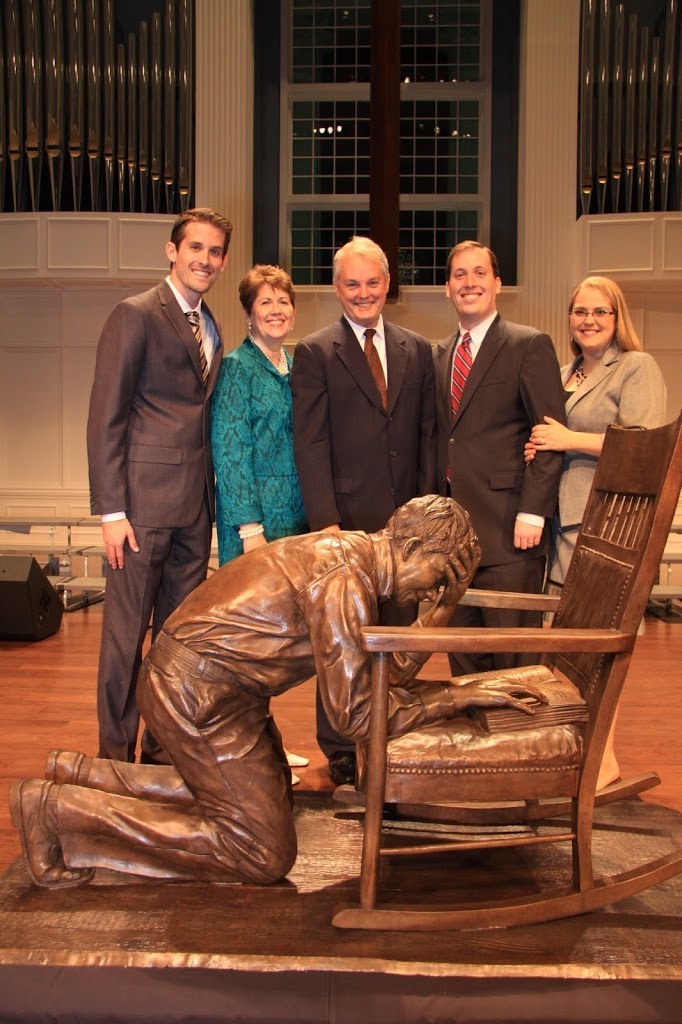
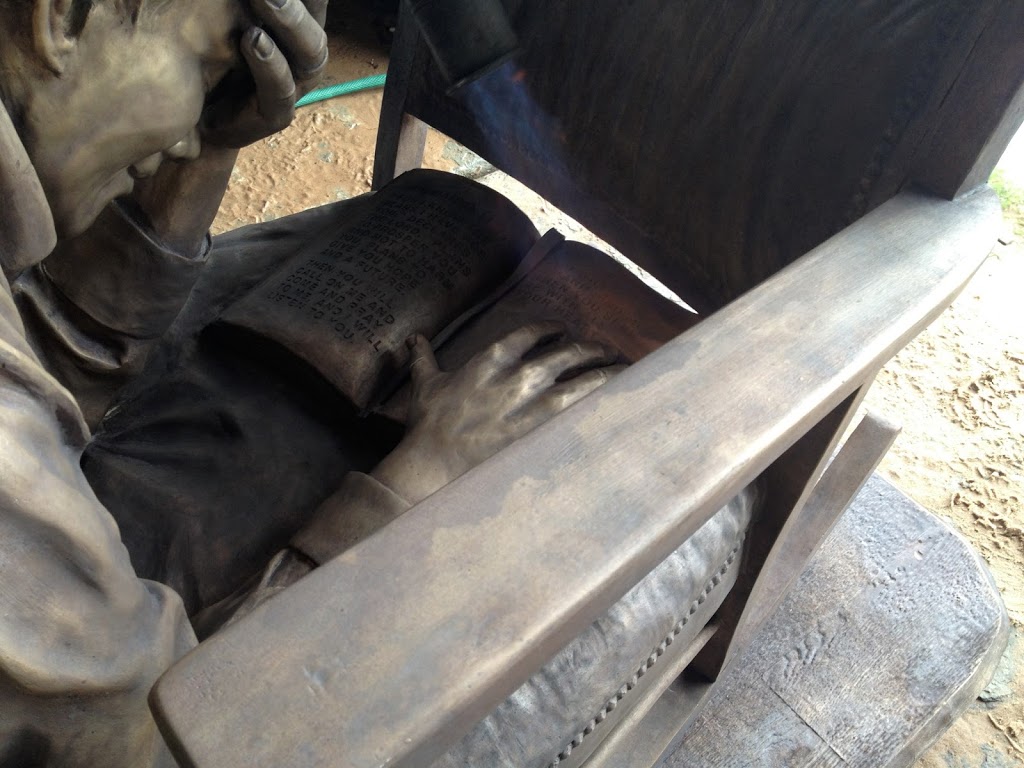
The Dedication Of The Praying Man
The Rock
The rock is pretty much complete, thanks to the wonderful milling at Across the Board Creations They were able to take my digital model of the rocks and enlarge it along with the cat. It has come in sections so that we can take different sections of the rock down and work on the paws attached to the rock. We painted the rock to look the same color as the clay.
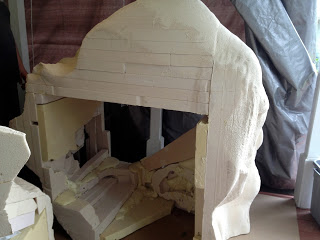
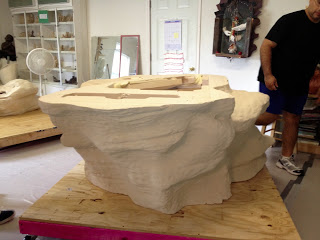
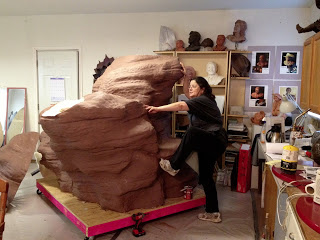
for injuries or death caused by interacting with this sculpture.
Do as I say, not as I do. It is very tempting.
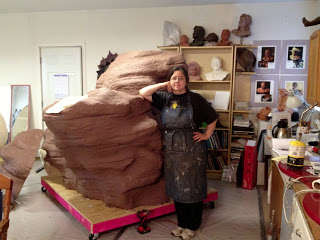
a few sitting ledges for photo opportunities. I will need to
check these out. I like the design of the rock digitally, but
seeing it this large gives me an opportunity to inspect how
it works in real life. We painted it the same color as the clay.
This will help both my client and I to see how they
work together.
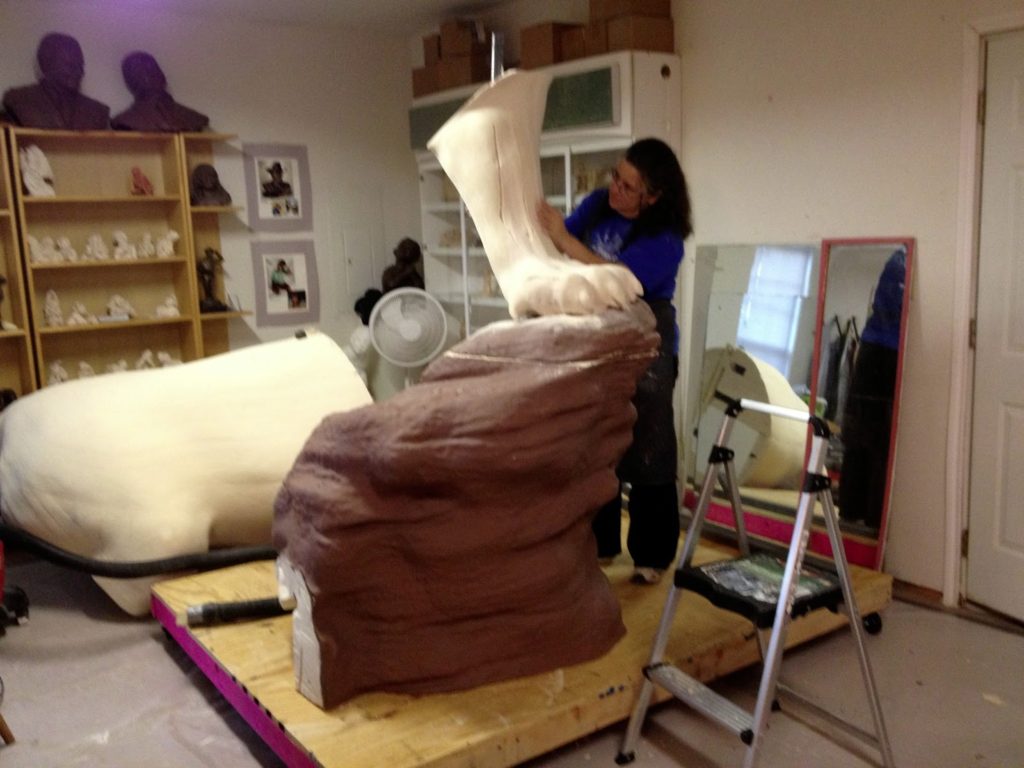
it works with the top most paw.
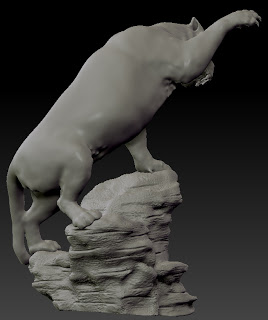
in about the same position as it is in the picture
where I am pretending to climb.
Send Us Your Pictures And Comments- Dallas Baptist
We would love to see pictures of the dedication, installation and even pictures of you with the praying man. Tell us what this sculpture means to you, what prayer means to you and how you feel about the Dallas Baptist University campus. We would love to hear from you and post your photographs and comments.
Delivering The Praying Man Sculpture
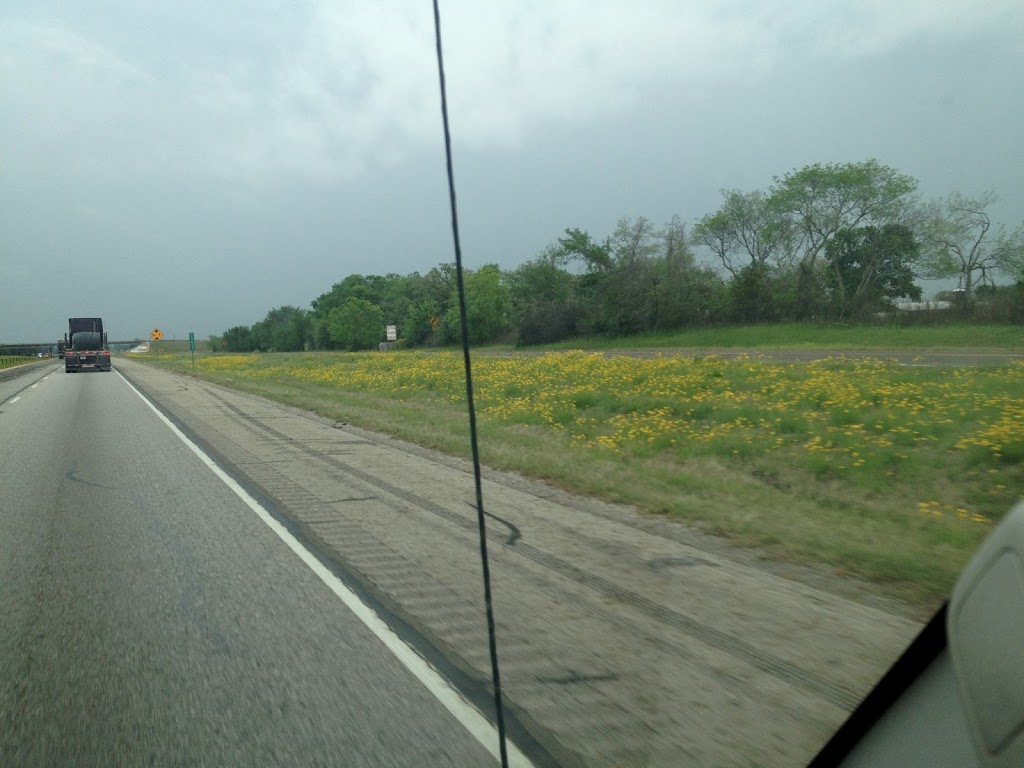
We arrive onto the DBU campus ready to complete the praying man sculpture project. The last few steps are
1. Deliver 2. Install 3. Dedicate
Of course we are not doing the installation or dedication so we can only hope picture of both of these come back to us for the blog.
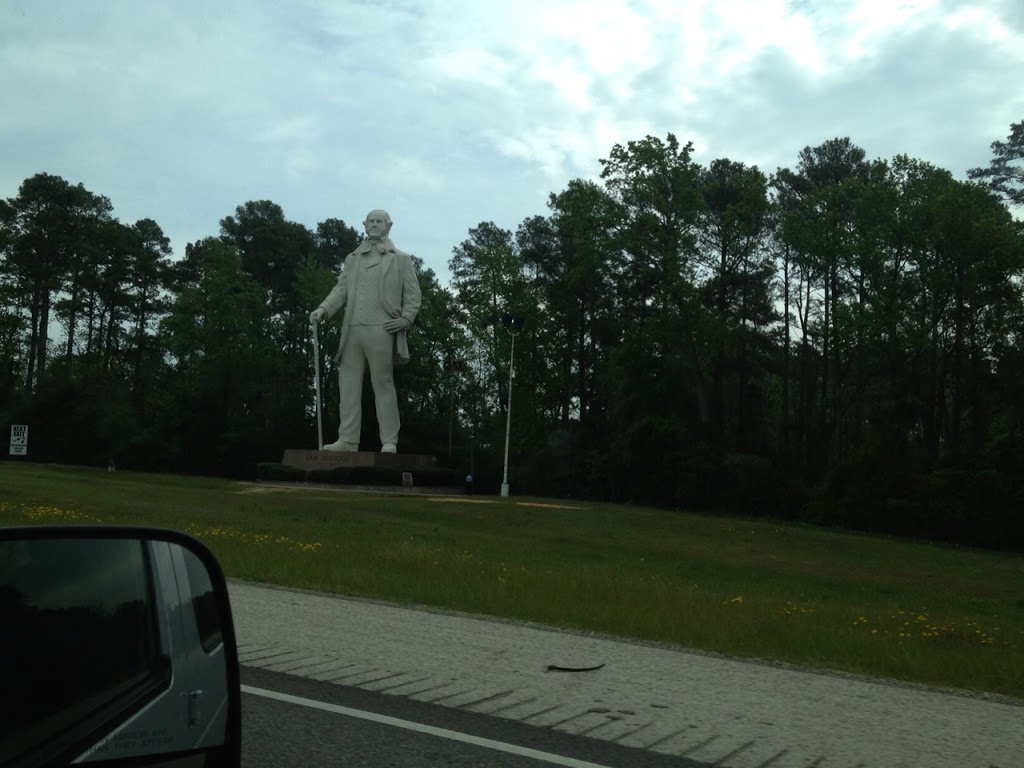
and greets us when we arrive home.
Also, we are working on a small table top version of the sculpture for purchase. Stay tuned to this blog for more on that. The travel time up to Dallas was nice. Overcast- I prayed the rain would hold off until it was delivered. It didn’t start raining on us until we got into Dallas.

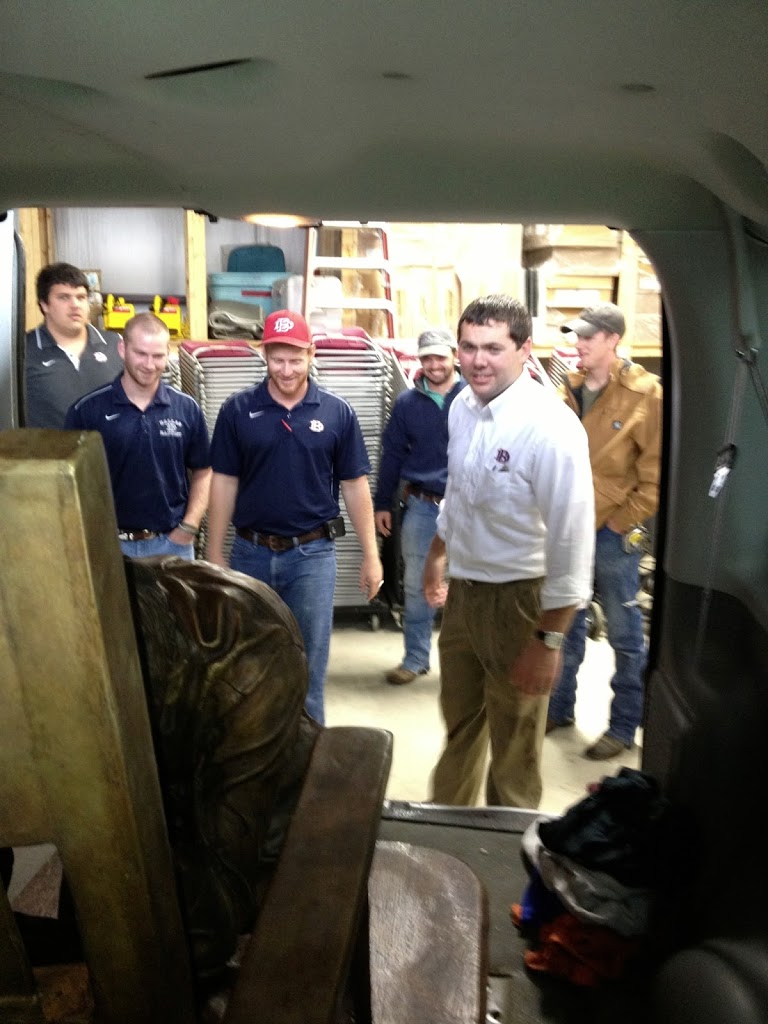
I have sent a text on ahead and said, “have lots of strong men, gloves and a covered area
to unload.” Everything is in place when we arrive.
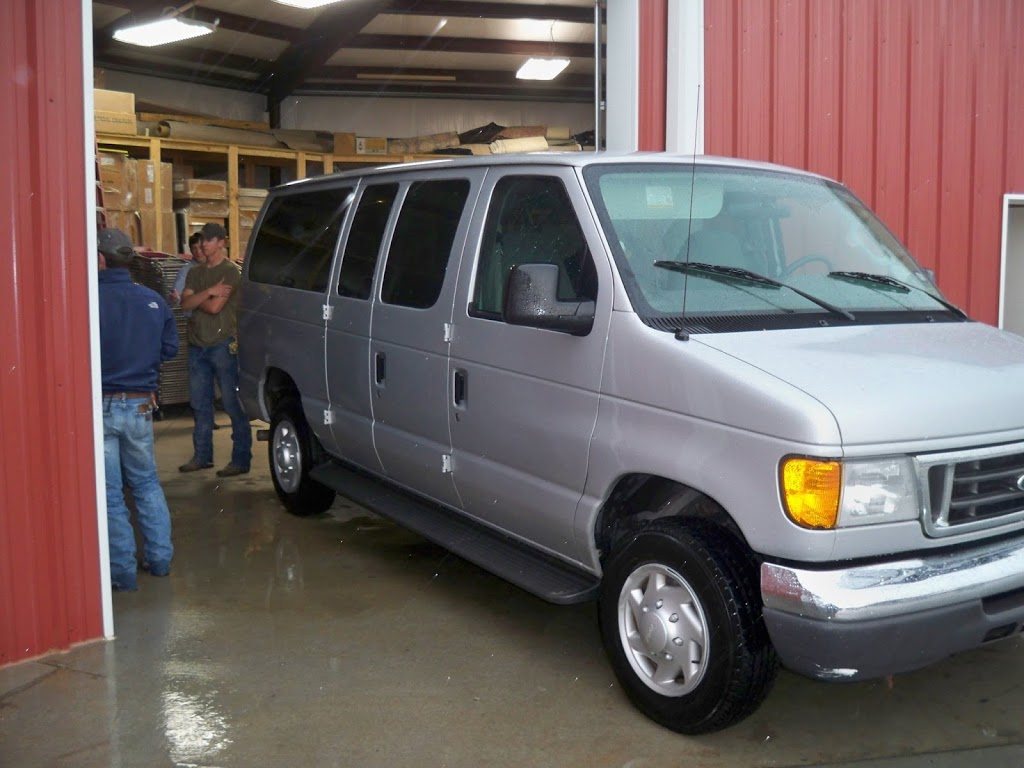
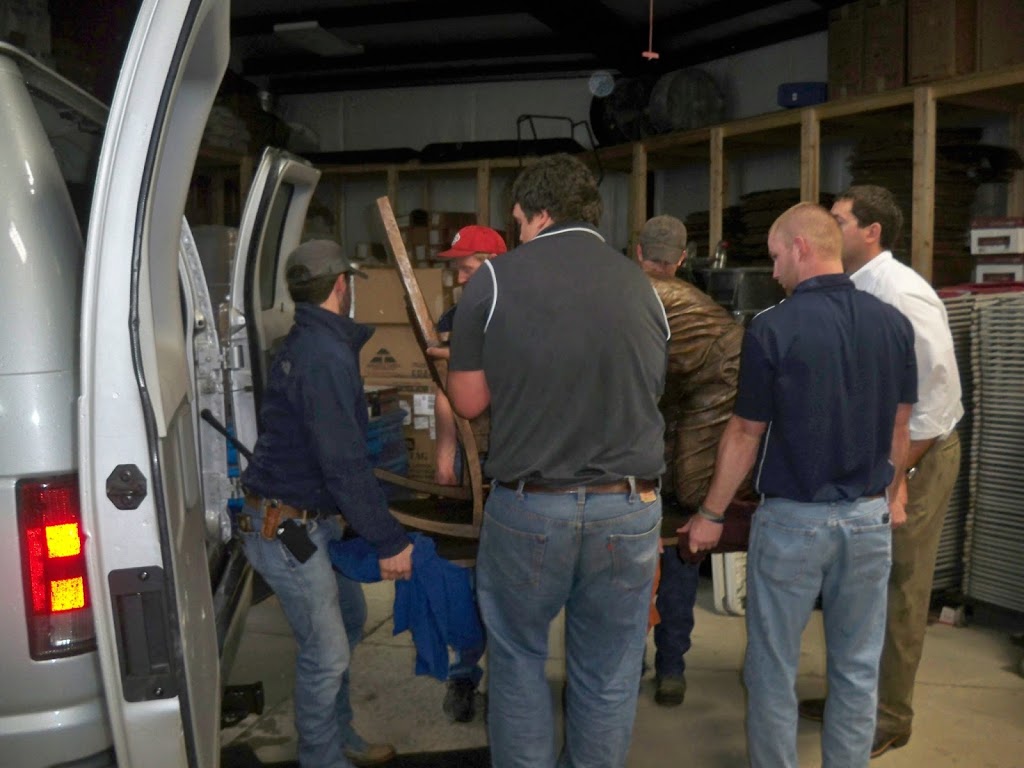
It is estimated to weight about 350-370.
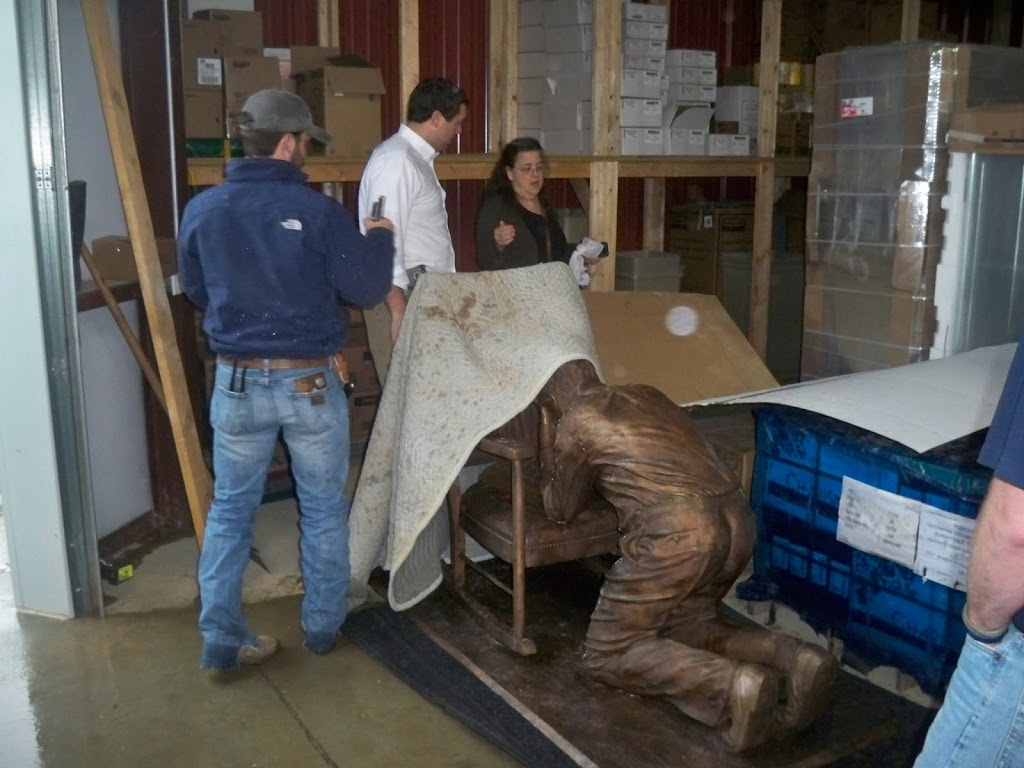
covered. We are on our way back home in no time.
My job is done, until we begin the process of manufacturing
the small sculpture of the praying man.
Loading /Of The Praying Man Sculpture
Whenever I am going to deliver a sculpture weather is an important factor, especially if it is big. We had not had rain in a while in Texas and sure enough, the day I have slotted for delivery, the forecast says heavy showers.
I’m thankful that we have no rain while loading the sculpture up in Houston.
How do we get it in the van? An engine hoist and two creative foundry men assist with this.
We are blessed with no rain, until we reach Dallas. The trip home is another story entirely.
The Head
We are spending a lot of time on the tigers head.
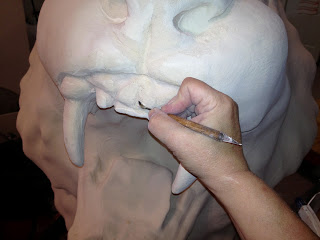
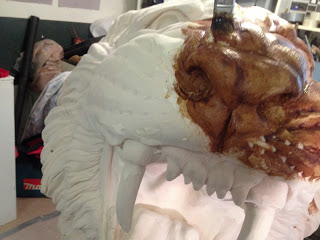
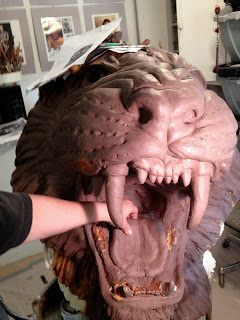
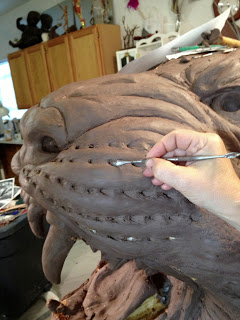
Each part of the anatomy is looked at very carefully. Because this sculpture is so large and the face is seen from a distance, an artist must know how to exaggerate features so that they can read when it is complete, in bronze and from a distance.
The Patina
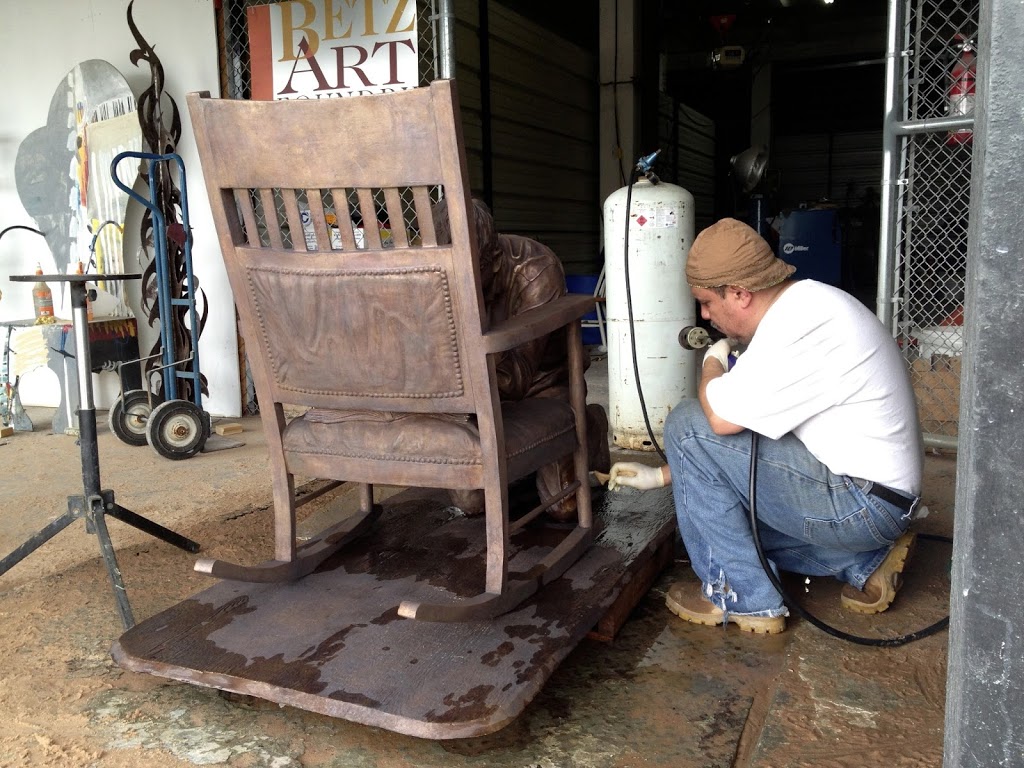
When the foundry calls and says, “We are ready,” I’m there. First I look over the sculpture and discuss possible tweaks with the piece. The foundry needs an extra couple of days to fix my suggestions before we begin to do the patina.
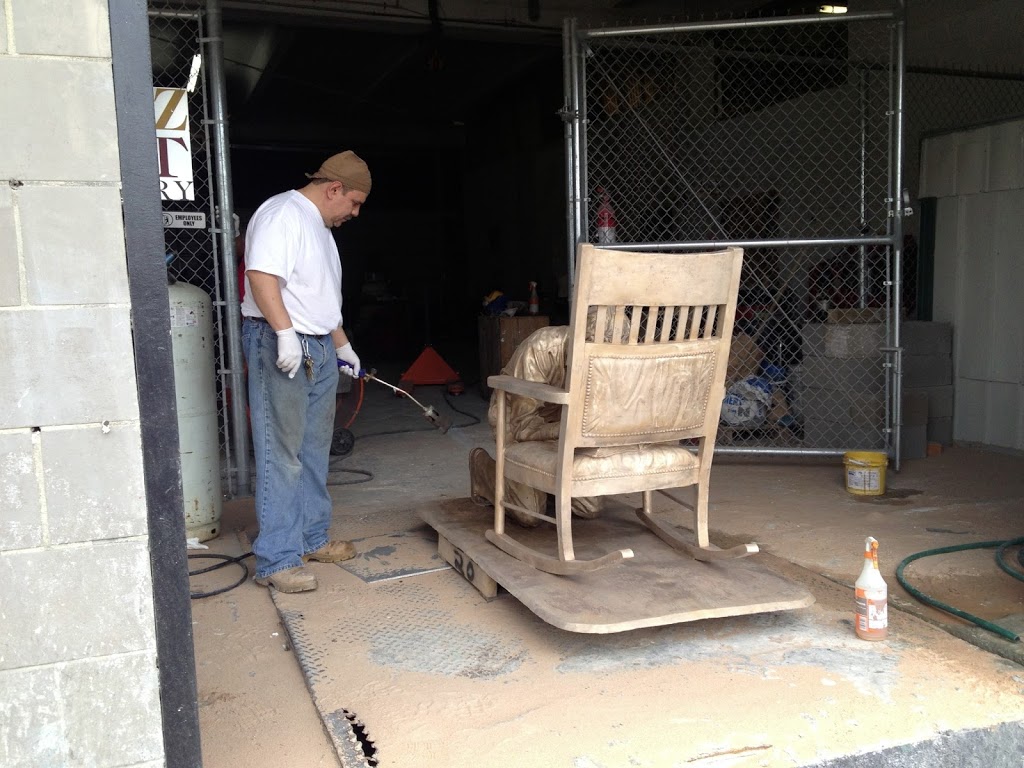
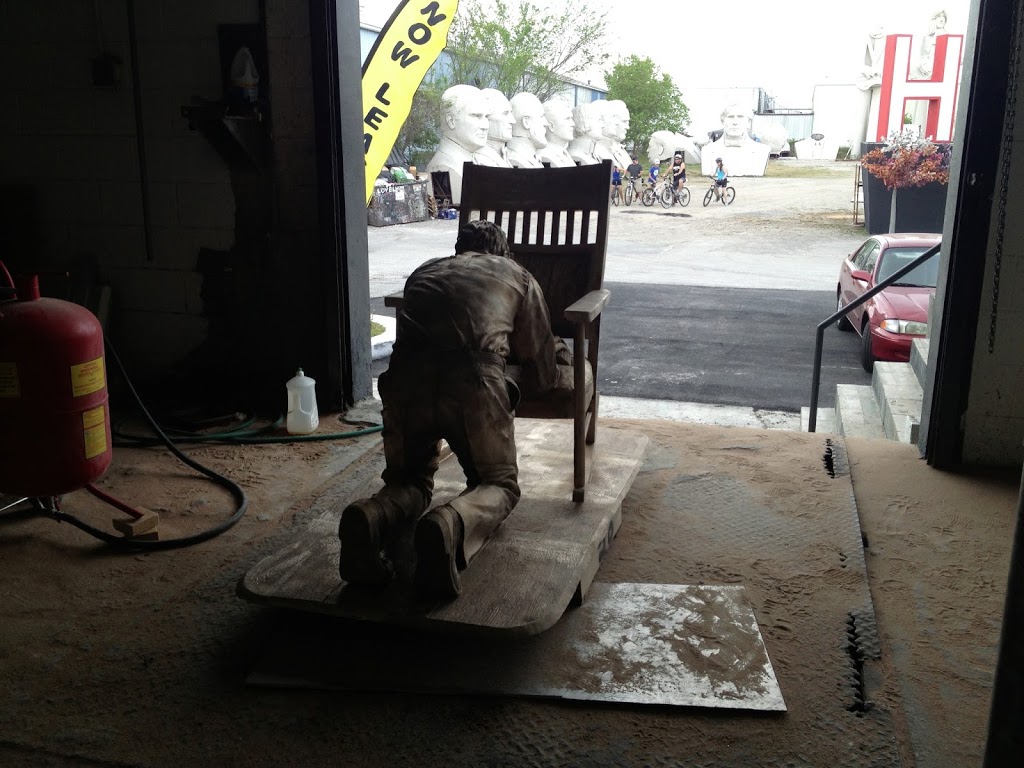
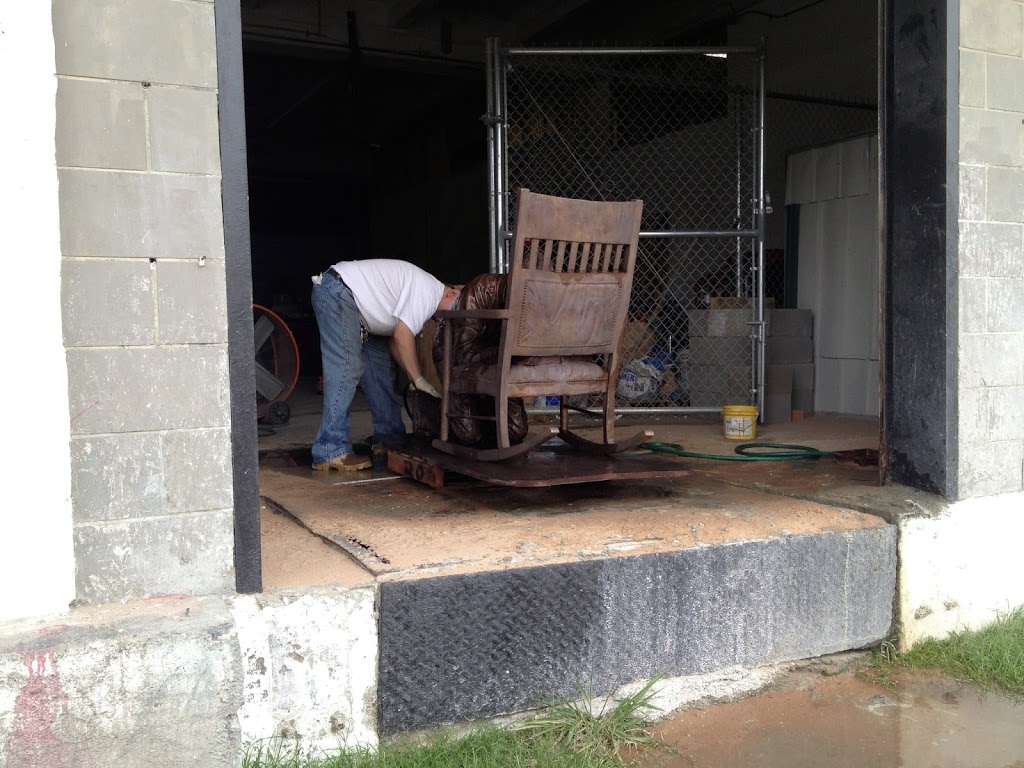
The patina is done by heating up the bronze sculpture and then adding chemicals to add color. This sculpture is done in a traditional patina. This means there is no real color other than the traditional brown. The care of a bronze sculpture is important.
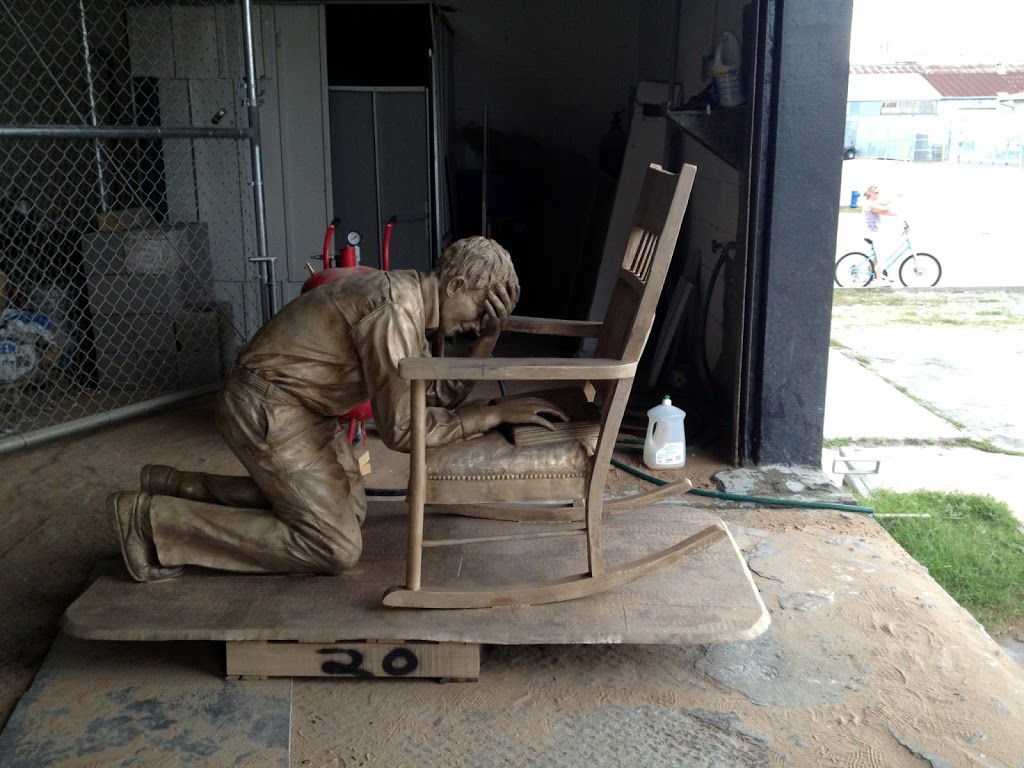 |
| The sculpture is sandblasted and ready for patina. |
 |
| Miguel heats up the entire sculpture and then adds chemicals to create the dark patina. |
 |
| Slowly, color is added to the sculpture. |
 |
| I’m there for the entire process. I like to be able to direct. “Make this lighter here, or darker here.” |
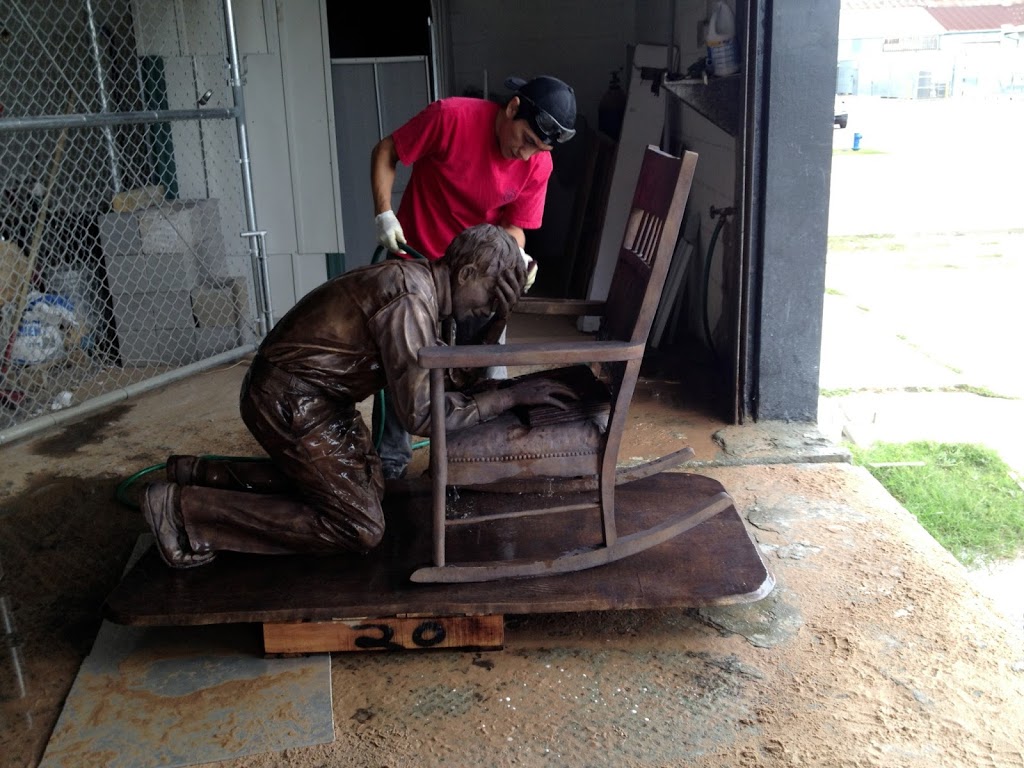 |
| Often the foundry will squirt the bronze with water. This helps me to see how the sculpture will look once it is waxed. It helps me to know where I want things changed. |
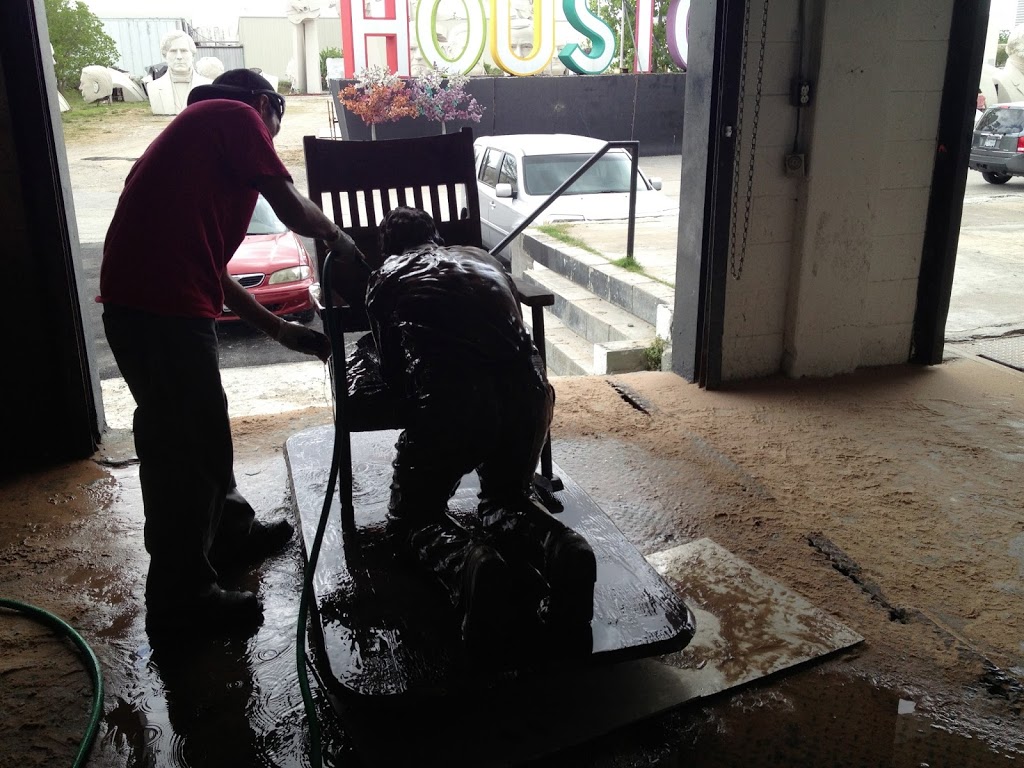 |
| It takes some time to bronze a large sculpture. |
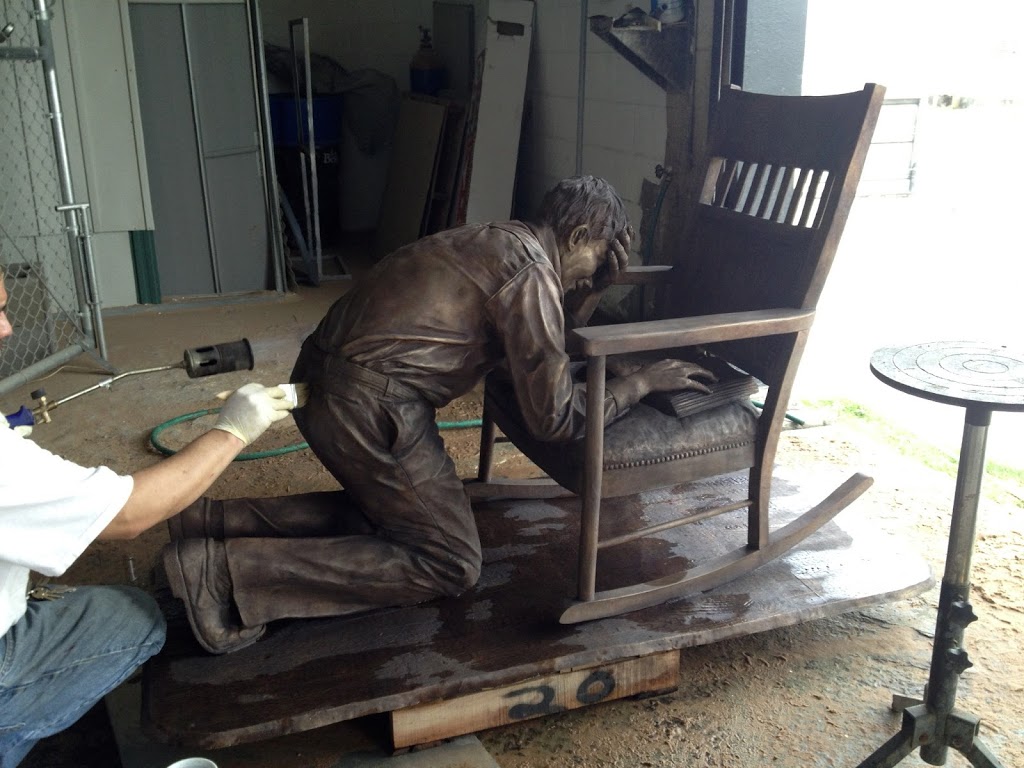 |
| Once the entire sculpture is complete it is covered with a coat of wax. |
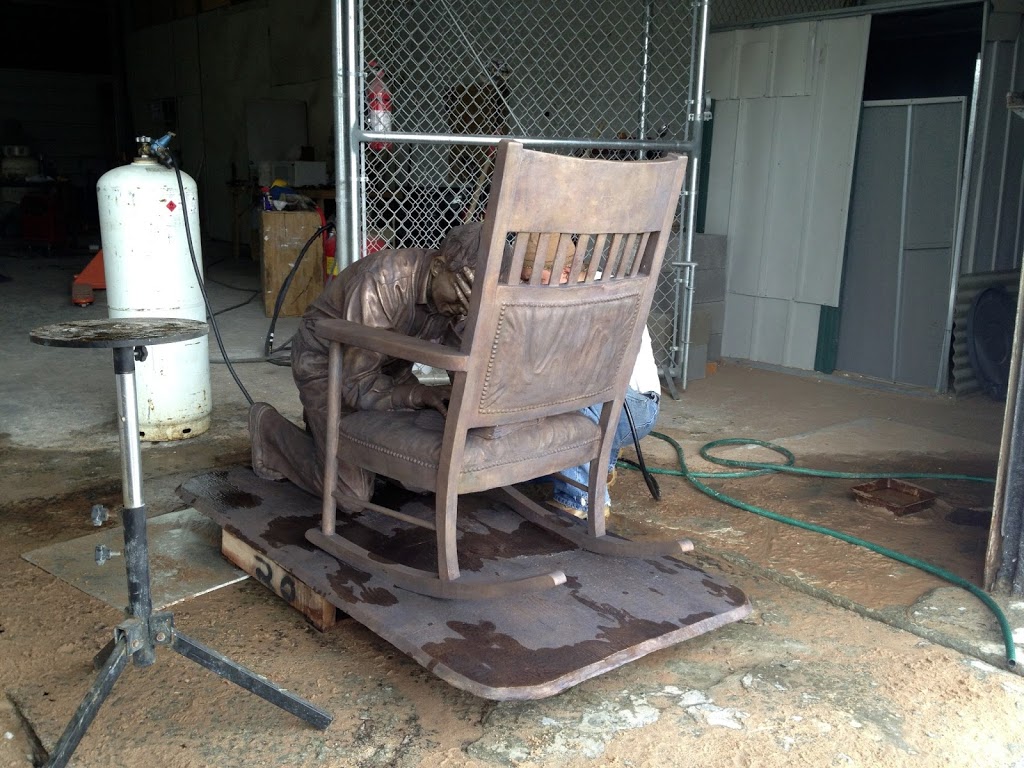 |
| We will wait to polish the sculpture until after it is installed. |
to all of my clients so they know what to expect with a bronze sculpture that is placed outdoors.

