
All Night Long!
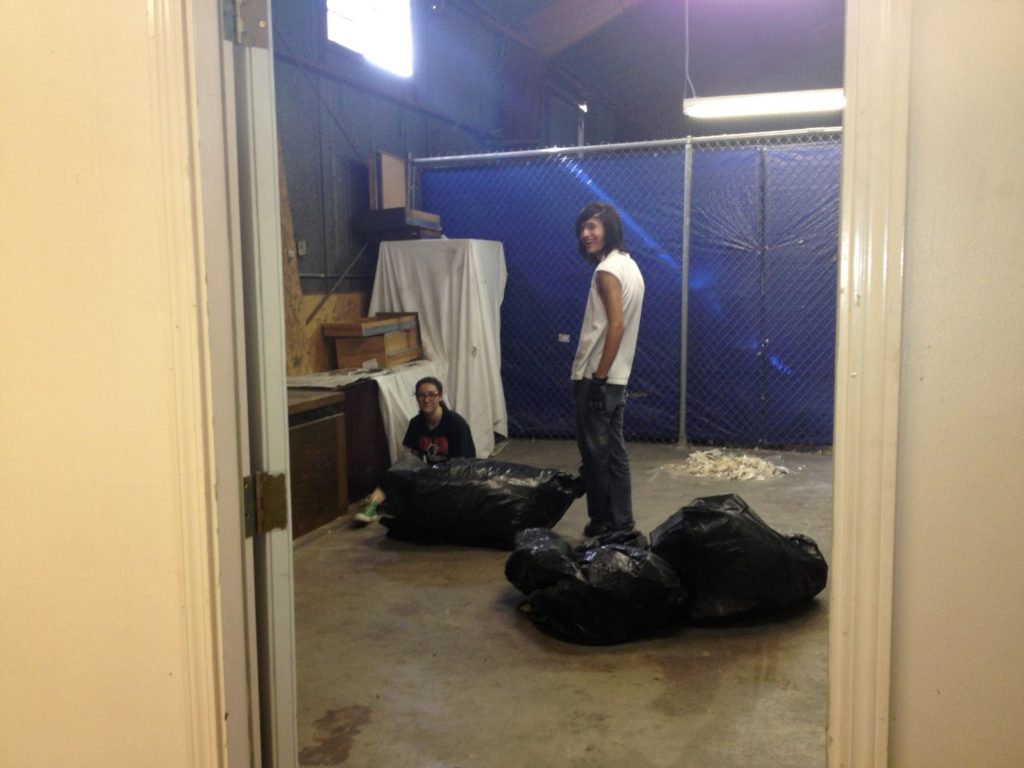
We are burning the midnight oil, and someways working All night long. Five interns are on call. Just to be able to finish the tiger by next week so that we can bring the molds to the foundry in New Mexico. More updates soon.
Moved Out of The Warehouse And Skinned A Tiger
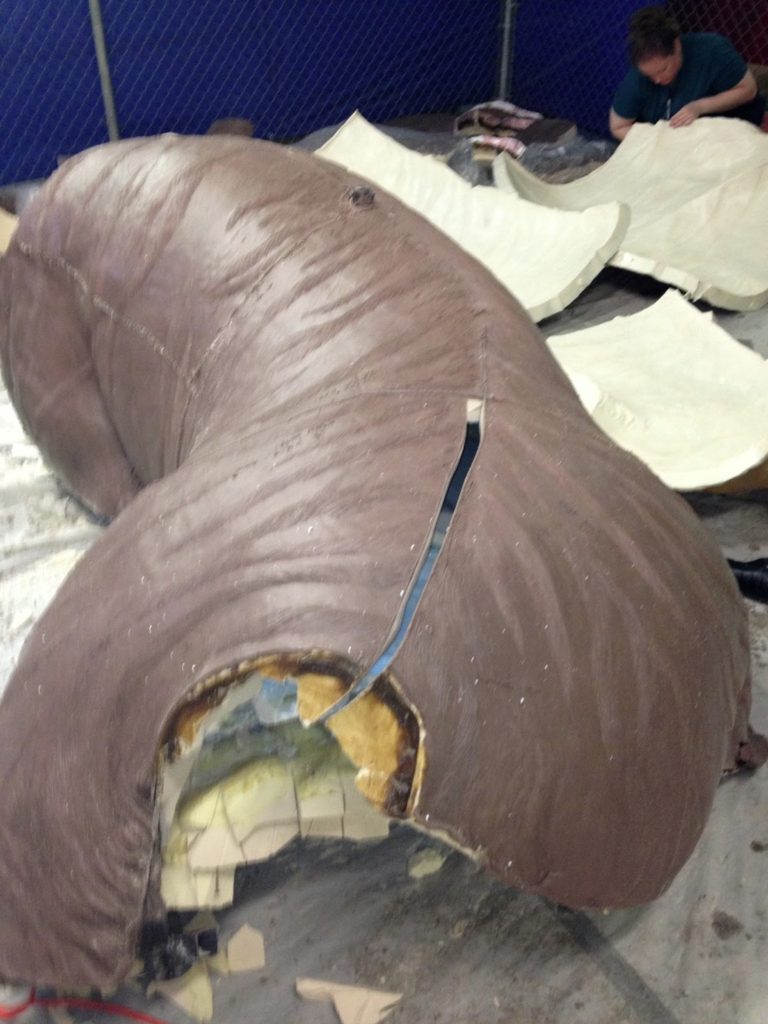
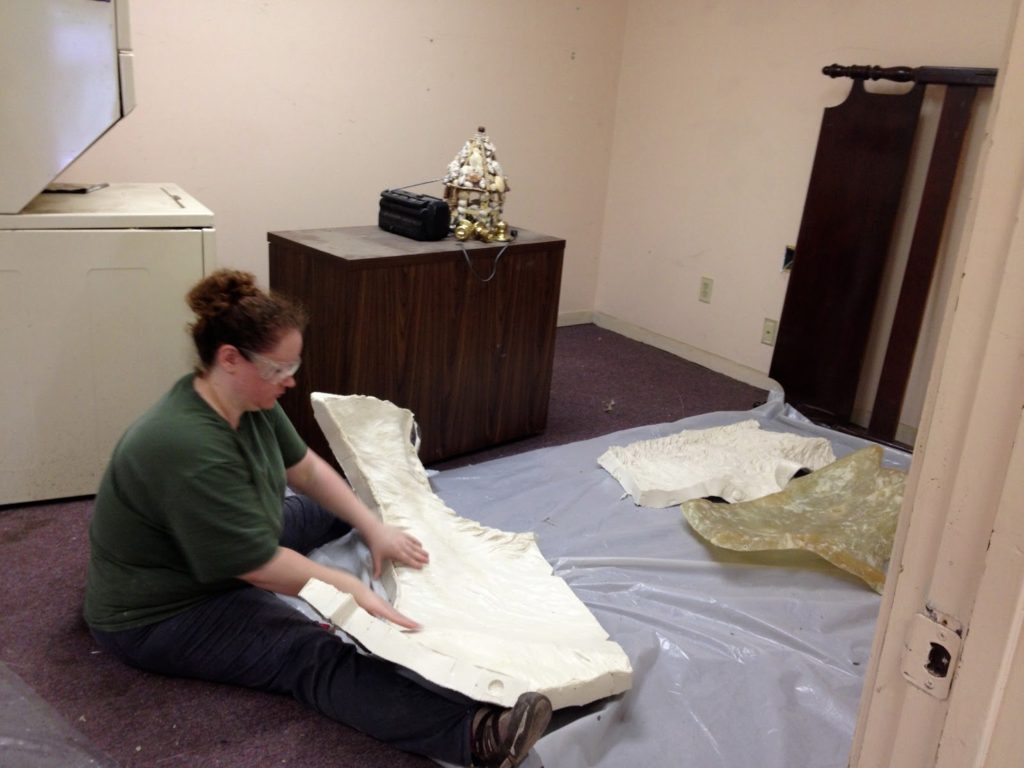
We had all of the torso molds at the warehouse and the torso was still there as well. We literally had to skin the tiger. We separated the foam pieces from the armature and brought everything back to the studio. These will be saved until the foundry confirms they have metal.
Dental Work
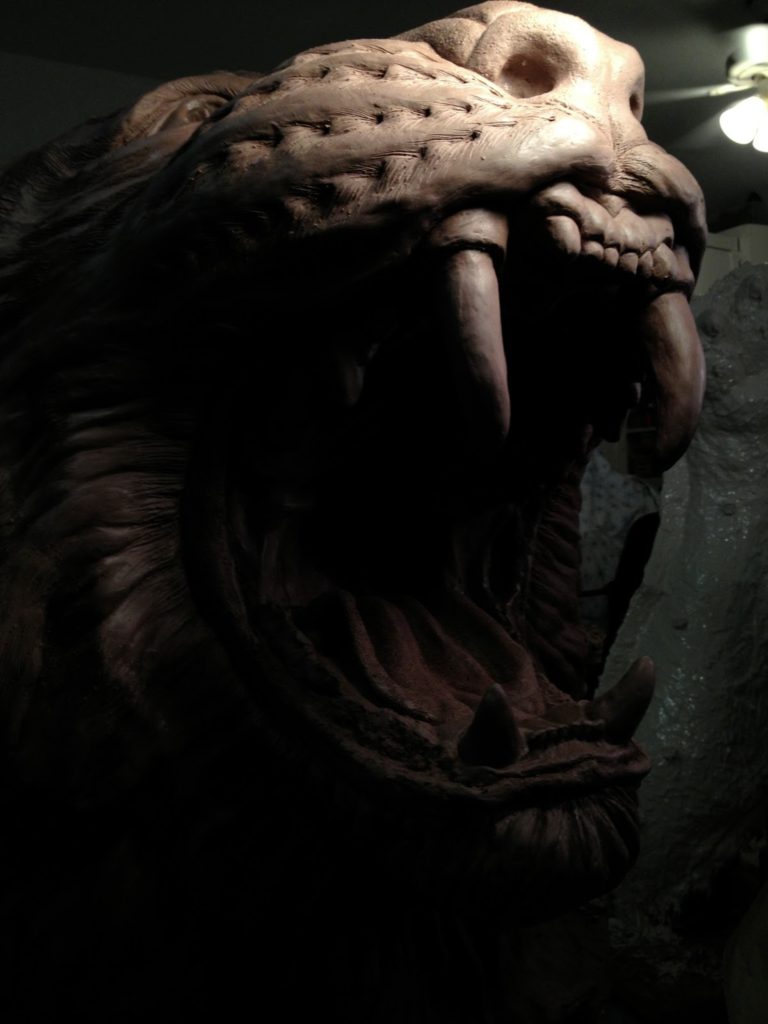
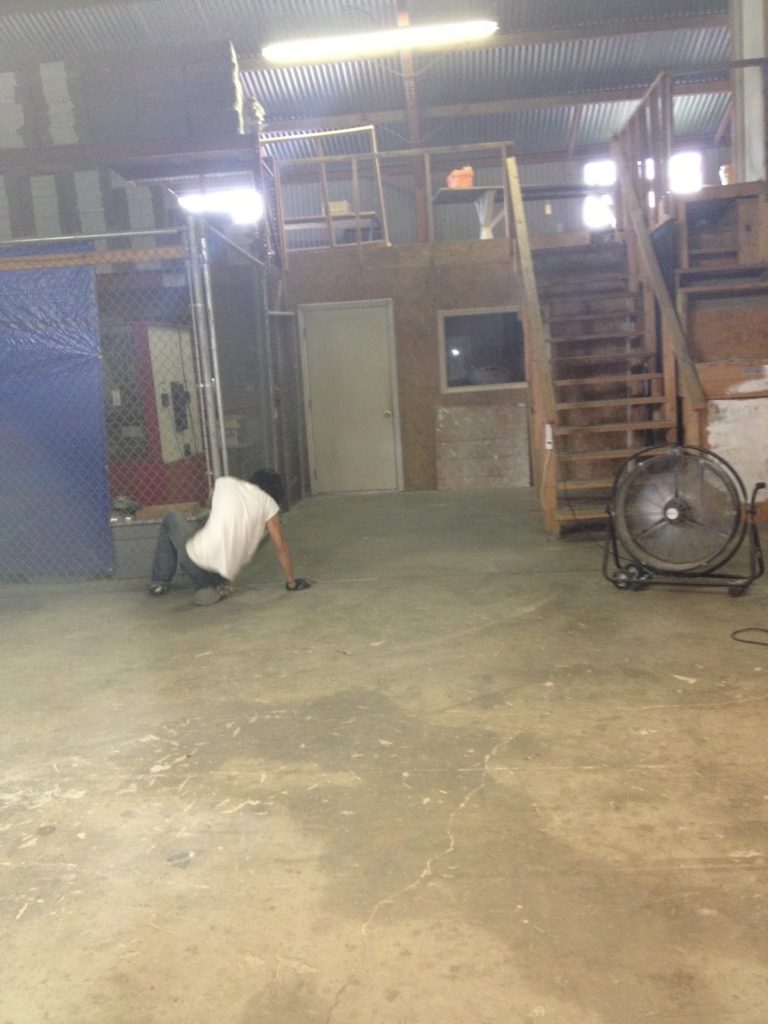
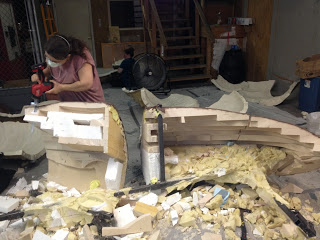
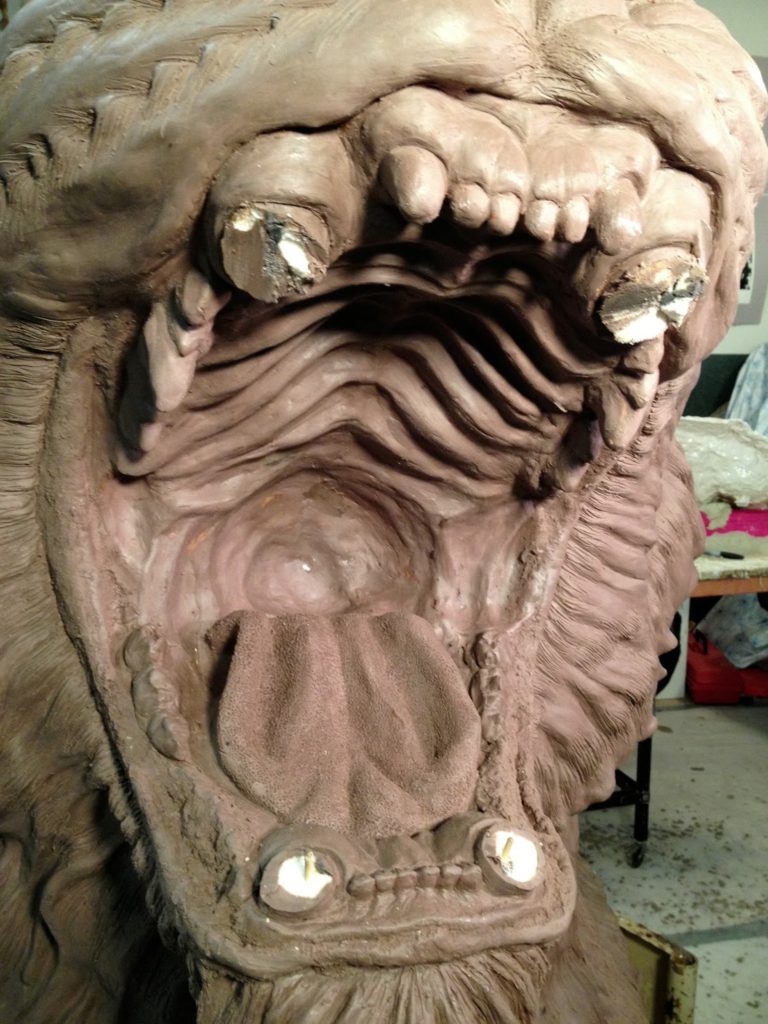
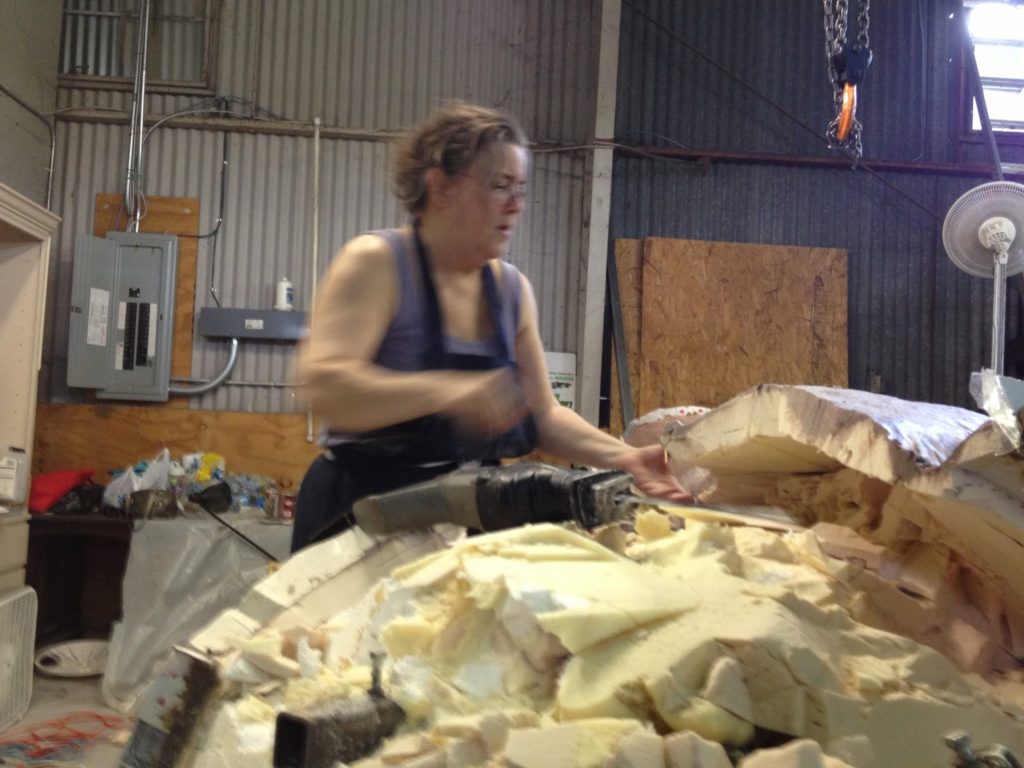
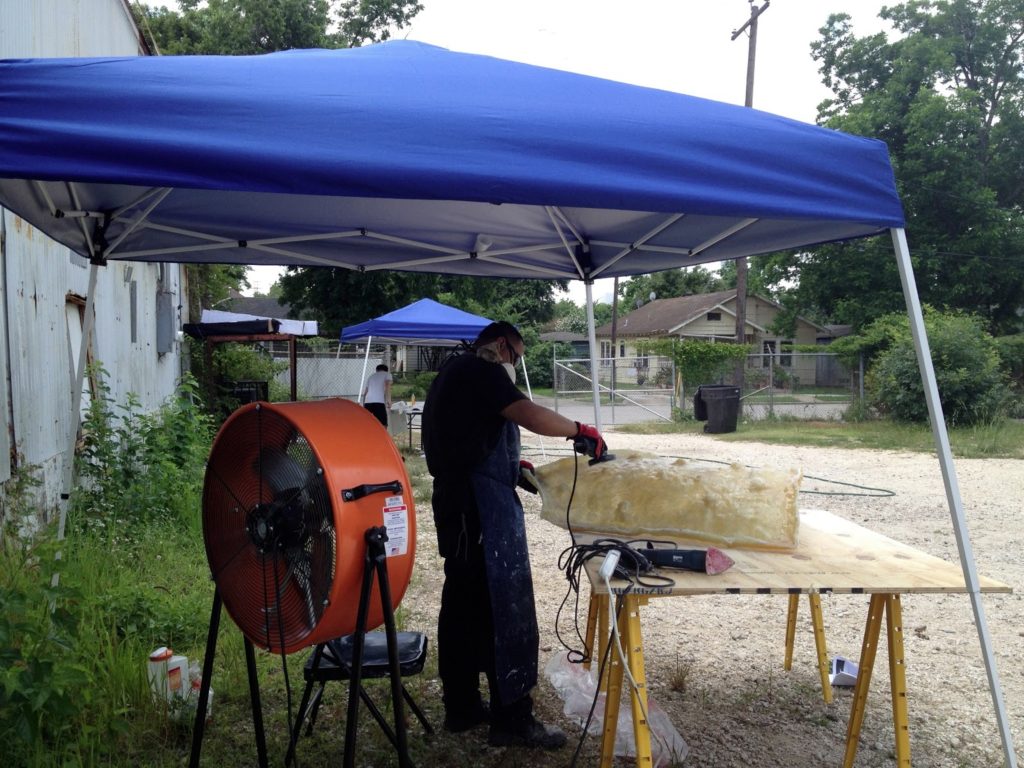
Each of the pieces that make up the entire tiger, must be looked over, cleaned up and modified for making of the molds. I have saved the head for last. I’m actually quite partial to it. Part of this “modification of mold making is some dental work. I must cut out the canines to be able to get a better mold. It is a sacrifice, and in the long run, the only way this thing can come together as a bronze.
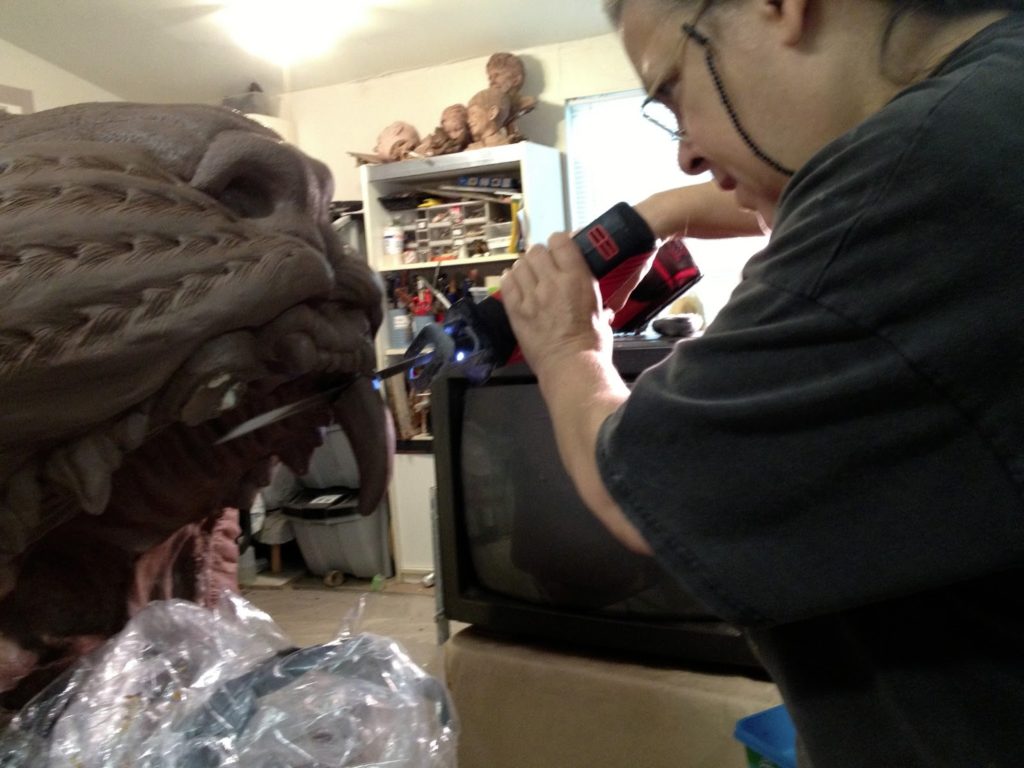
so a reciprocating saw is required.
Hard At Work In The Heat
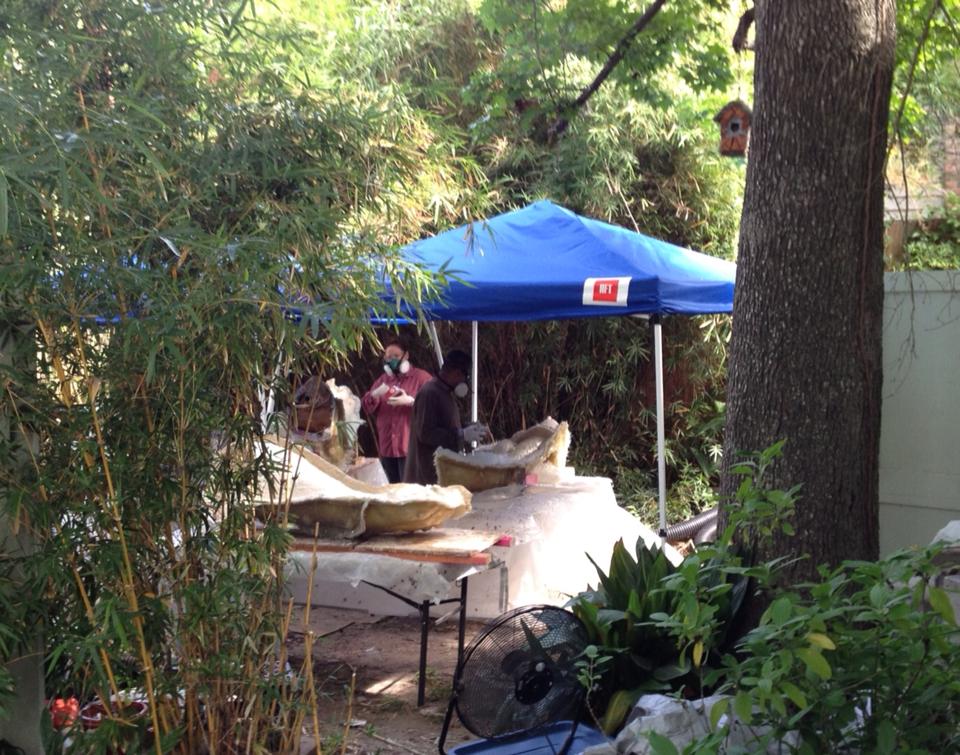
home studio. It is good to be working back home on resin
I much prefer doing this in the fresh air instead of an
enclosed warehouse.
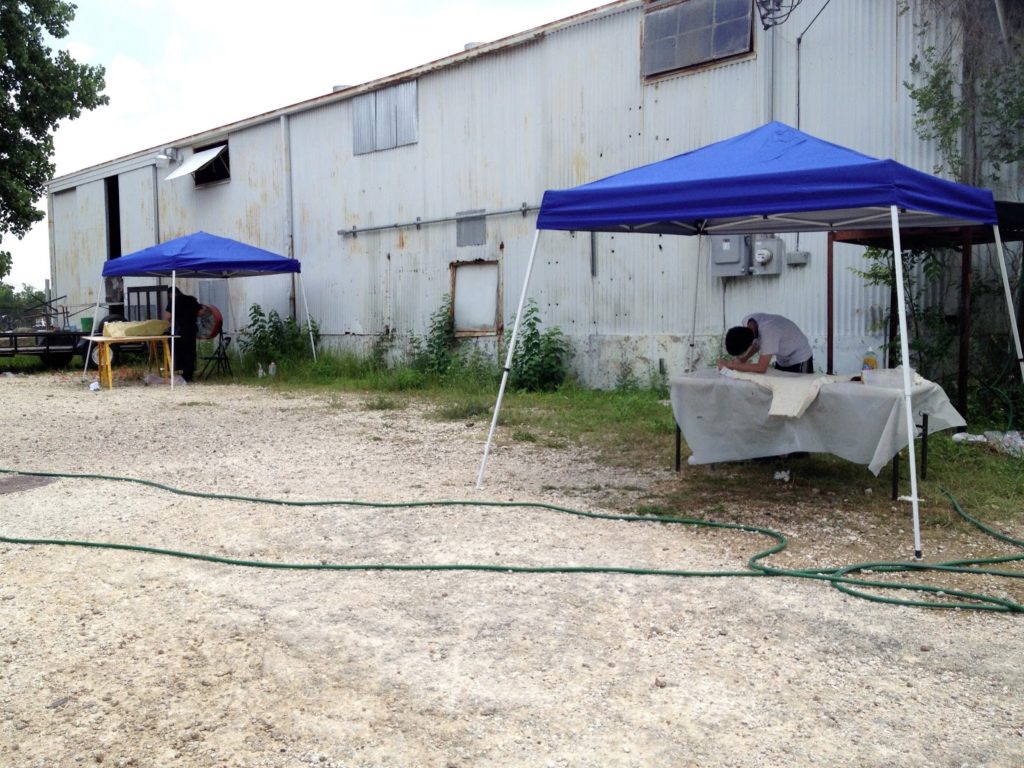
Though all of the remaining pieces have been moved to the studio we are still working very hard, and very long days. Remember this is a part of the foundry process that I do at my home studio. You could say that we are about 1/2 way through this process and 1/4 of the way through the entire foundry process.
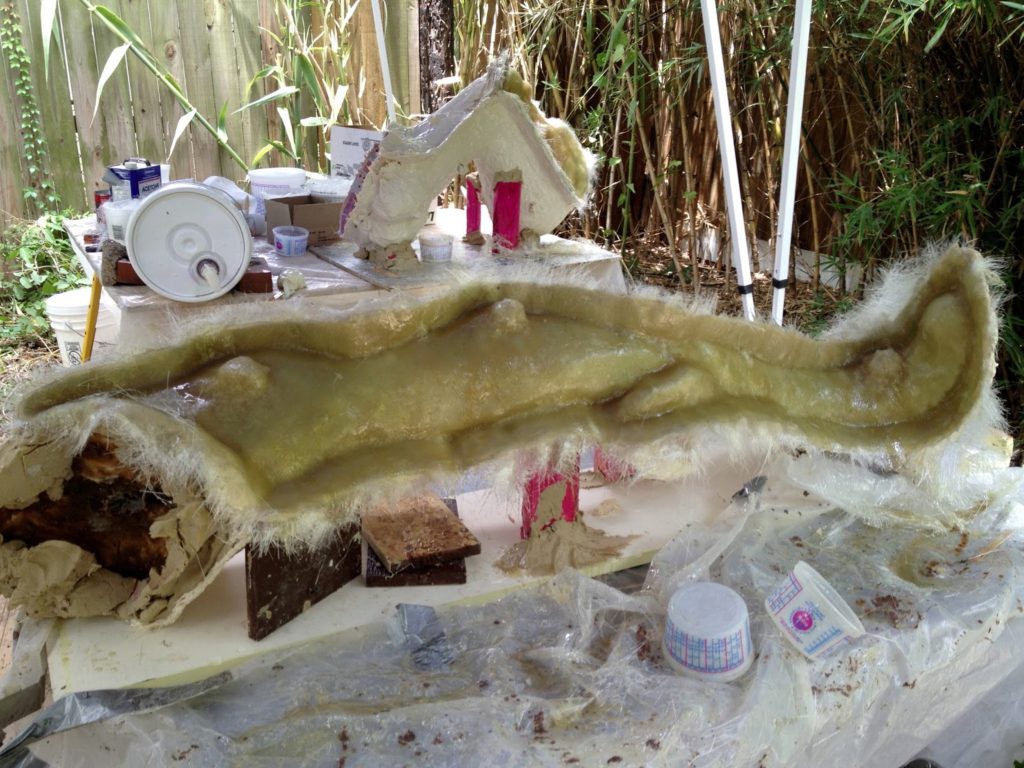
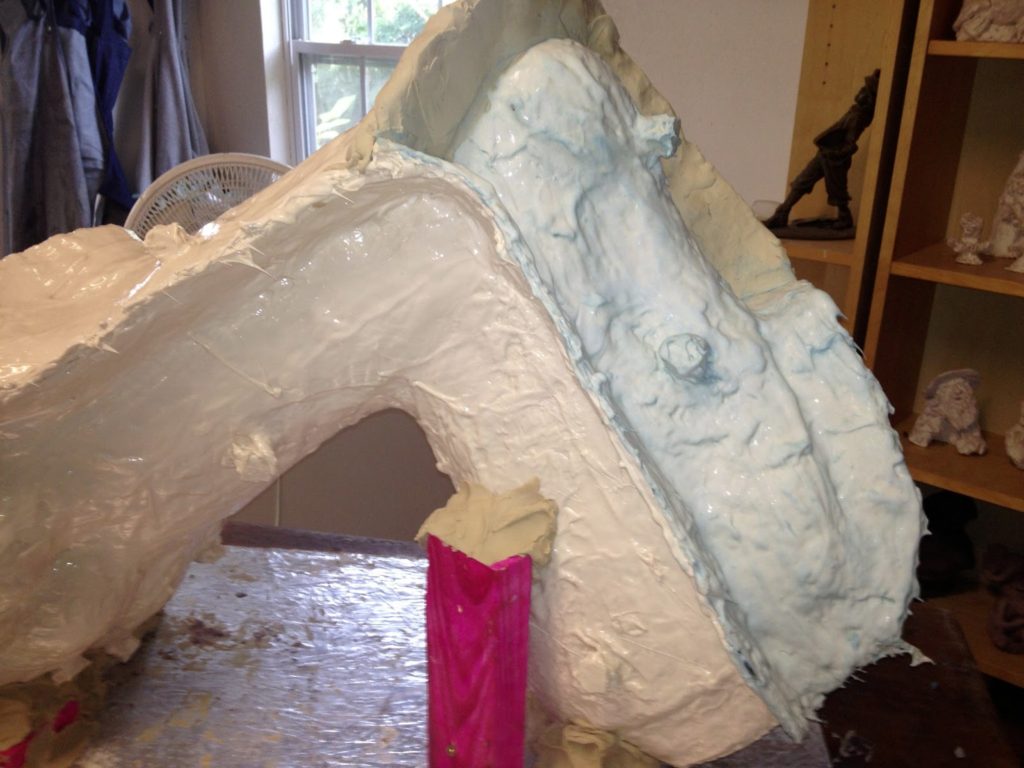
multiple part mother mold in fiberglass.
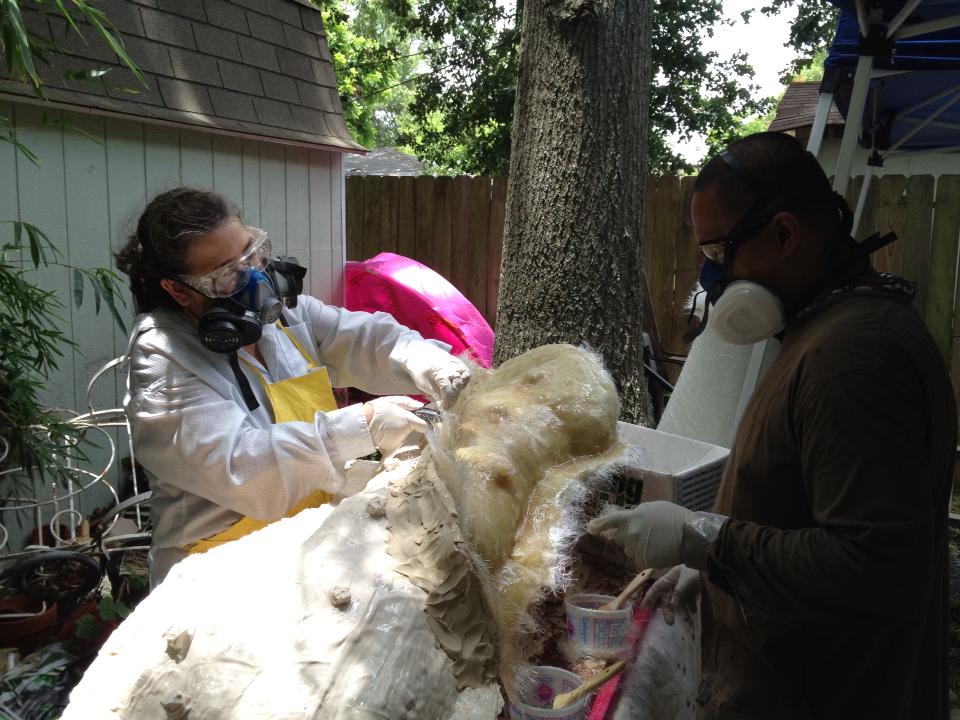
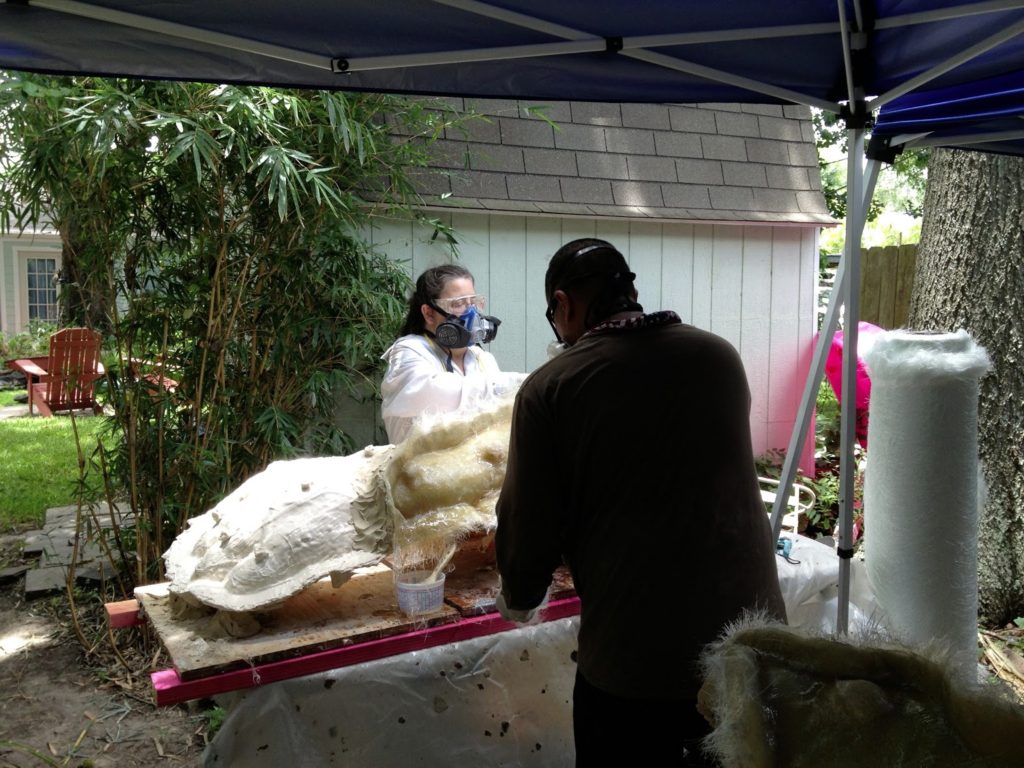
to each of the pieces that are covered in rubber.
A Photo Opportunity
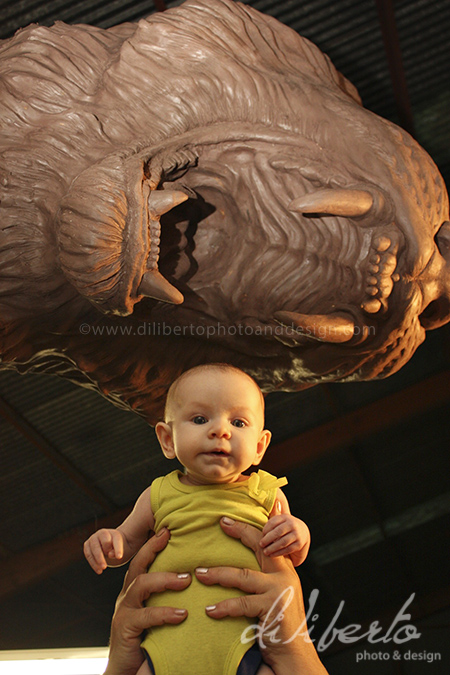
If the baby continues to cry sacrifices must be made!
For those of you who may not know. My daughter Christina Sizemore is my photographer. However, as past posts have shown, she has just had a baby. I am so thrilled that she had the initiative and forethought to set up a time, before we took the sculpture apart, to take photographs of me with the sculpture. The warehouse was hot and her newborn baby was with a friend in another part of the warehouse crying her little eyes out. But we got the shot. Thanks Christina and Diliberto Photo and Design. If your interested in reading her blog post on the event you can find it on her blog.
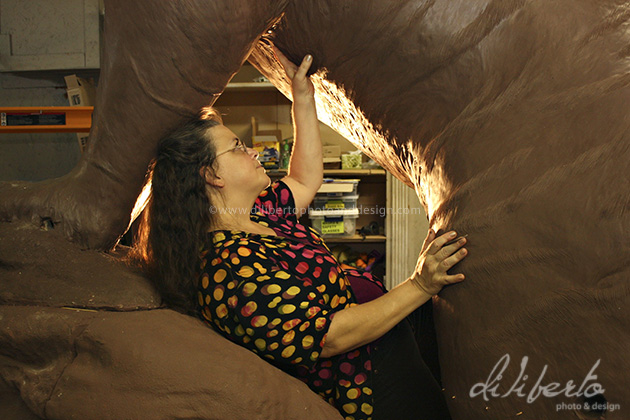
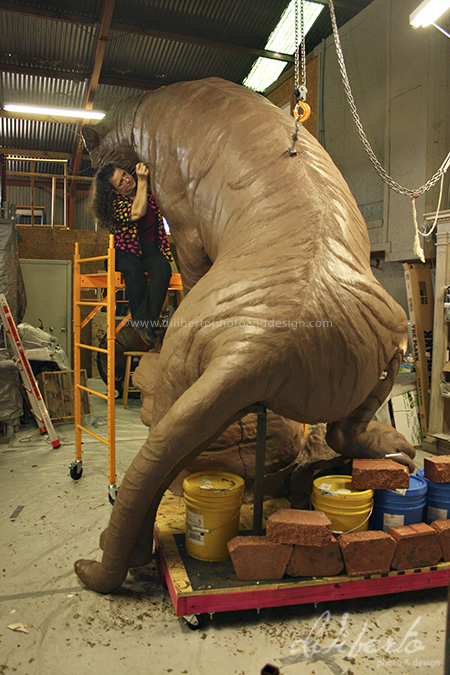
tiger was up here, but we have worked
so hard it feels like much longer.
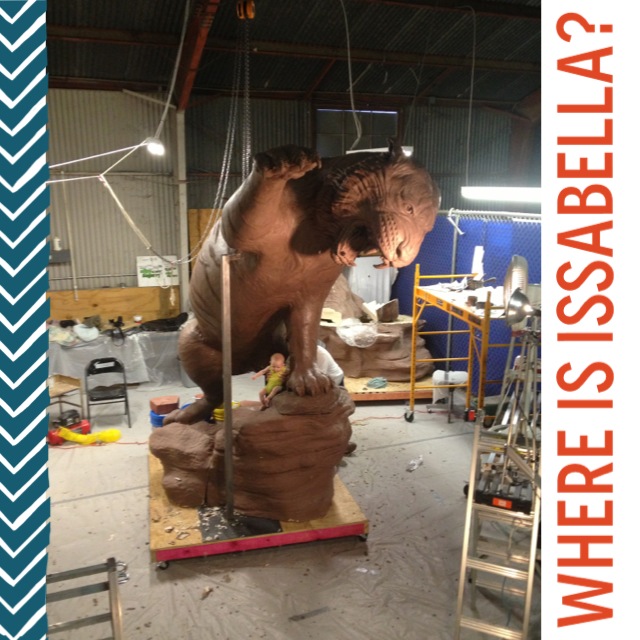
Introducing A Grambling Intern
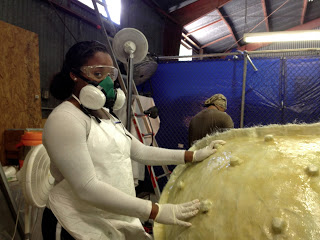
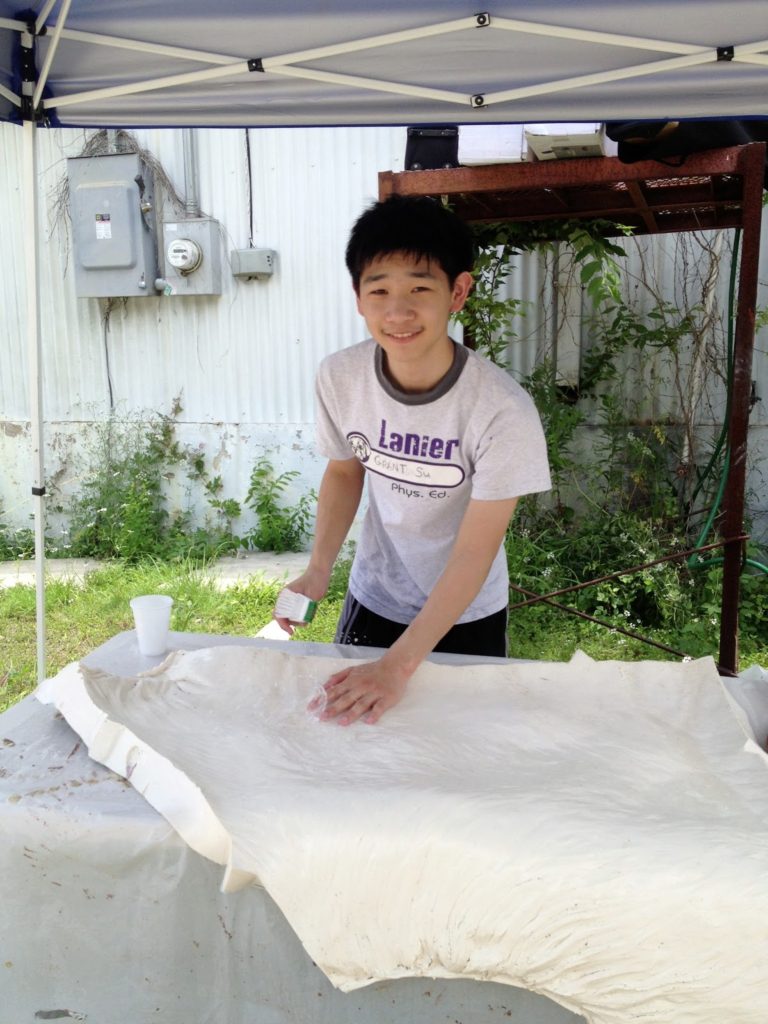
I was glad when I heard that Grambling State University let their students know that I would love to have interns help on this project that are students of Grambling. How incredible to be a part of creating this mascot. As my husband says, “These bronzes will be around long after we have left the earth, and even after our children and their children have left the earth.” So, working on the tiger is not only an incredible way to show how you feel about Grambling State University, but also it is a way to put you mark into something that will be here forever.
Only one student called about interning at B. Mongeon Sculpture Studios. I suppose it is difficult for many because I am in Houston, Texas. It has been a pleasure to have Joiya Smith here in the studio. She is a trooper, for she came at a time when the Tiger was already cut to pieces. She is doing the hard grunt work of helping with rubber and resin. But there are no complaints. Instead of me telling you about Joiya, here is a bit of information about her in her own words.
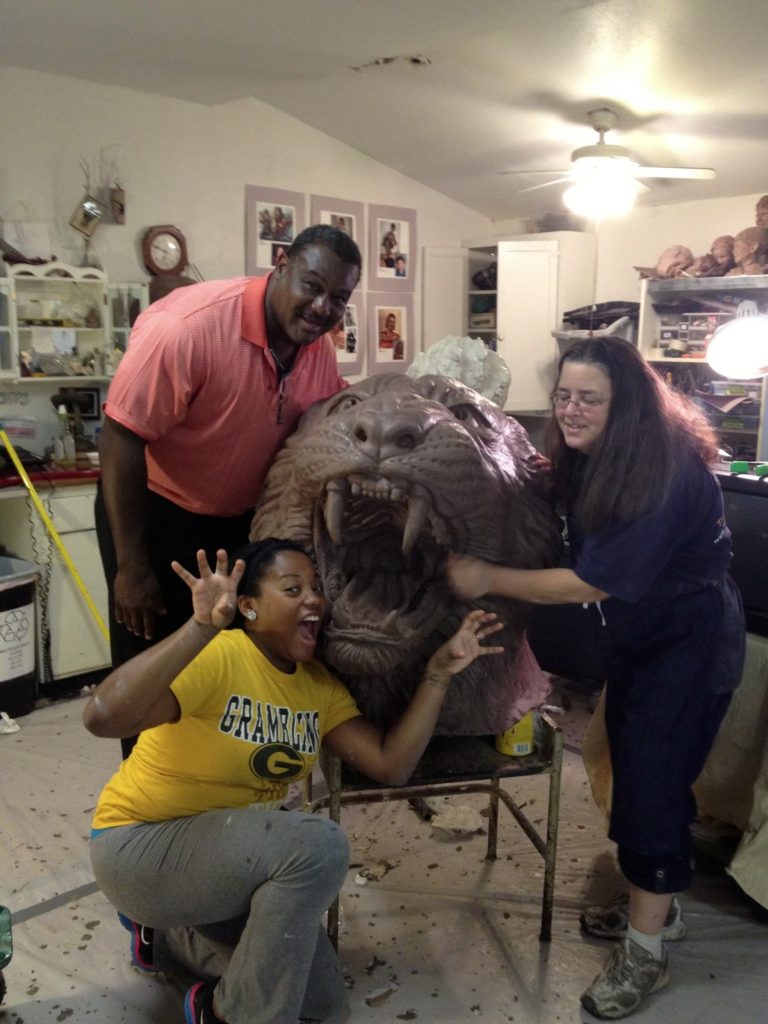
Hello Blog, my name is Joiya Smith from Bogalusa, La. I am a third generation of Grambling Tigers on my mother’s side and a second generation Tiger on my father’s side. My late maternal grandmother Hannah Adams and my mother Veronica Adams-Smith attended Grambling. Then my Father Robert Smith, Uncle David Smith, and other Uncle Sean Smith also attended the same university. Now I am currently here with my sister Chelsea Smith and best friends La’Derricka Morris and Sara brown. I often get asked the question “Out of all the places you have been and moved to, why did you choose Grambling?” My response is usually “ I chose Grambling because I was actually born here and then I moved away in third grade, but I knew I wanted to return home. With my father being a coach, I used to love going to the games and being around all the people, and admiring the greeks and queens. I liked it so much that I returned back to the best Historically Black College and University!”
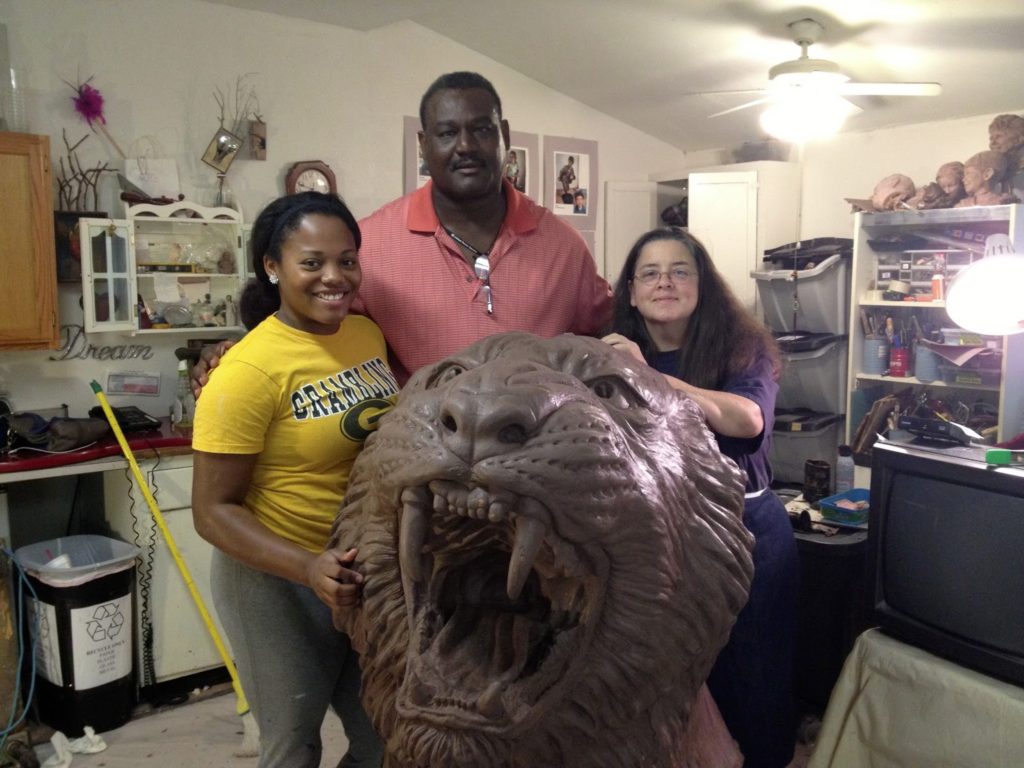
My freshmen year back in Grambling, La has been a learning experience. I have maintained a 3.51 GPA on President’s list , joined Alpha Gamma Art Guild, The Society of Distinguished Black Women, Favrot Student Union Board, and will be serving as 2013-2014 Miss Sophomore. At the last convocation for the school year, Dr. Stacy Duhon announced about the intern to work on the school’s tiger. As an art student majoring in Digital Arts and Mass Communication, I thought it would be a perfect opportunity for me to take advantage of. So then I looked up Mrs. Bridgette’s Facebook and sent her a message. She replied with a very embracing email, with her phone number and more contact info.
I open mindedly went into the situation, I told myself whether I like it or not, I will not quit. But then the longer I stuck with it and the more days I went, I started valuing it more and more. Mrs. Bridgette told me, “it’s funny how everyone else on the campus might look at it as just a tiger, but you will see it for soooo much more.” And she is so right, I thank God for this opportunity to make history by making a tiger that will be there for a VERY LONG time. It’s great that I will be able to tell someone that I made that. The tiger is a literal and a symbolism meaning of pride. I take so much pride in the things I love, and I love my school. As I continue to my summer days working on this tiger I will continuing learning and embracing this experience!
CNC Milling And CarveWright Conference
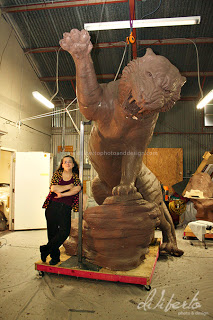
I could have done it without the use of CNC
milling. Oh yes, please note there is another
3 foot of rock that goes under this sculpture.
I have been compiling information and resources for a book that I am writing that talks about incorporating digital and traditional process in art. I call this marriage of the two -Tradigi art. I have been trying to educate others on the process of using 3D technology for a few years. Mike de la Flor and I wrote Digital Sculpting With Mudbox Essential Tools and Techniques and spent a chapter talking about 3D scanning, printing and milling. Our book, I believe, was one of the first that talks about how to get virtual pieces out of the computer and into a physical form. When I first started to do this, many CG people would ask, “Why do you want to get your designs out of the computer?” These are people who use the computer generated designs in movies, video, gaming etc. Without bringing virtual pieces into a physical world my designs are pretty much worthless to me.
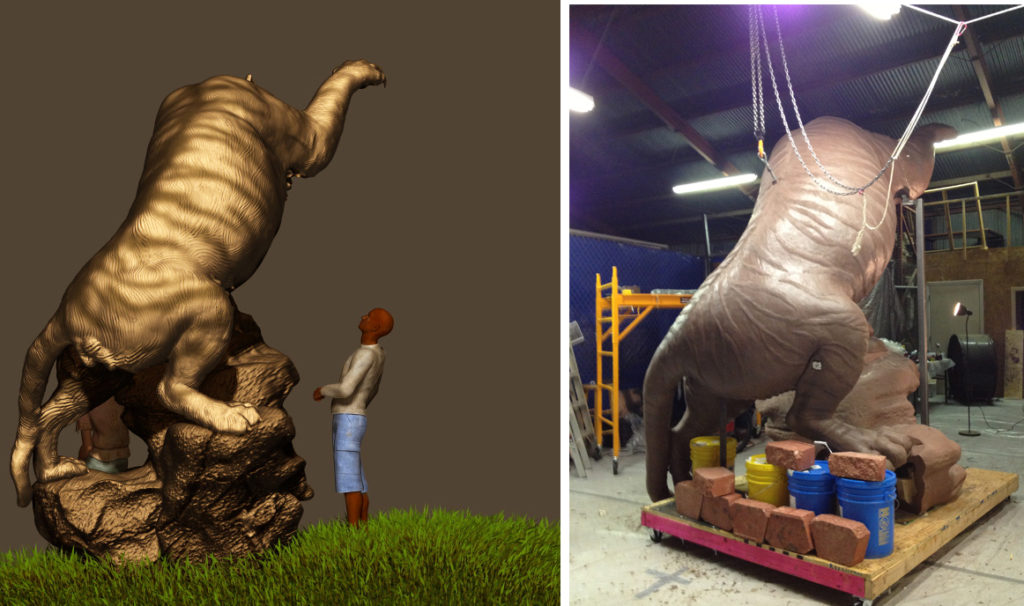
created in the computer and the milled out foam
covered with a fine layer of clay.
Once the client approves the clay the sculpture
is taken into the lost wax method of bronze casting.
I am inspired to educate others on how to do these things and the possibilities of incorporating this type of work into their traditional studios. Here is a pdf of a 2008 article in Sculptural Review that I wrote about the process of CNC milling in art.

I have been using CNC milling of foam for a few years now. My two primary vendors are Synappsys in Oklahoma and Across the Board Creations in Canada. I have described some of my processes in a You tube video on the subject. I also have project blogs for the last several projects that talk about using the CNC milling of foam with my designs. I used CNC Milling on the Prairie View Panther, the Evelyn Rubenstein Sculpture for the Jewish Community Center and most recently on this enormous sculpture of the Tiger for Grambling State University.
I have also watched in fascination and excitement about the CNC Milling in Stone. All of these tools expand my tool set and save a sculptor’s hands from very damaging wear and tear.
Steven Ramirez of Smash Designs introduced me to the CarveWright . He was one of our speakers last year at 3DCAMP Houston. Once I saw the CarveWright and it’s possibilities I was very, very intrigued. I had been looking for a vendor that might mill my work. I’m still looking for this type of vendor. I had also been searching for others who had been using CNC milling in their artwork. I wanted to feature them in the book, and yes, I am entertaining getting a CarveWright of my own.
3DCAMP is a 3D symposium on everything 3D. It is hosted this year by the department of Architecture at the University of Houston. The date is October 5, 2013. The cost last year was only $15. and this year will be raised to $30 for professionals and $15 for students. A great prices for so much information and resources in one space. We had hoped that CarveWright might be a sponsor for last years 3DCAMP event, and would be able to discuss more about milling at 3DCAMP.
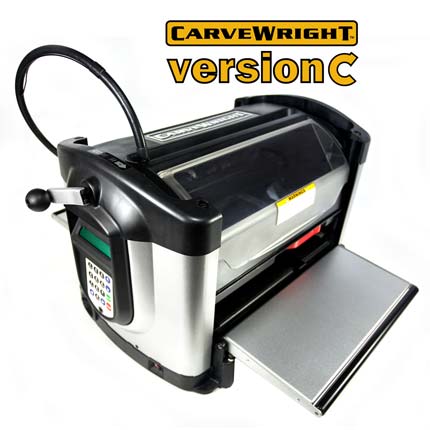
What is a CarveWright? It is an affordable consumer CNC milling machine that gives you the opportunity to design your own patterns, or use patterns provided with the machine and mill them out in many different materials. When learning about the CarveWright Conference, I was intrigued, not only because of my desire to try this machine, but also because I really wanted to gather more information for the book.
I learned many things from attending the CarveWright conference and was intrigued by the many people that I met. Of course, I’m looking at this tool and thinking, how can I push it like no one has ever pushed it before. How can I sculpt using this tool? I’m not the only one thinking about pushing the boundaries as Joe Lovchik, one of the owners of CarveWright was displaying how to use the tool to not only carve wood, but carve other things like foam, plastic and even wax. He showed how he used the CarveWright to make a pattern for pouring concrete, stamping leather, creating incredible lithophanes. The possibilities really made your head spin.
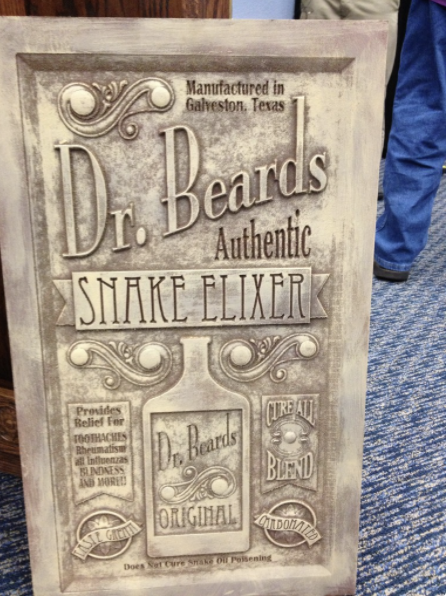
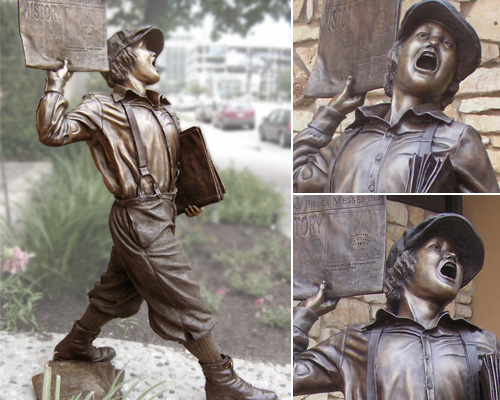
Besides learning the software that comes with the program, some of which I hear is some of the best for CNC milling, we heard what others were doing with the CarveWright. Michael Tyler displayed some of his creations and talked about inspiration. I loved learning about the stains and patinas he is using called Sculpture Nouveau. They are breathtaking! Joe Ragsdale talked about carving photos in wood. The feature that I think would be easily applicable to my own studio process is the carving of letters. I often get asked to incorporate type into my sculptures. This is not an easy task and takes a great deal of handwork. For example, the newspaper that the newsboy holds has copy that is individualized for each client that purchases this bronze. I have to change out the headline and subhead so that it is pertinent to those who are purchasing this bronze. You can be sure that the next time this happens I’ll be scanning this newspaper and carving it with a CarveWright. Oh, yes, I failed to mention, the CarveWright has a point scanner that you can purchase as well.
The possibilities and relationship between me and CNC and me and CarveWright are just beginning. I hope they will help me to push the limits of their product with my designs and look forward to working with them on this. I can’t wait to see what I come up with for the book. My head is already thinking in that strange 3D way. Thanks CarveWright for the information and the inspiration.
_______________________________________________

Bridgette Mongeon is a sculptor, writer, illustrator and educator as well as a public speaker.
Her blog can be found at https://creativesculpture.com.
She is the vice chair of the planning committee for 3DCAMP Houston 2012 http://www.3dcamphouston.com
She is also the owner and creator of the God’s Word Collectible Sculpture series http://www.godsword.net
Follow the artists on twitter twitter.com/Sculptorwriter and twitter.com/creategodsword
Listen to The Creative Christian Podcast or the Inspiration/Generation Podcast
Click on Podcast Host Bios for a list of all podcasts.
Back At The Studio
Once all of the torso molds have been done we have moved the entire operation back to the home studio to work on the legs, head, tail and rocks. it is great to be back at the home studio with AC. It is a whirlwind of activity.
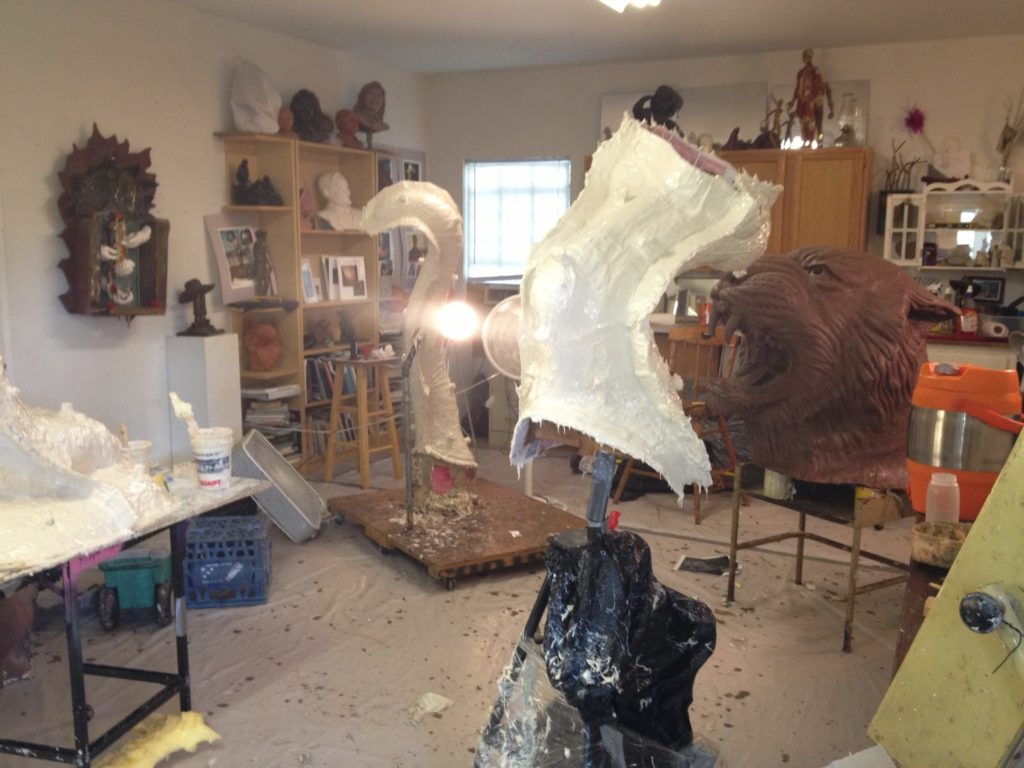
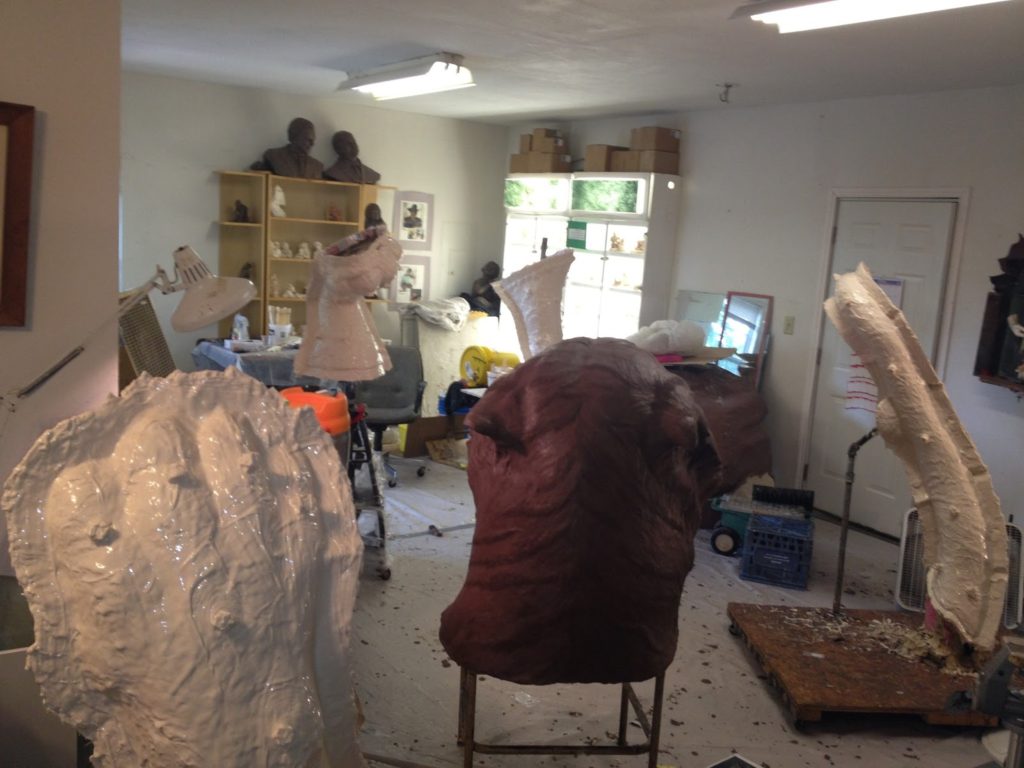
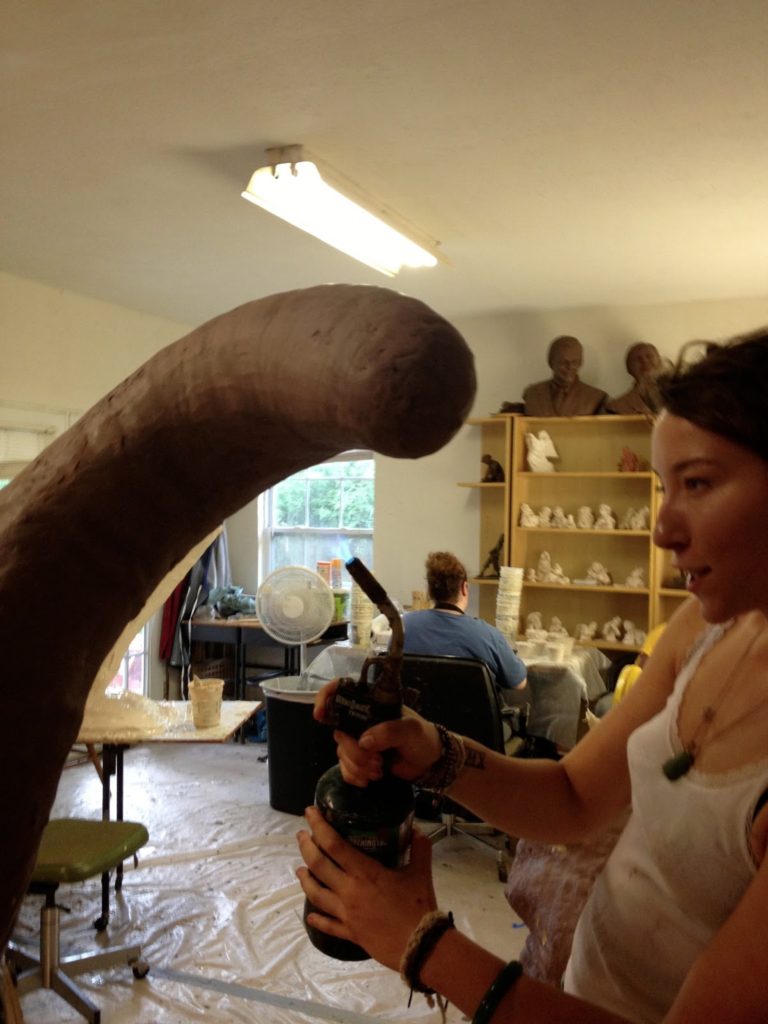
done to the tail while moving it back to the studio.
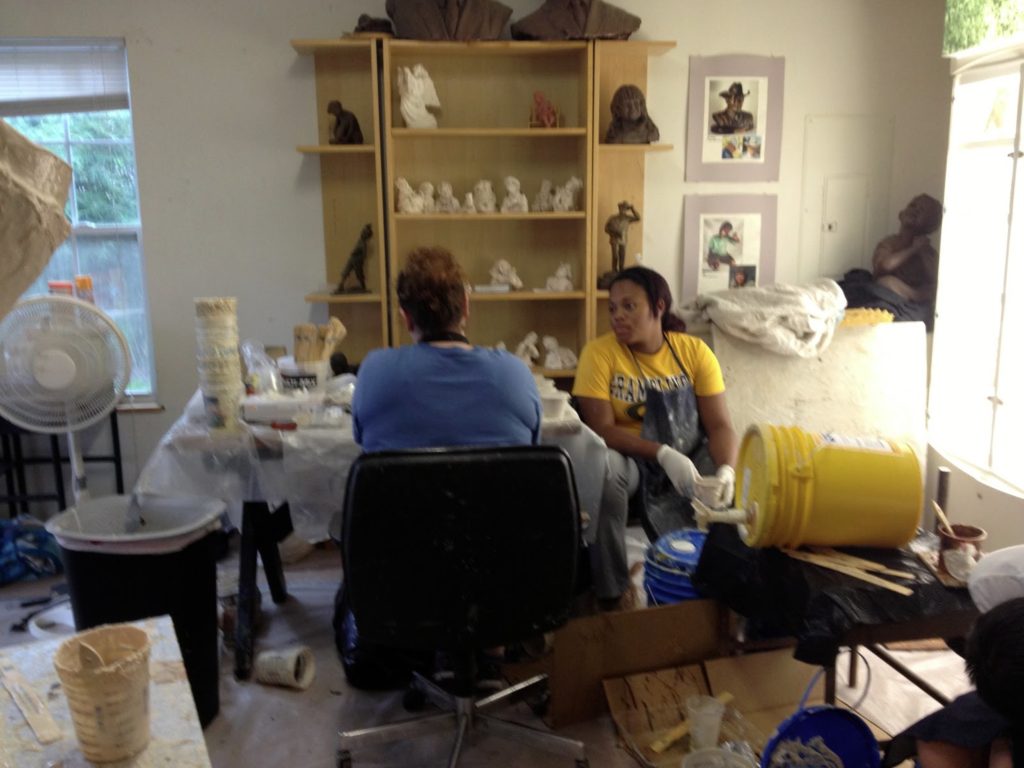
Gutting A Tiger
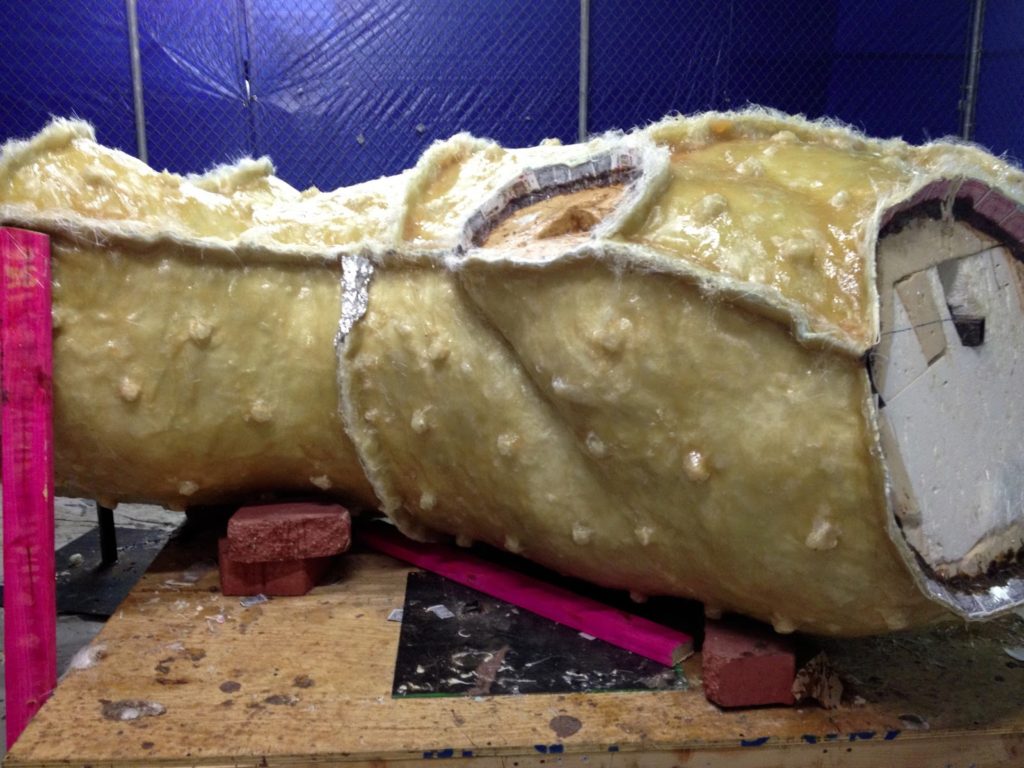
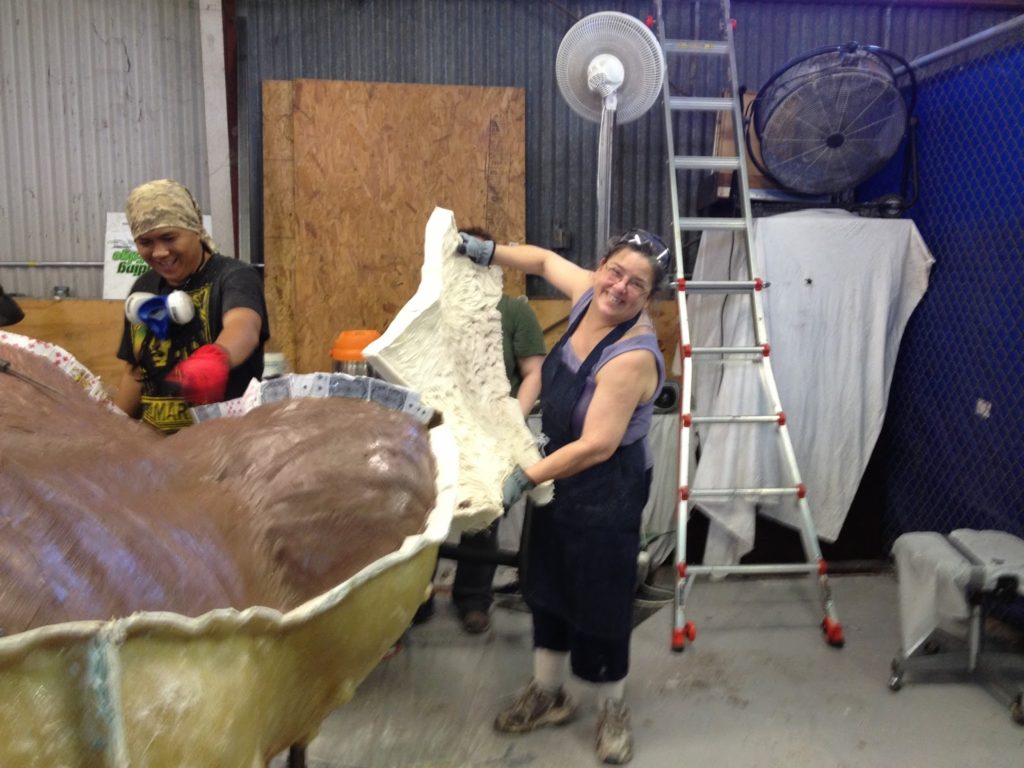
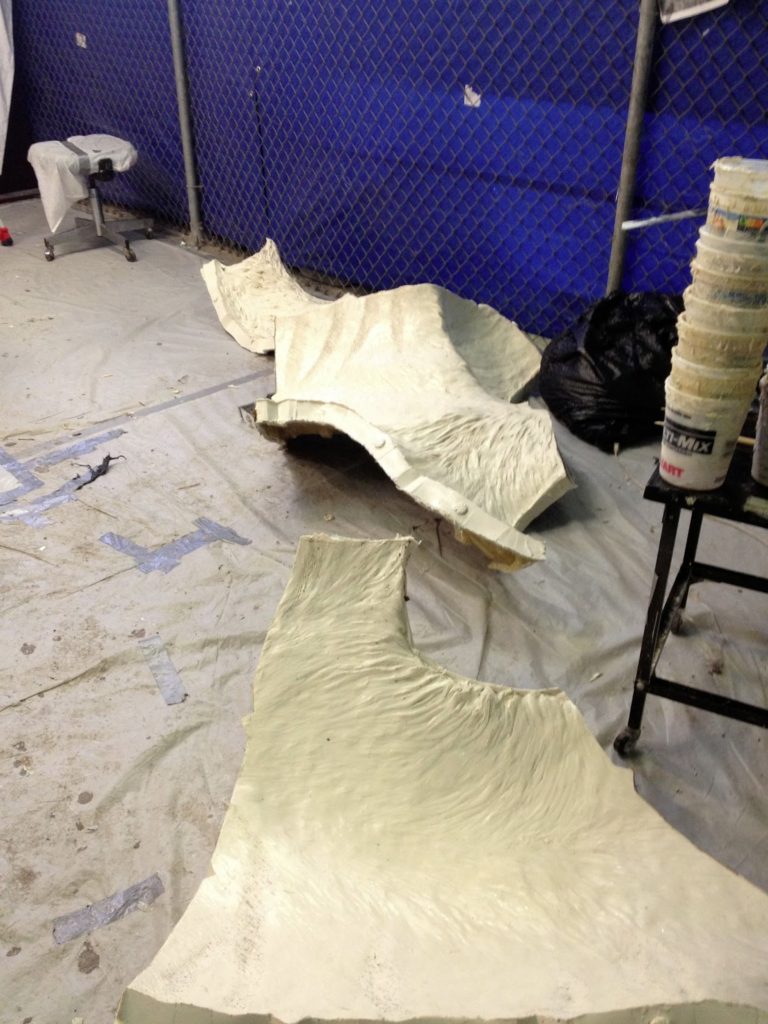
Both a rubber mold and a fiberglass mother mold have been applied to the torso. With this part complete we are about 1/3 the way through the mold making process of the Grambling Tiger. This week we separated these molds from the clay sculpture. Each mold had to be cleaned. The rubber is scrubbed and the fiberglass mother mold sanded. Then all of the pieces are put together. Even though we have these molds it is important to save the clay just in case something should happen to the molds. So this is our visual documentation of what is done this week.
Flipping The Kitty!
It has been a busy week. When I finally get to sit down in front of a computer to write these posts I feel so relaxed. I’m in AC. I’m not hauling, pulling, lifting or sculpting. I’m not in a hot warehouse.
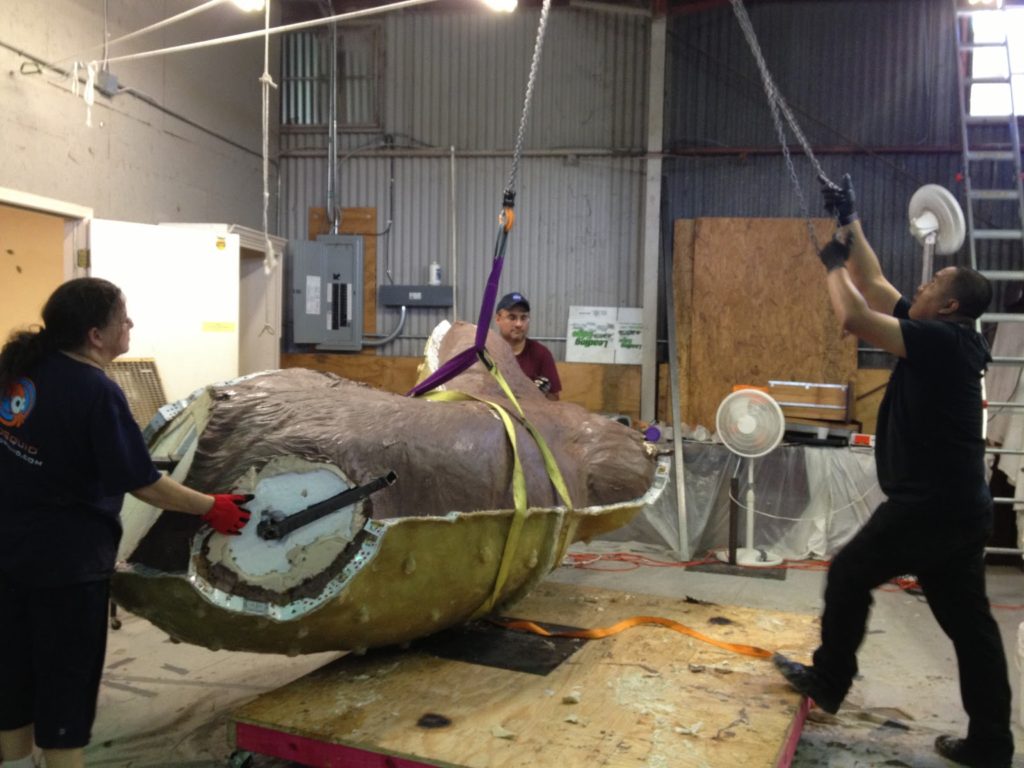
We have made many accomplishments this week. The top part of the big cat torso has both a rubber mold and am other mold. See previous posts for this explanation. The big challenge was to flip the entire sculpture and take it off of the winch. The cat has not been off a winch for weeks, and it weighs a great deal more than it did going on as a foam piece. It was a challenge to figure out how we could do this, but we soon had the “kitty” flipped and supported and I began the job of finalizing the details on the big cats underside. Then we made the mold for this bottom half.
The temperature in the warehouse has reached 102. This temperature is tolerated by myself and my interns as we are forced to wear masks and long clothes to protect ourselves from the fiberglass and resin. Once this part of the mold is done we can move back to the air conditioned home studio where the paws and head await the same process. More to come.
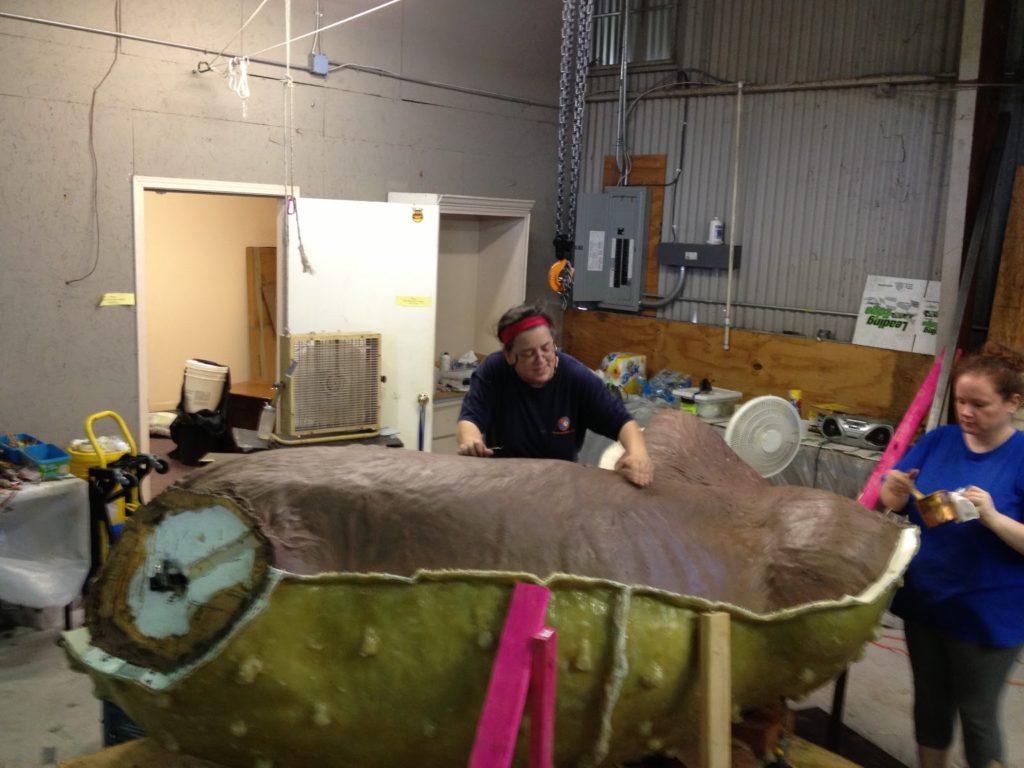
for the final details.