A New Book—A Resource Book For Those Creating Physical Objects Using 3D Technology!
I’m working on a new book
Tra-digi-2014 Sculpture:
Using 3d software, milling, scanning and printing in art and craft.
At least that is what the book is called at this moment.
A single source for incorporating 3D printing, 3D scanning and 3D milling into your art.
Tra-digi 2014—Sculpture: How to use 3D printing, milling and scanning in art and craft
- Do you want a 3D model of your child for your computer? Here is how to do it for free.
- Do you want to take a virtual sculpture and make it into a 3D print in clay, metal or even glass? Here are the steps, tools and resources to do just that.
- Have you thought of carving your ideas into wood, or stone but you can’t hold a hammer and mallet?
- Do you want to take a small sculpture made by hand and enlarge it to a monumental piece of art?
- Would you like to have a digital scan of your surroundings?
With the steps in Tra-digi 2014-Sculpture you can expand your medium as an artist, save yourself time in the traditional bronze casting and enlarging process. This give you more time to create!
But beware, there are some pitfalls, some hurtles and legalities associated with using traditional and digital processes. Learn how to protect yourself and your art as you create new masterpieces that could never be created before.
Bridgette Mongeon is a sculptor, writer, illustrator and educator as well as a public speaker.
Her blog can be found at https://creativesculpture.com.
She is the vice chair of the planning committee for 3DCAMP Houston 2012 http://www.3dcamphouston.com
She is also the owner and creator of the God’s Word Collectible Sculpture series http://www.godsword.net
Follow the artists on twitter twitter.com/Sculptorwriter and twitter.com/creategodsword
Listen to The Creative Christian Podcast or the Inspiration/Generation Podcast
Click on Podcast Host Bios for a list of all podcasts.
The Tiger Has a New Home, at Shidoni Foundry in NM!
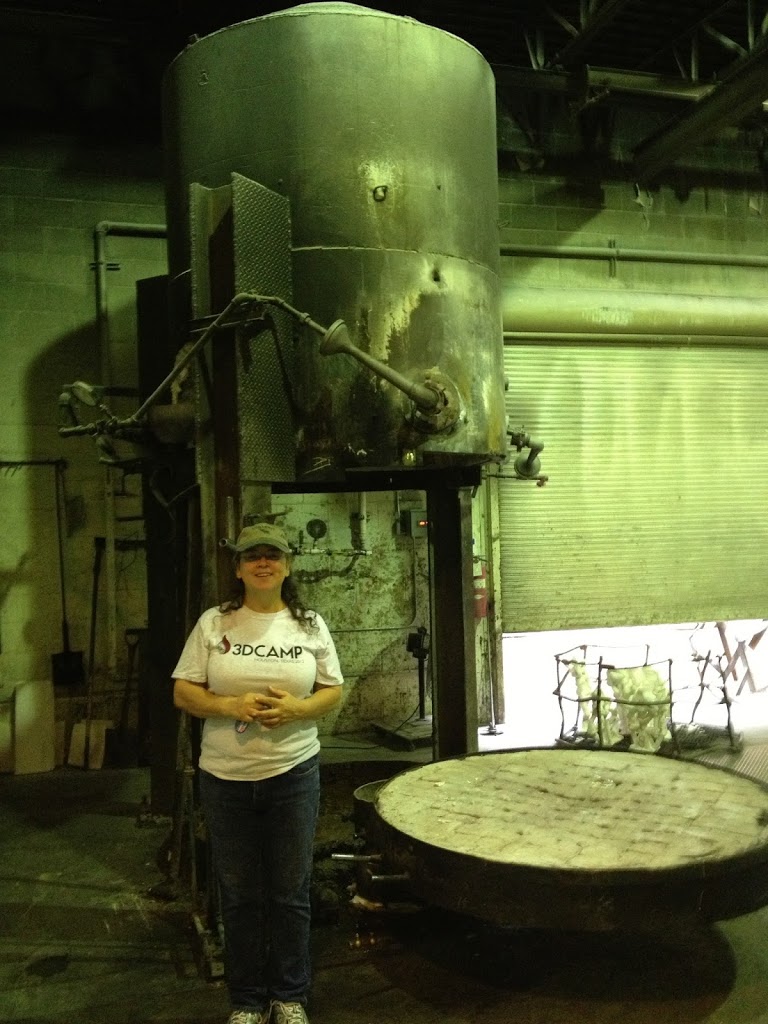
The foundry that is casting this sculpture is not in Houston, instead it is in New Mexico. That means three things:
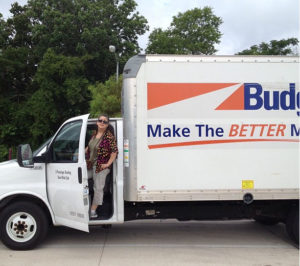
a road trip to NM.
1. The tiger molds need to take a trip from Houston, Texas to Shidoni Foundry in Santa Fe, New Mexico.
2. The molds will eventually need to come back to Houston. I’ll be flying back to NM to look at the metal and approve the sculpture before it ships out.
3. The sculpted tiger will be taking a long trip from Santa Few, New Mexico to Grambling State University in Louisiana. It would be fun to see if anyone can spot it on the long journey.
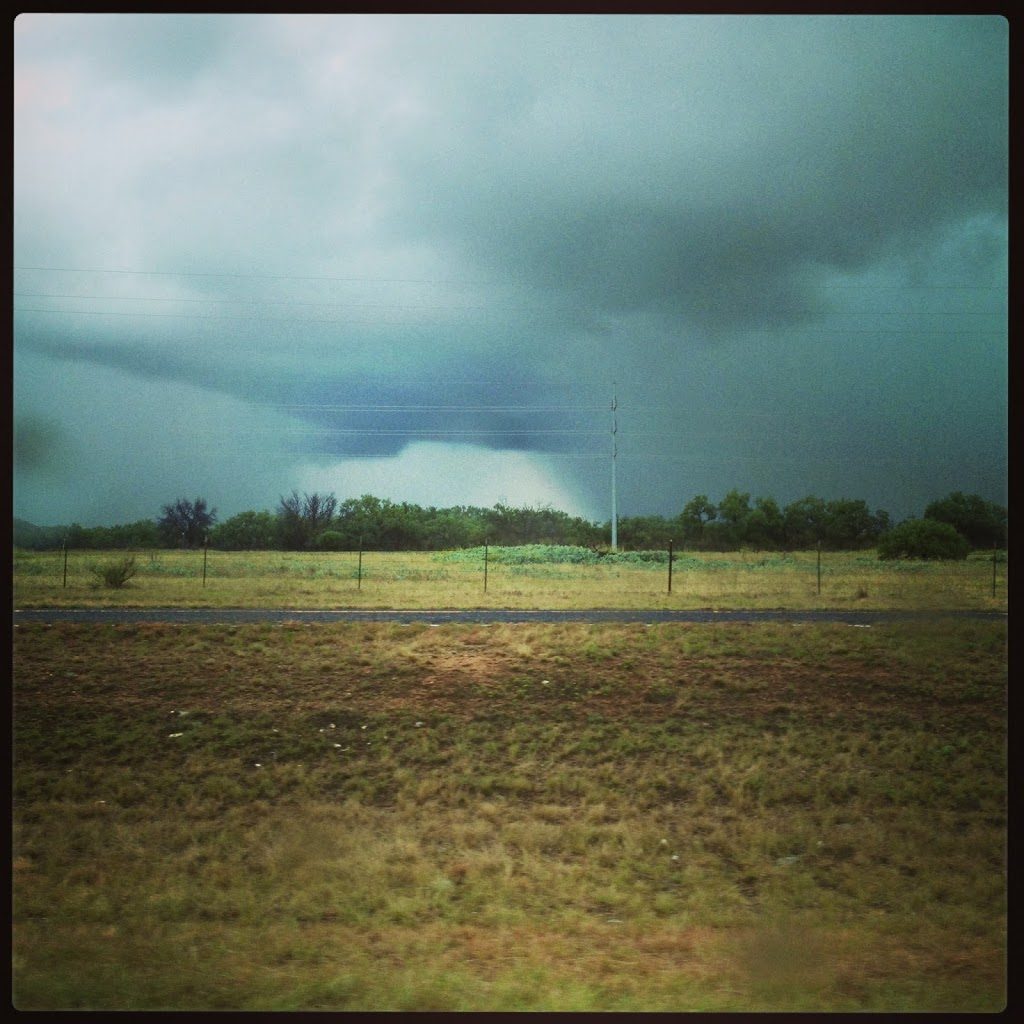
We were trying to outrun an unusual storm that was coming from the southeast.
If you have been following this blog you will see that the sculpting is complete, and 1/2 of the foundry process is complete. The molds have been made and now the foundry will be painting waxes in all of these molds. I’ll keep the documentation going with the help of Shidoni.
DATE OF INSTALLATION? We are all trying to have the sculpture on campus by Nov 2nd for homecoming, but there are no promises. A lot of coordinating needs to be done for this to happen. Stay tuned.
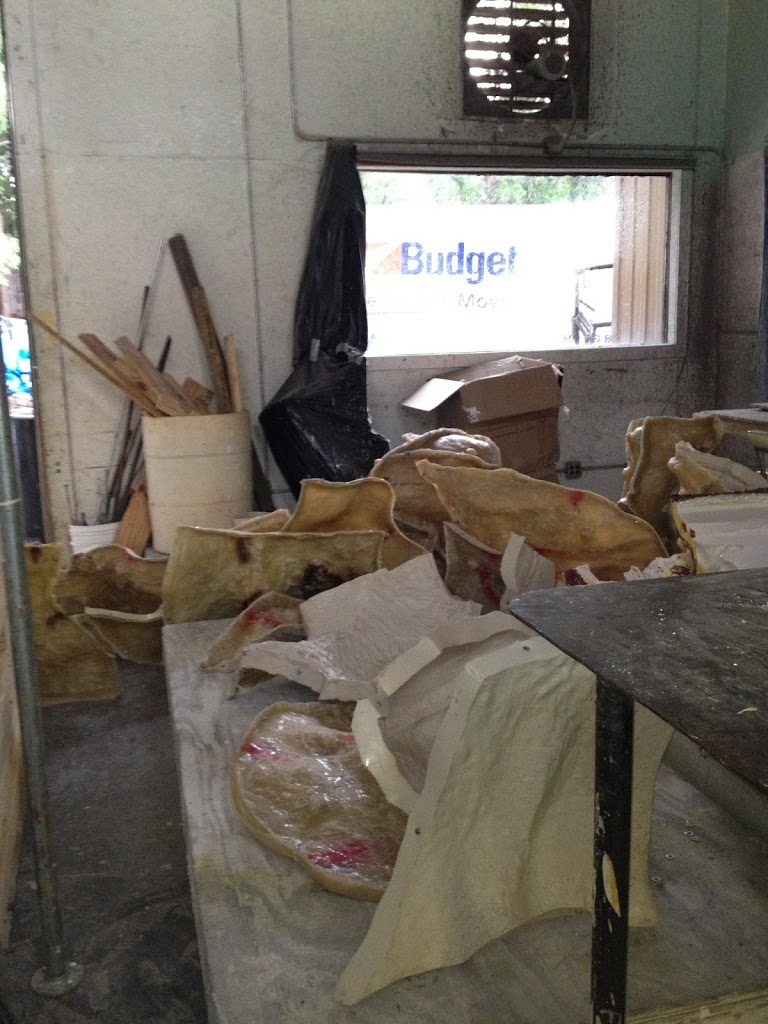
I’m looking forward to seeing the entire thing together. Remember I could not see all of the rocks with the tiger as it was not feasible to put it entirely together in the hot warehouse in Houston. I can’t wait to see it all together at Shidoni.
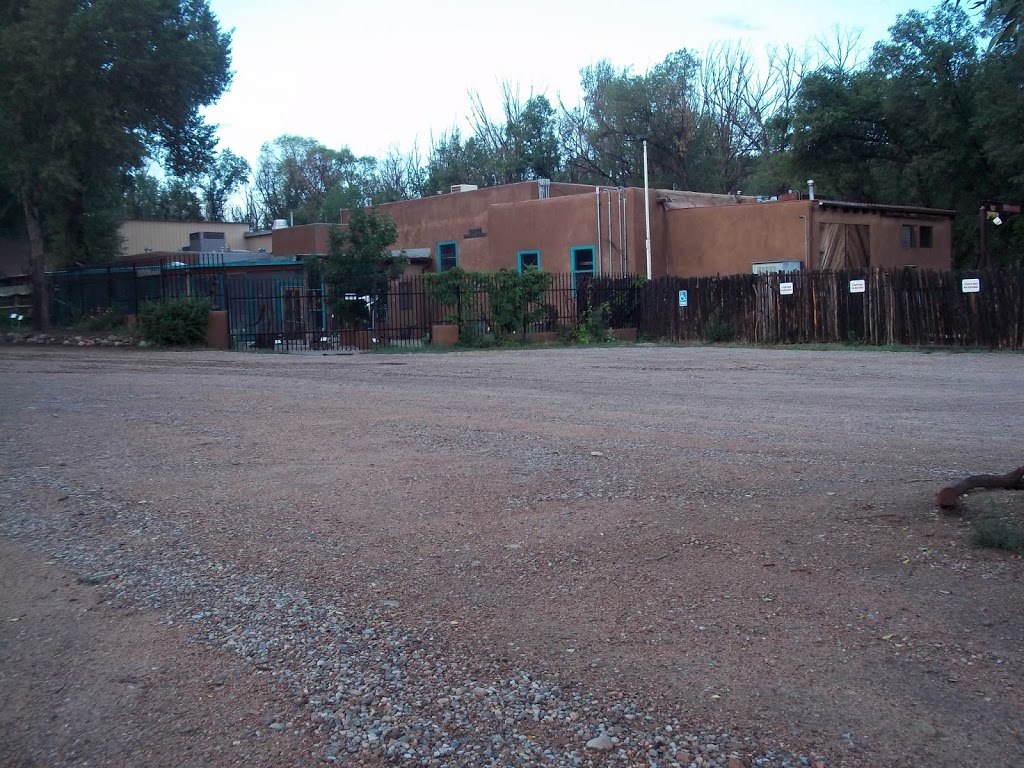
I have always wanted to cast my sculptures at this foundry.
How To Put This Back Together
Can you imagine being a person at the foundry and getting all of these many, many molds and trying to figure out how to put this back together. Documentation! Today I finish the book that will be shipped with the tiger sculpture. It documents how many molds there are and how to put the sculpture together.
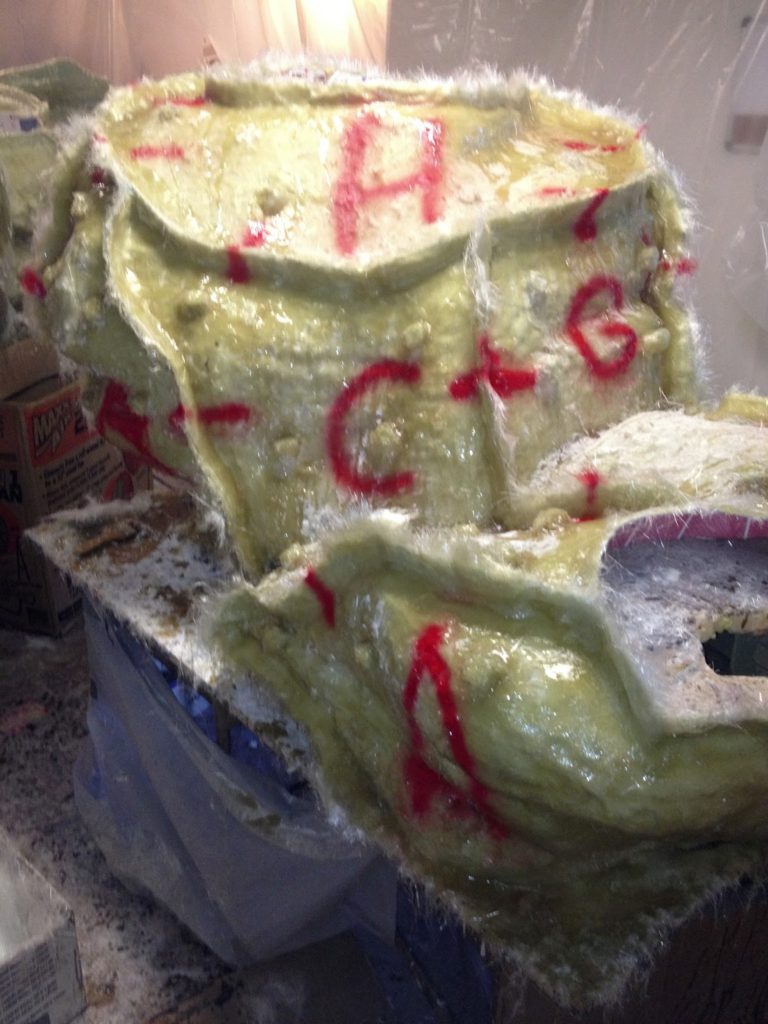
The upper rock is labeled before the mold is taken apart. The lines in between are registration lines.
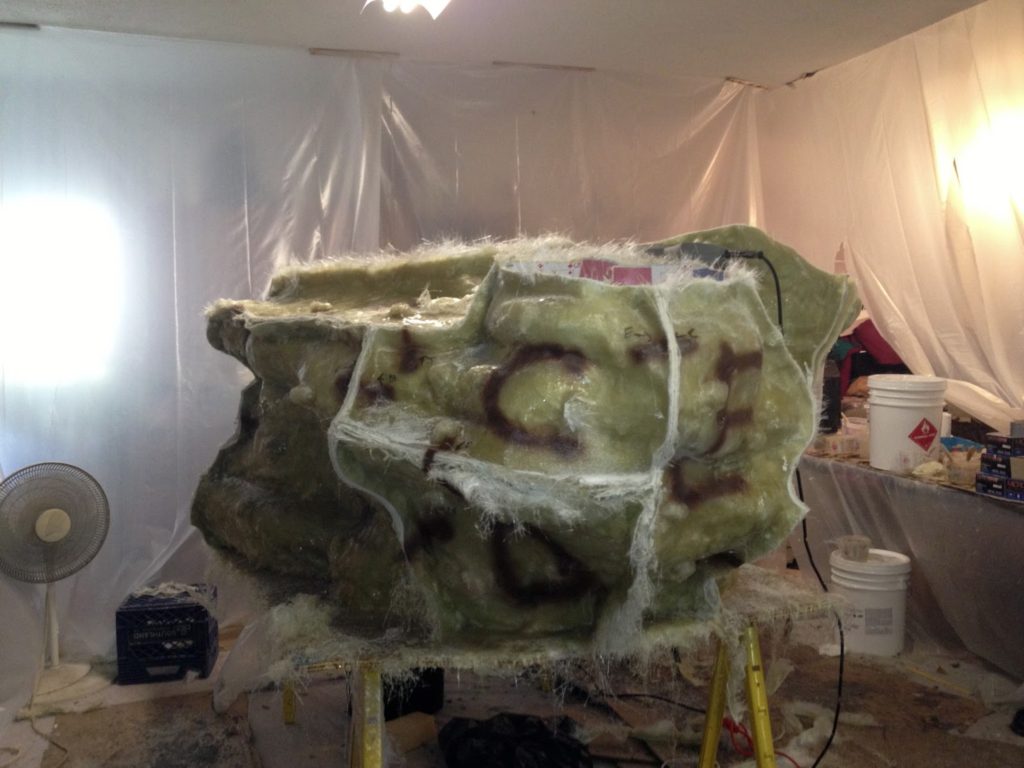
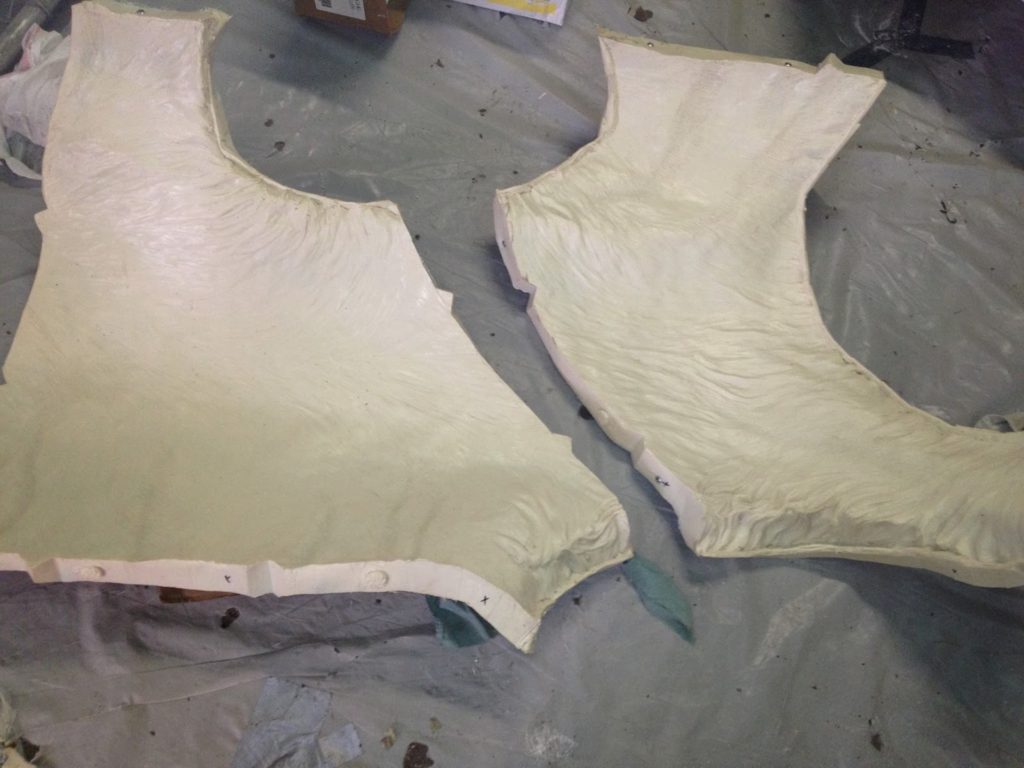
Can you imagine getting this and wondering what part it is?
labeling is important. Guess which part of the tiger this might be.
So Busy I Have Not Been Able To Post, But Here Is The Latest
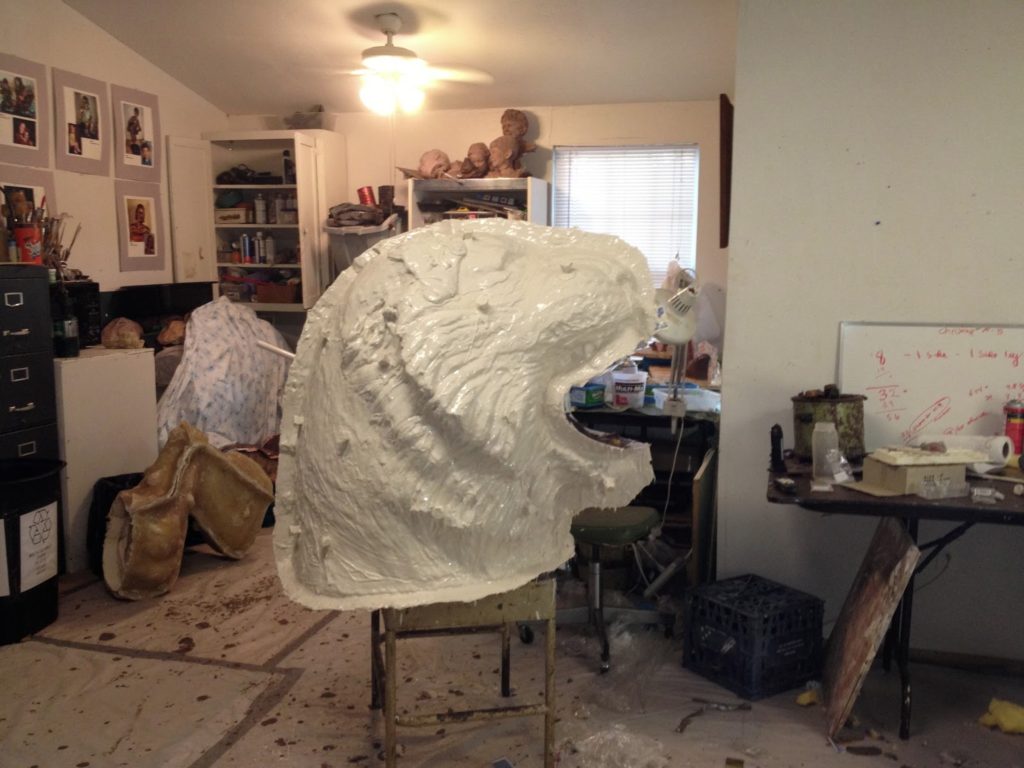
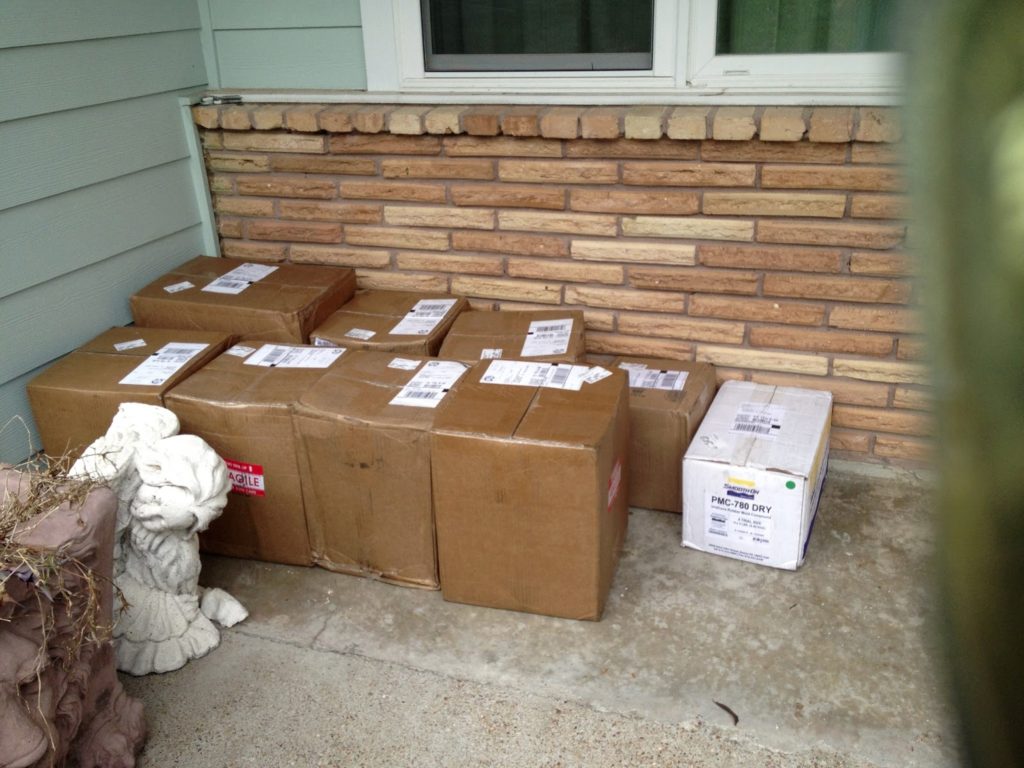
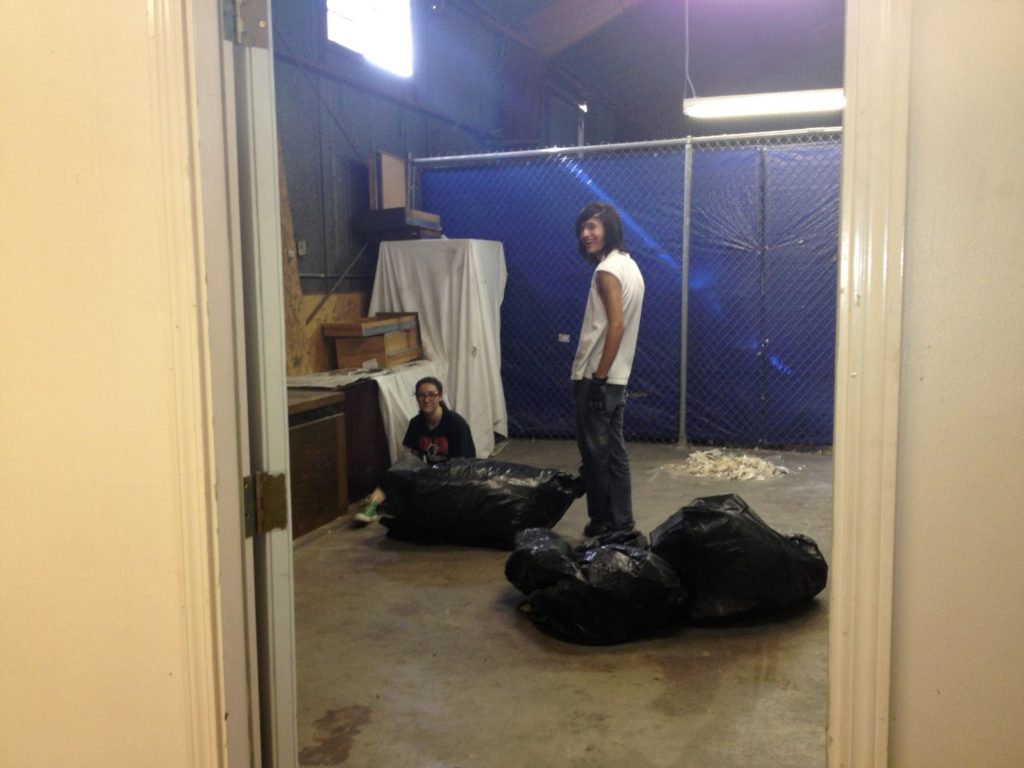
We finally finished all of the molds on the tiger. As you have read in previous posts we needed a rubber mold and a mother mold. Once that was done it was on to the rock. First we put the upper and lower section of rock together and then cut it in half for mold making. We could not do resin and fiberglass outside of the studio so we coated the inside of my home studio with plastic. It made it look quite spooky but it served its purpose. The same process took place on both the upper and lower rocks. First rubber was painted on and then fiberglass. We worked long hours and one night worked through until 8:00 a.m. I’m really doing my best to try to get this to the foundry as early as possible. Next week, when I am at the foundry, we will find out if the sculpture can be delivered in time for homecoming.
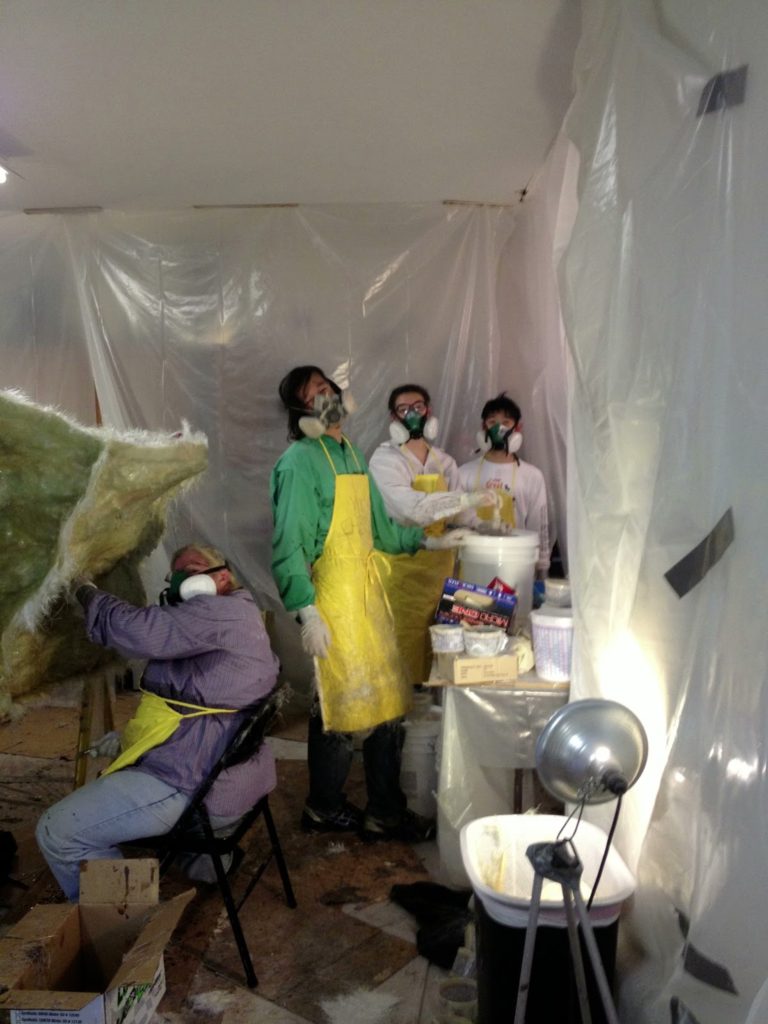

The studio is coated in plastic to protect from fiberglass fibers and dust.

All Night Long!
We are burning the midnight oil, and someways working All night long. Five interns are on call. Just to be able to finish the tiger by next week so that we can bring the molds to the foundry in New Mexico. More updates soon.
Moved Out of The Warehouse And Skinned A Tiger
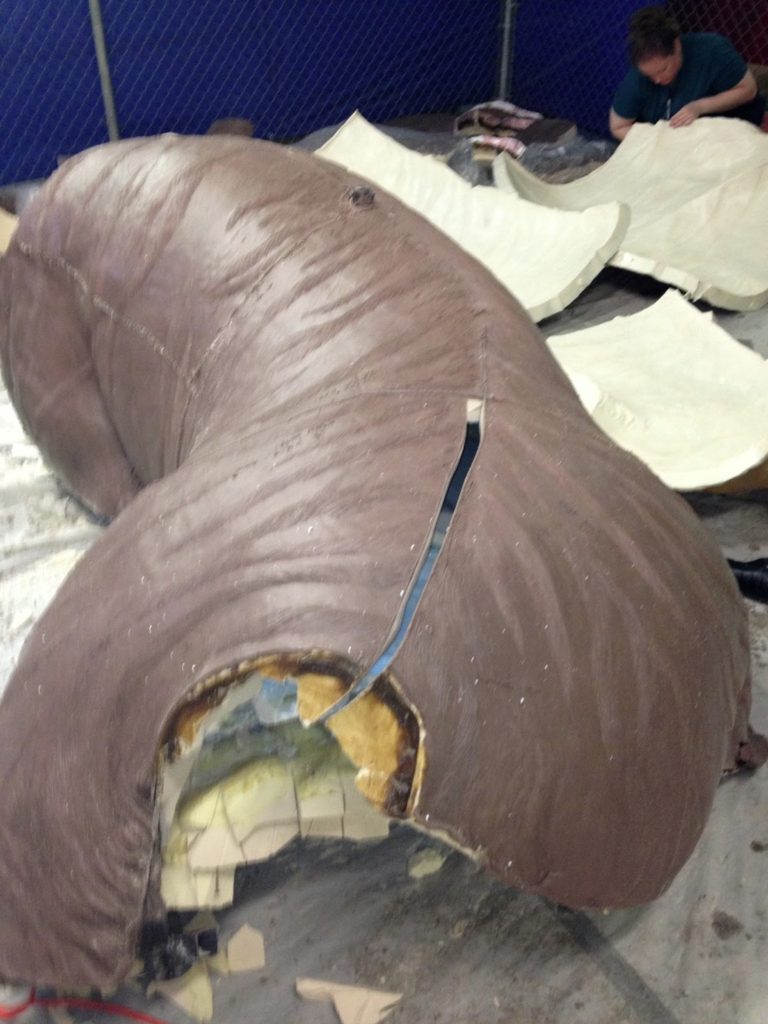
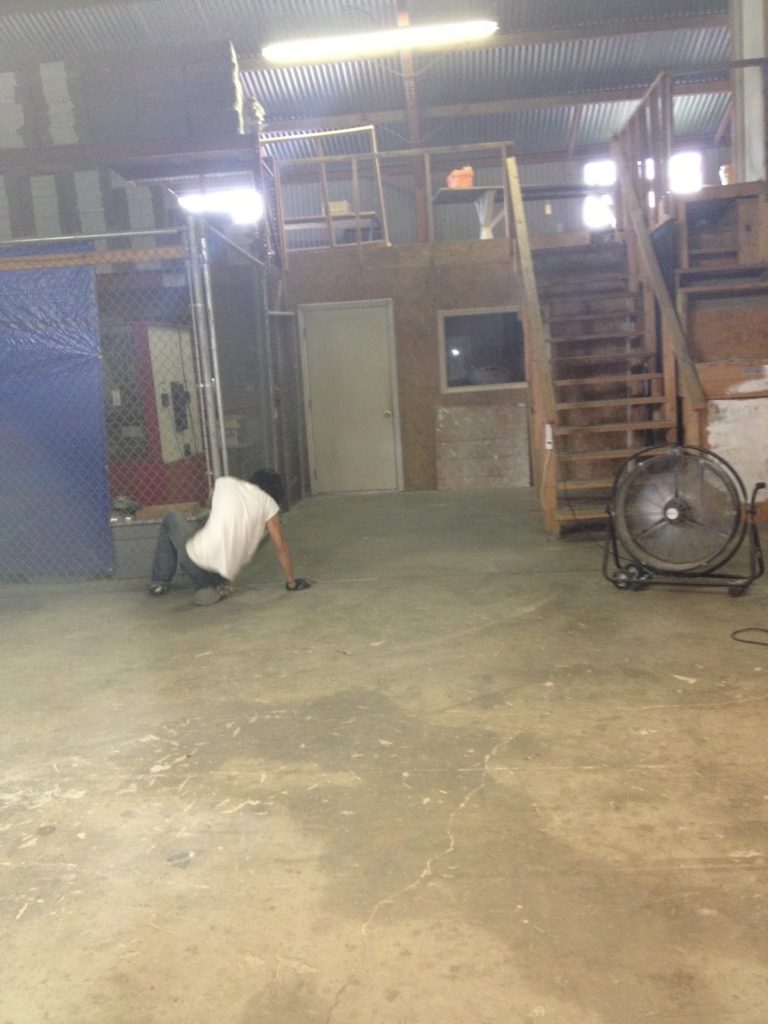
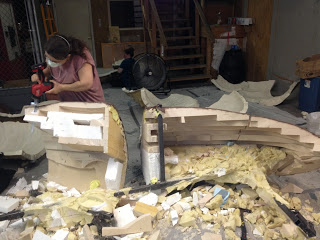
We had all of the torso molds at the warehouse and the torso was still there as well. We literally had to skin the tiger. We separated the foam pieces from the armature and brought everything back to the studio. These will be saved until the foundry confirms they have metal.
Dental Work
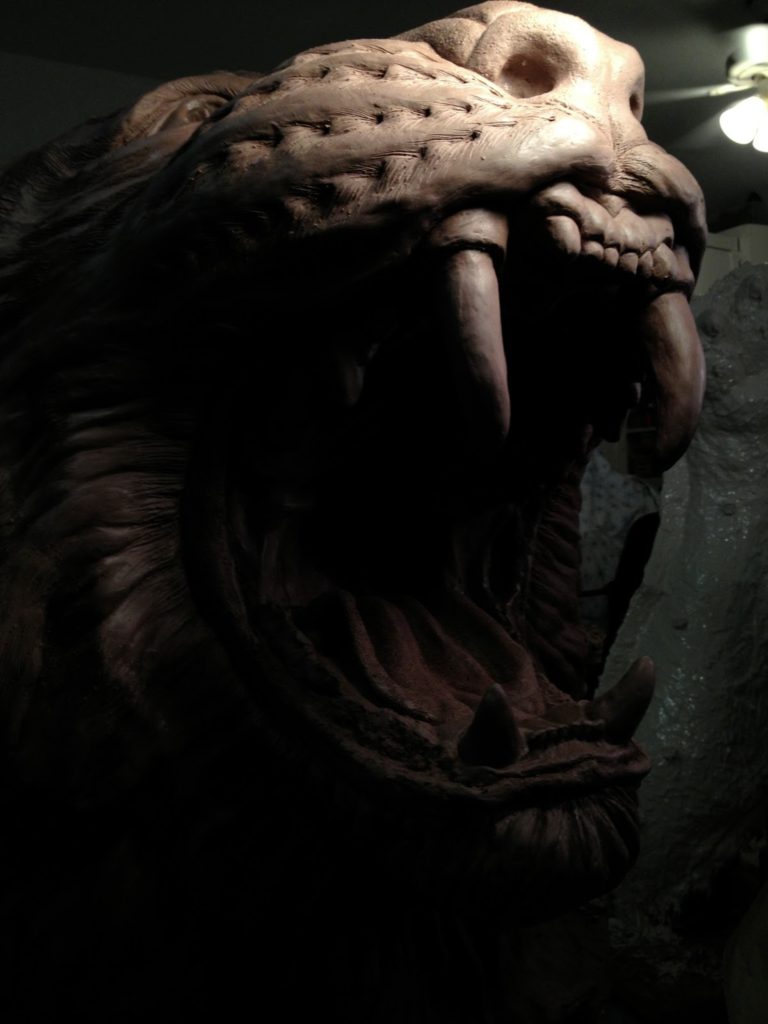
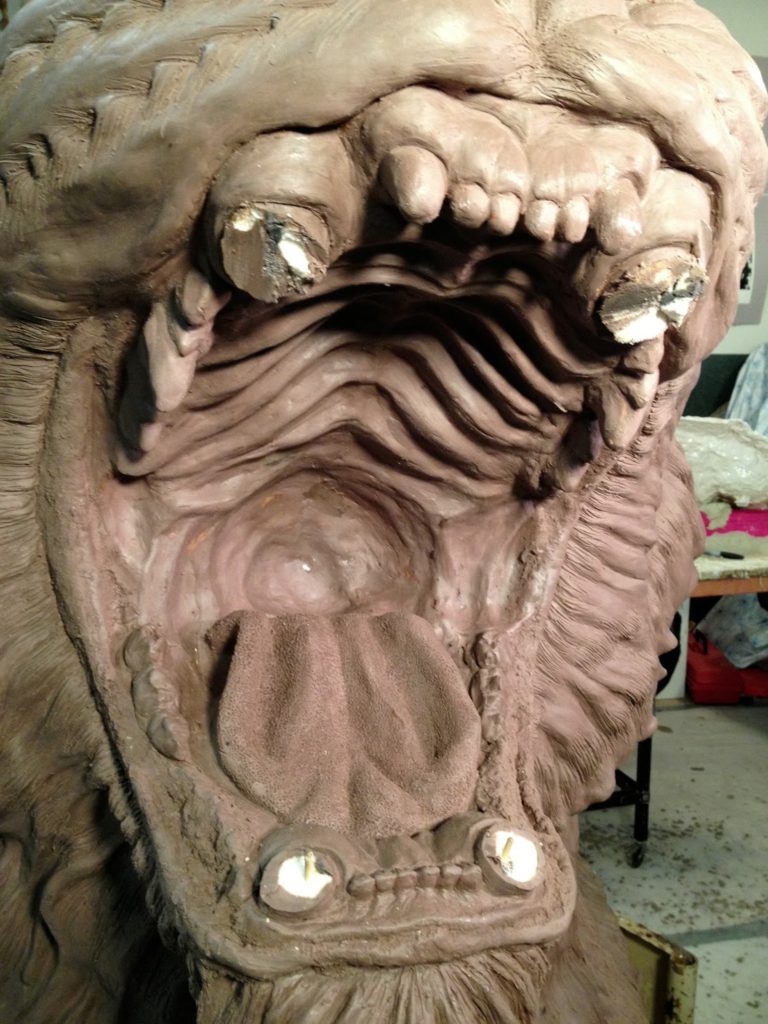
Each of the pieces that make up the entire tiger, must be looked over, cleaned up and modified for making of the molds. I have saved the head for last. I’m actually quite partial to it. Part of this “modification of mold making is some dental work. I must cut out the canines to be able to get a better mold. It is a sacrifice, and in the long run, the only way this thing can come together as a bronze.
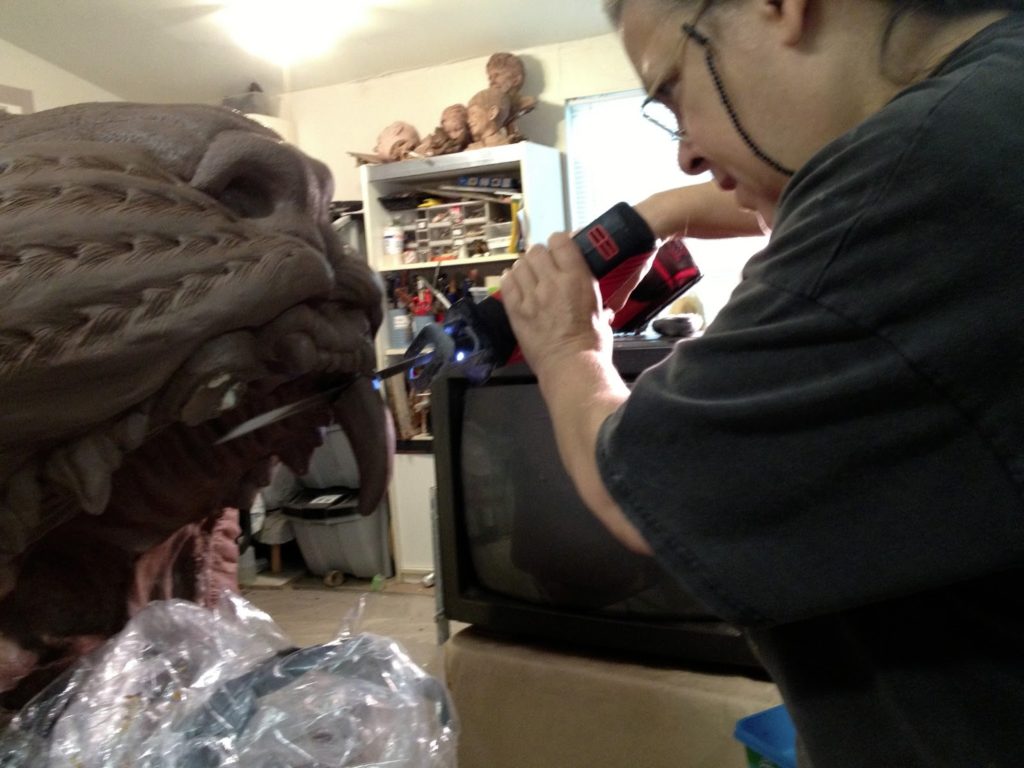
so a reciprocating saw is required.
Hard At Work In The Heat
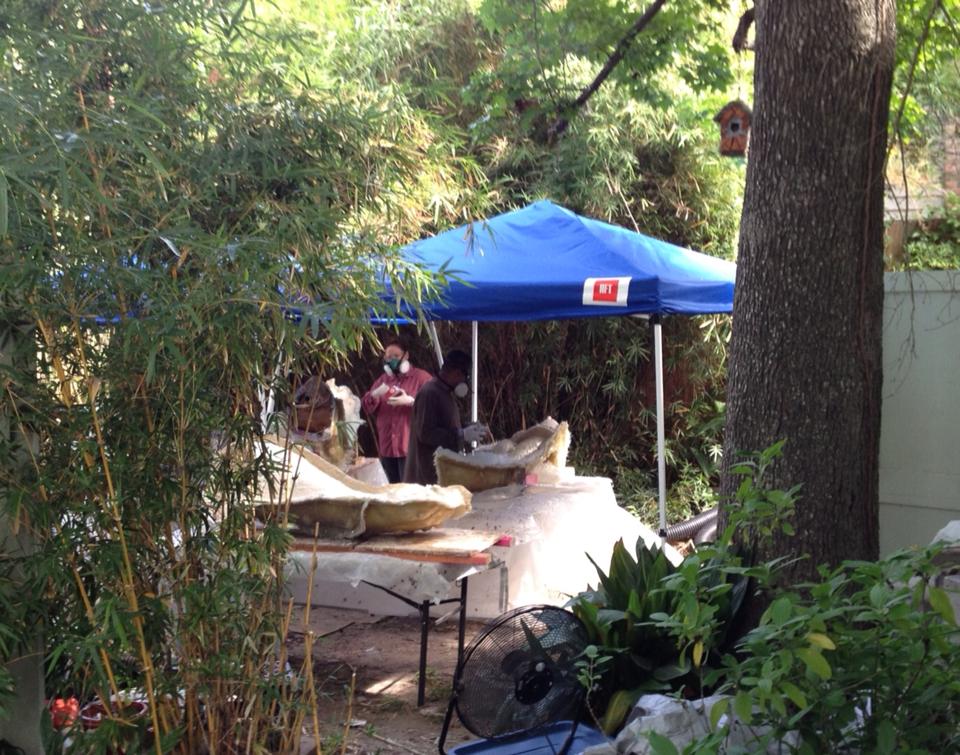
home studio. It is good to be working back home on resin
I much prefer doing this in the fresh air instead of an
enclosed warehouse.
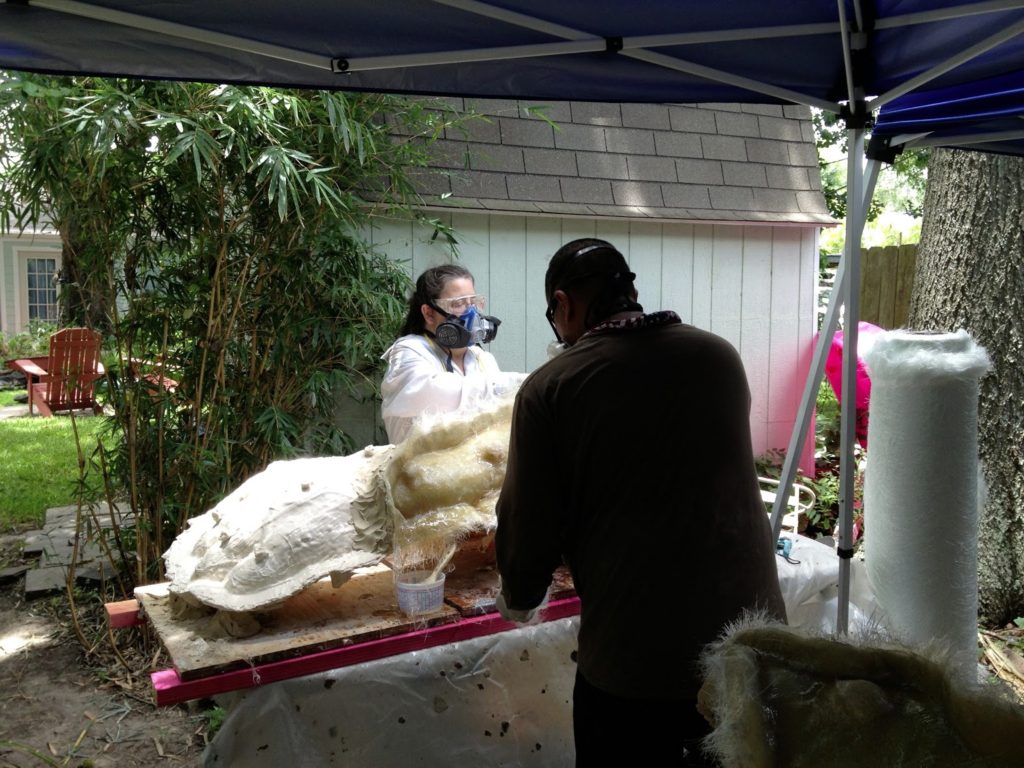
Though all of the remaining pieces have been moved to the studio we are still working very hard, and very long days. Remember this is a part of the foundry process that I do at my home studio. You could say that we are about 1/2 way through this process and 1/4 of the way through the entire foundry process.
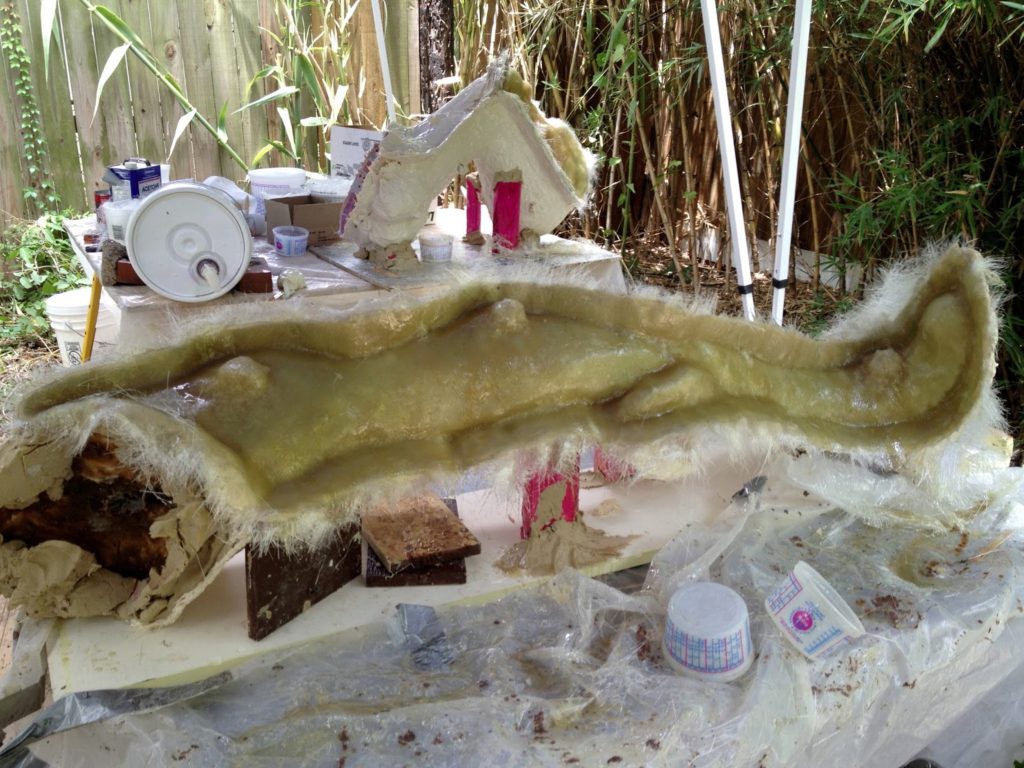
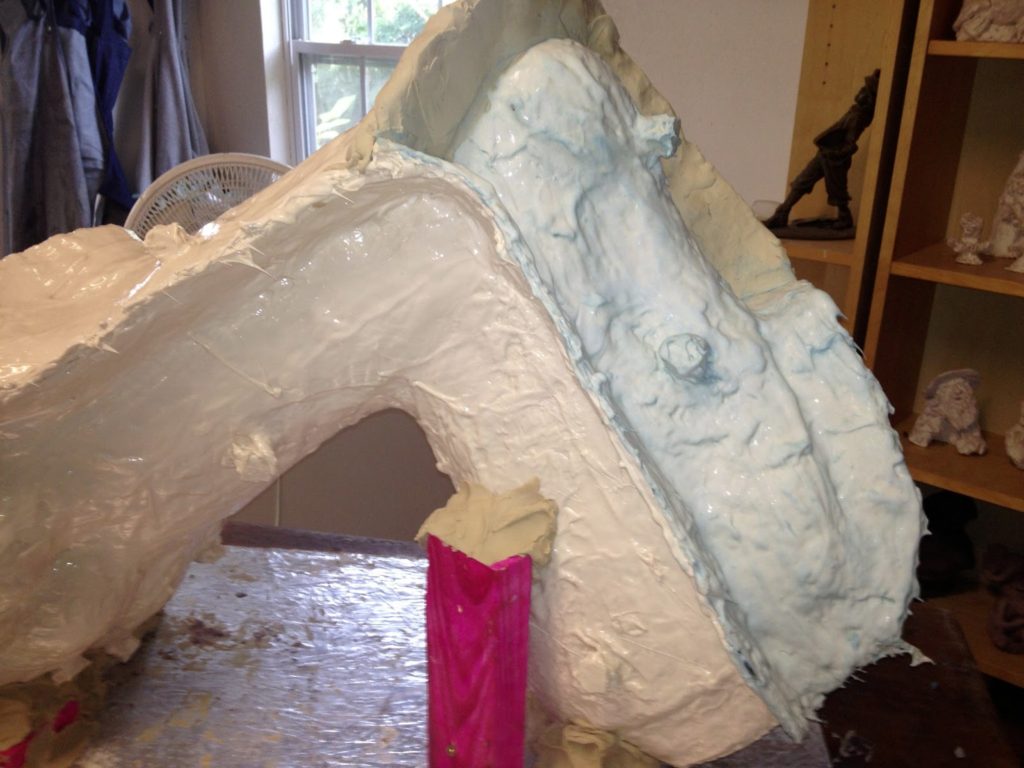
multiple part mother mold in fiberglass.
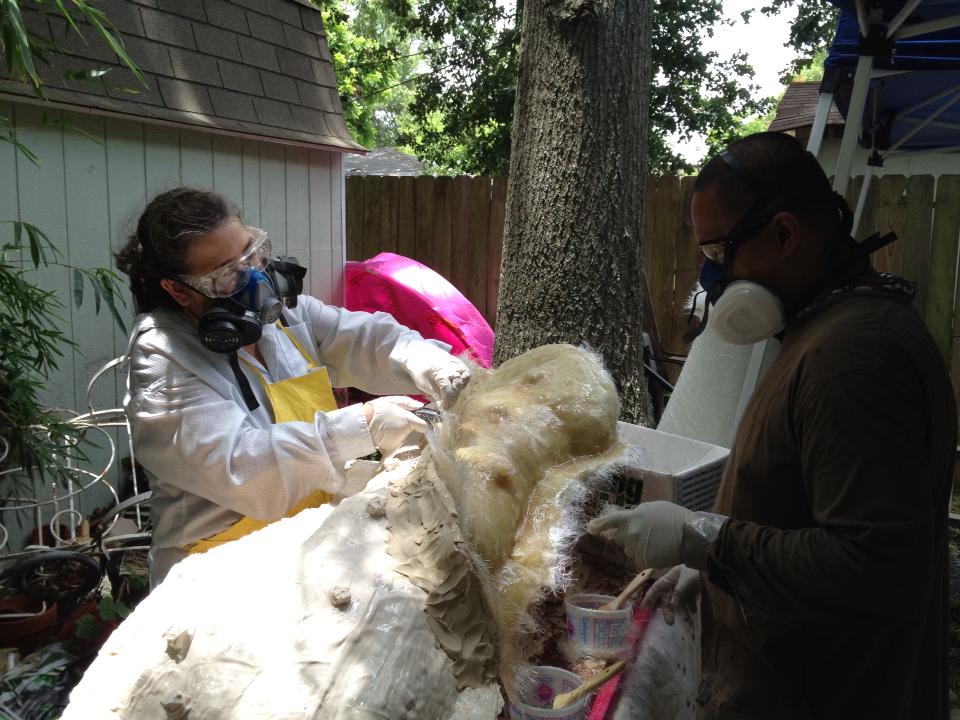
to each of the pieces that are covered in rubber.
A Photo Opportunity
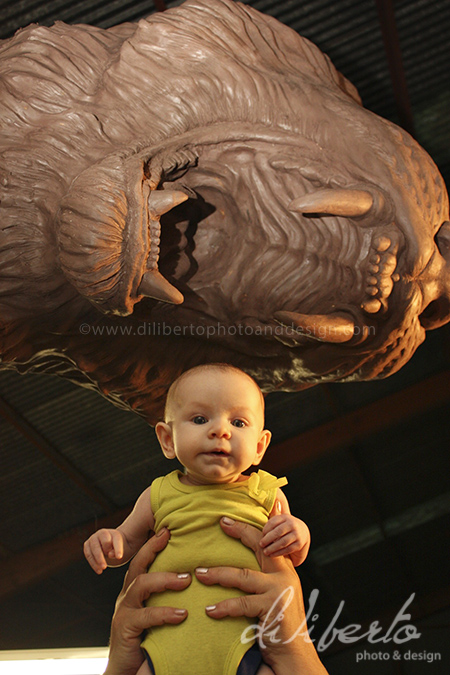
If the baby continues to cry sacrifices must be made!
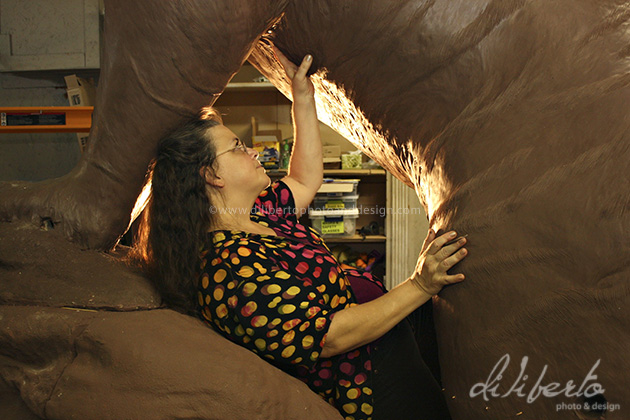
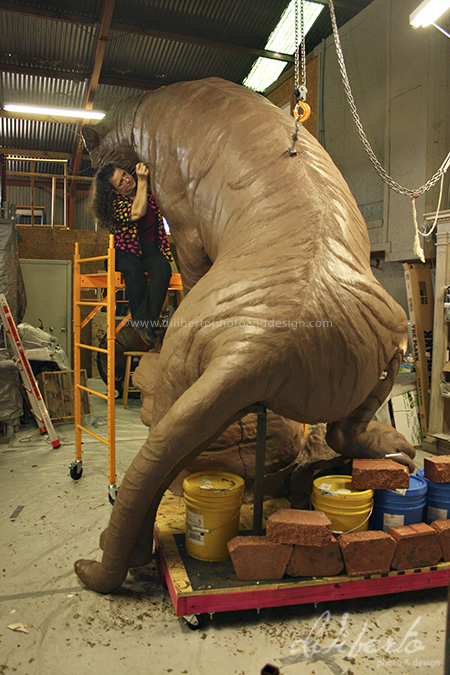
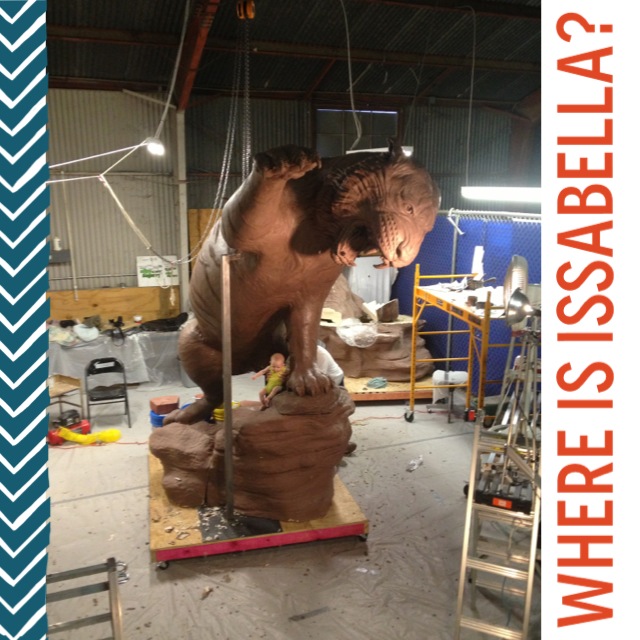
For those of you who may not know. My daughter Christina Sizemore is my photographer. However, as past posts have shown, she has just had a baby. I am so thrilled that she had the initiative and forethought to set up a time, before we took the sculpture apart, to take photographs of me with the sculpture. The warehouse was hot and her newborn baby was with a friend in another part of the warehouse crying her little eyes out. But we got the shot. Thanks Christina and Diliberto Photo and Design. If your interested in reading her blog post on the event you can find it on her blog.
tiger was up here, but we have worked
so hard it feels like much longer.
Introducing A Grambling Intern
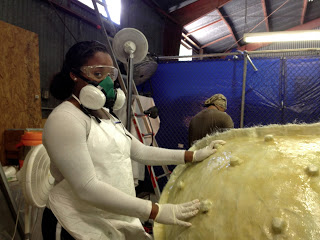
I was glad when I heard that Grambling State University let their students know that I would love to have interns help on this project that are students of Grambling. How incredible to be a part of creating this mascot. As my husband says, “These bronzes will be around long after we have left the earth, and even after our children and their children have left the earth.” So, working on the tiger is not only an incredible way to show how you feel about Grambling State University, but also it is a way to put you mark into something that will be here forever.
Only one student called about interning at B. Mongeon Sculpture Studios. I suppose it is difficult for many because I am in Houston, Texas. It has been a pleasure to have Joiya Smith here in the studio. She is a trooper, for she came at a time when the Tiger was already cut to pieces. She is doing the hard grunt work of helping with rubber and resin. But there are no complaints. Instead of me telling you about Joiya, here is a bit of information about her in her own words.
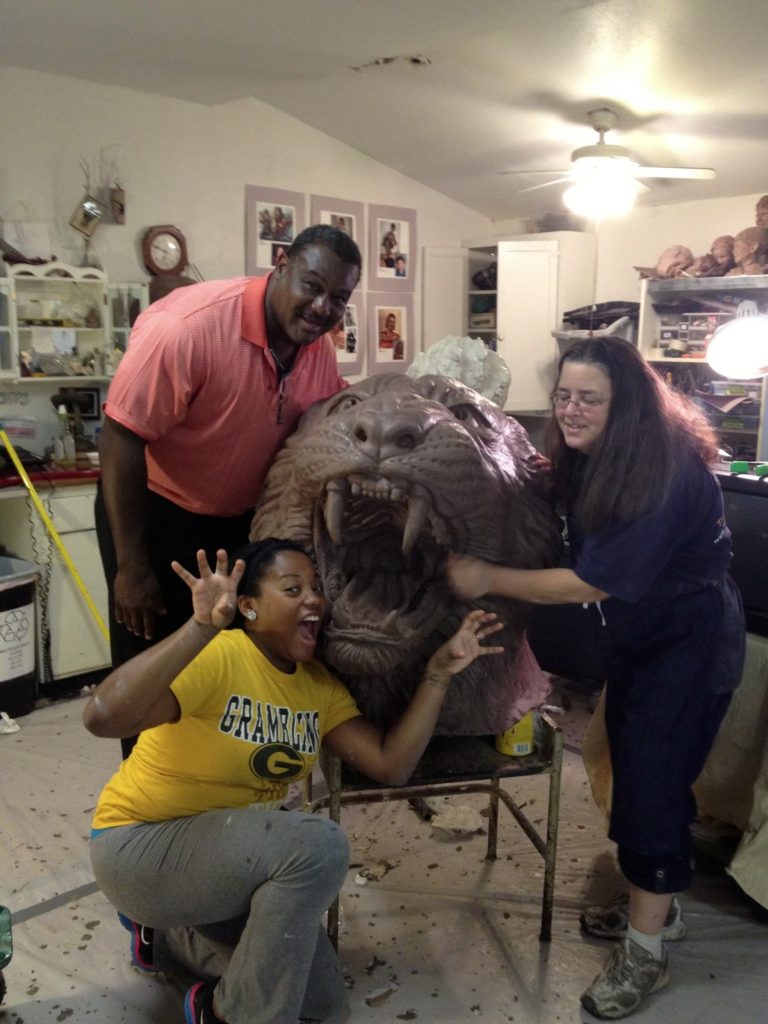
Hello Blog, my name is Joiya Smith from Bogalusa, La. I am a third generation of Grambling Tigers on my mother’s side and a second generation Tiger on my father’s side. My late maternal grandmother Hannah Adams and my mother Veronica Adams-Smith attended Grambling. Then my Father Robert Smith, Uncle David Smith, and other Uncle Sean Smith also attended the same university. Now I am currently here with my sister Chelsea Smith and best friends La’Derricka Morris and Sara brown. I often get asked the question “Out of all the places you have been and moved to, why did you choose Grambling?” My response is usually “ I chose Grambling because I was actually born here and then I moved away in third grade, but I knew I wanted to return home. With my father being a coach, I used to love going to the games and being around all the people, and admiring the greeks and queens. I liked it so much that I returned back to the best Historically Black College and University!”
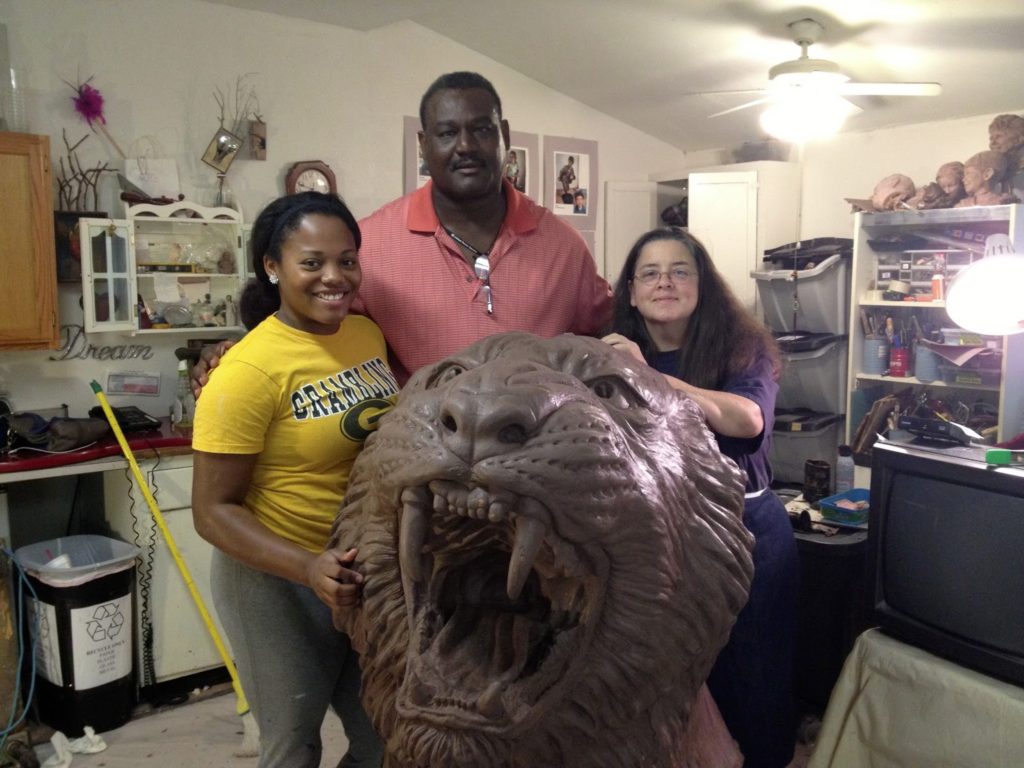
My freshmen year back in Grambling, La has been a learning experience. I have maintained a 3.51 GPA on President’s list , joined Alpha Gamma Art Guild, The Society of Distinguished Black Women, Favrot Student Union Board, and will be serving as 2013-2014 Miss Sophomore. At the last convocation for the school year, Dr. Stacy Duhon announced about the intern to work on the school’s tiger. As an art student majoring in Digital Arts and Mass Communication, I thought it would be a perfect opportunity for me to take advantage of. So then I looked up Mrs. Bridgette’s Facebook and sent her a message. She replied with a very embracing email, with her phone number and more contact info.
I open mindedly went into the situation, I told myself whether I like it or not, I will not quit. But then the longer I stuck with it and the more days I went, I started valuing it more and more. Mrs. Bridgette told me, “it’s funny how everyone else on the campus might look at it as just a tiger, but you will see it for soooo much more.” And she is so right, I thank God for this opportunity to make history by making a tiger that will be there for a VERY LONG time. It’s great that I will be able to tell someone that I made that. The tiger is a literal and a symbolism meaning of pride. I take so much pride in the things I love, and I love my school. As I continue to my summer days working on this tiger I will continuing learning and embracing this experience!

