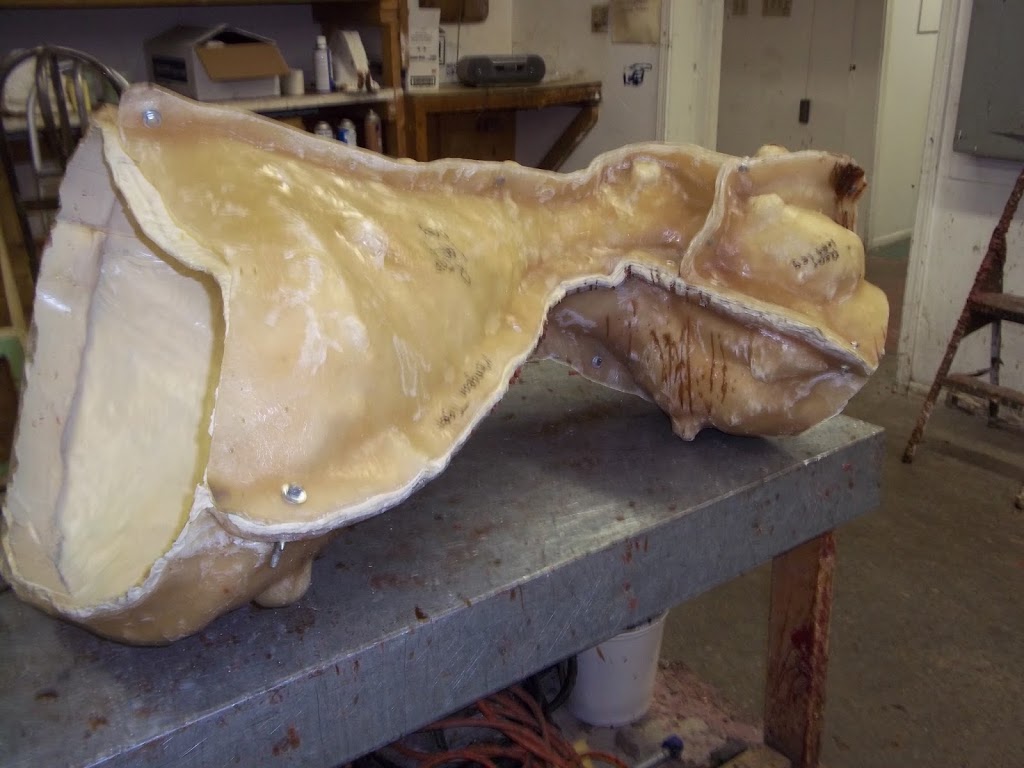
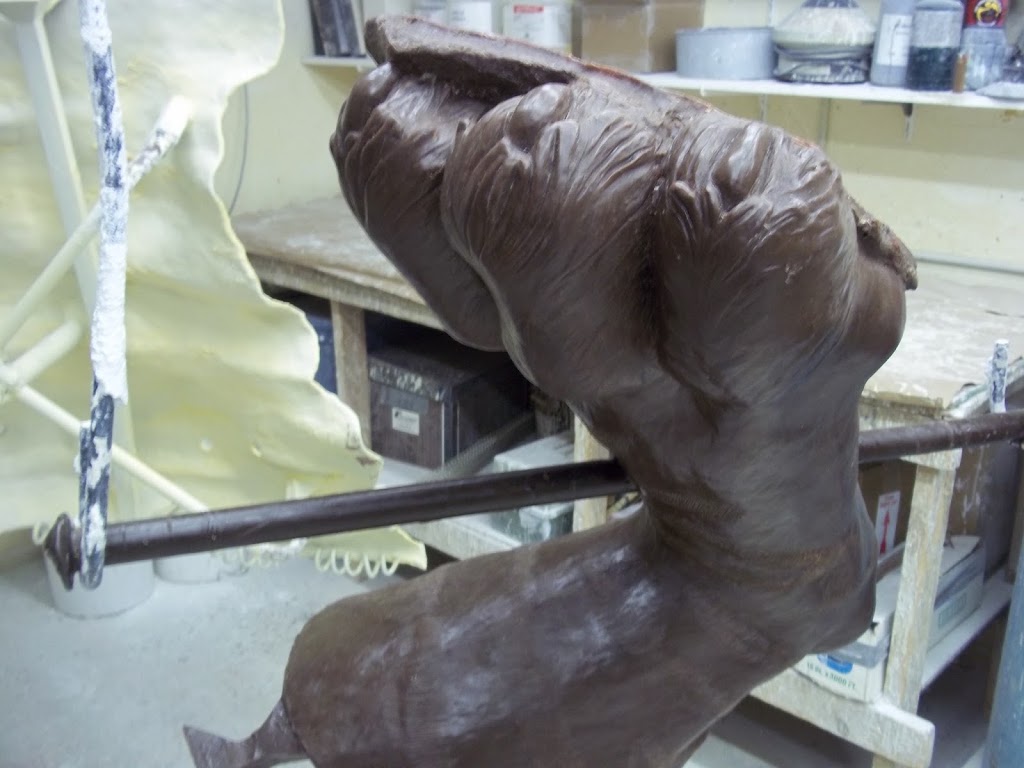
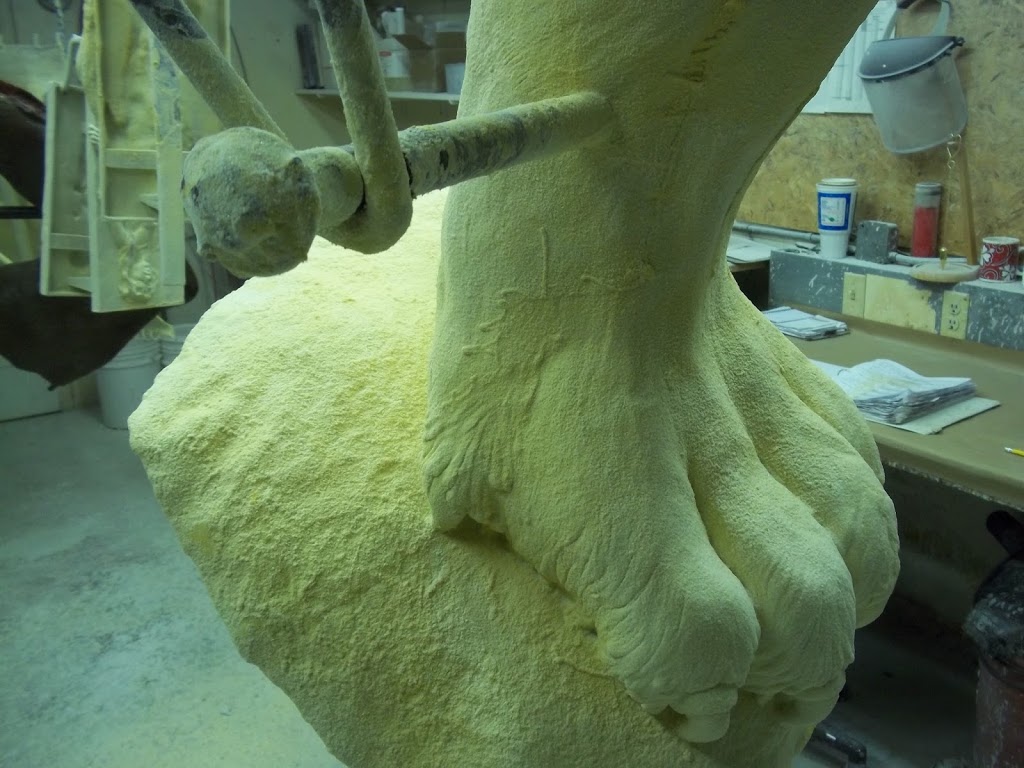
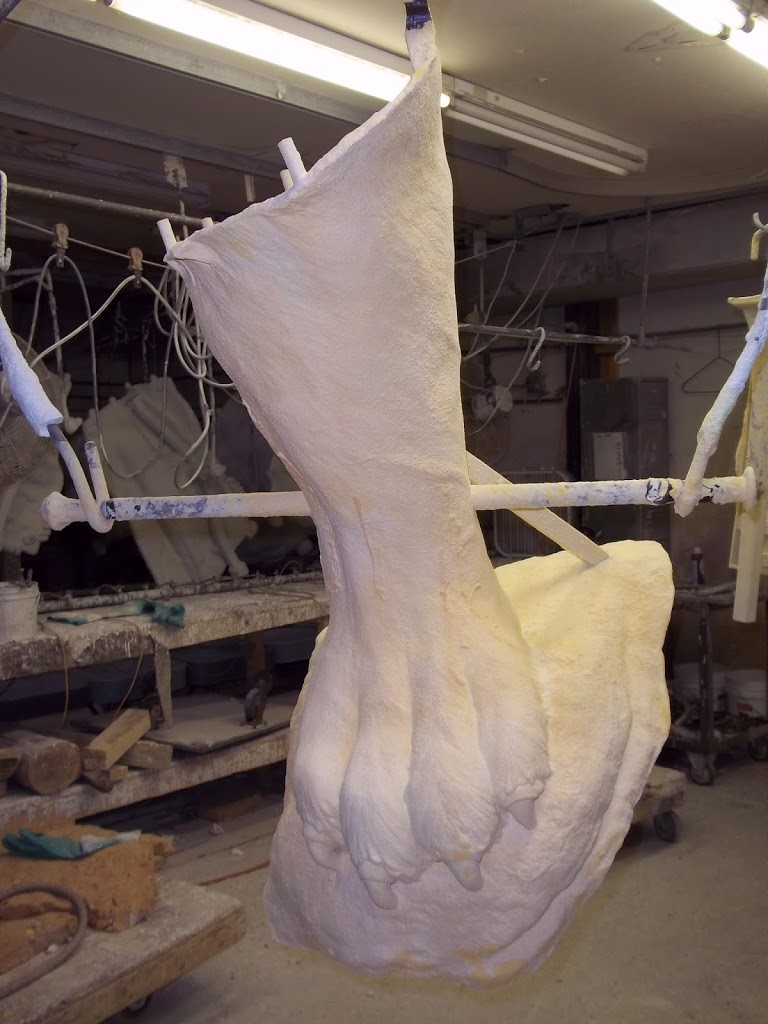
Removing The Ceramic Shell From The Tiger Head
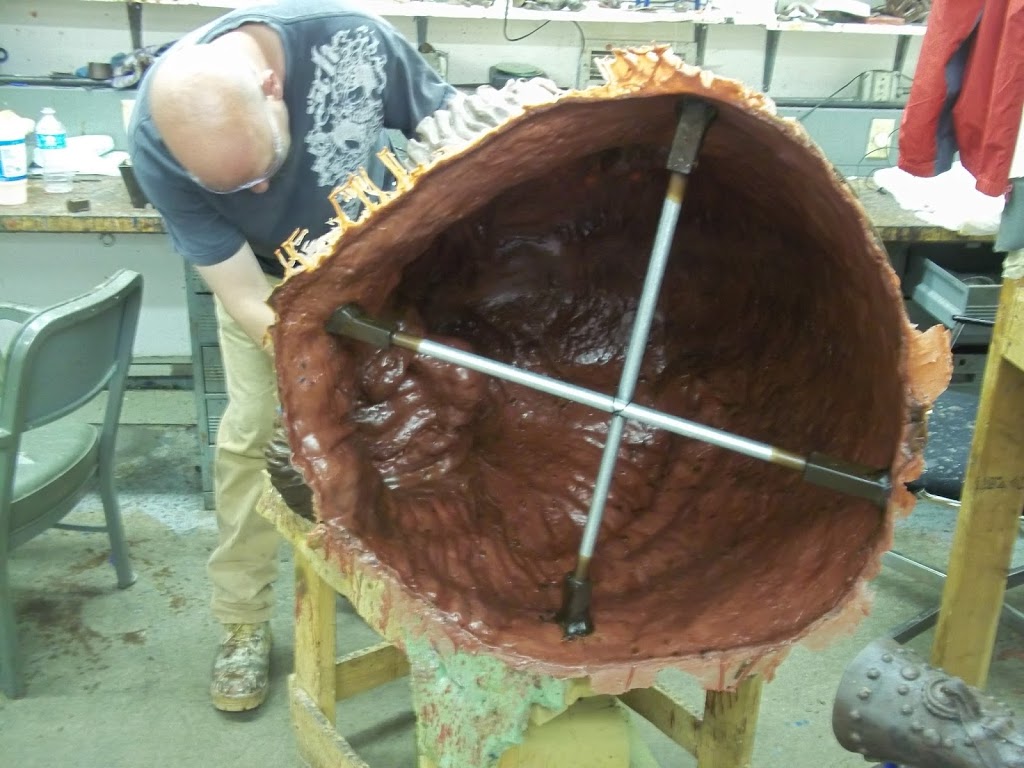
In the post we saw some the process of pouring the head of the tiger. Now that the head is poured, the ceramic shell must be broken off of the metal. This is called divesting. I asked the foundry to take a movie of this part. It looks brutal, but it is important. If you watch the entire thing be sure to look at the how they also much take the shell of the inside the sculpture.
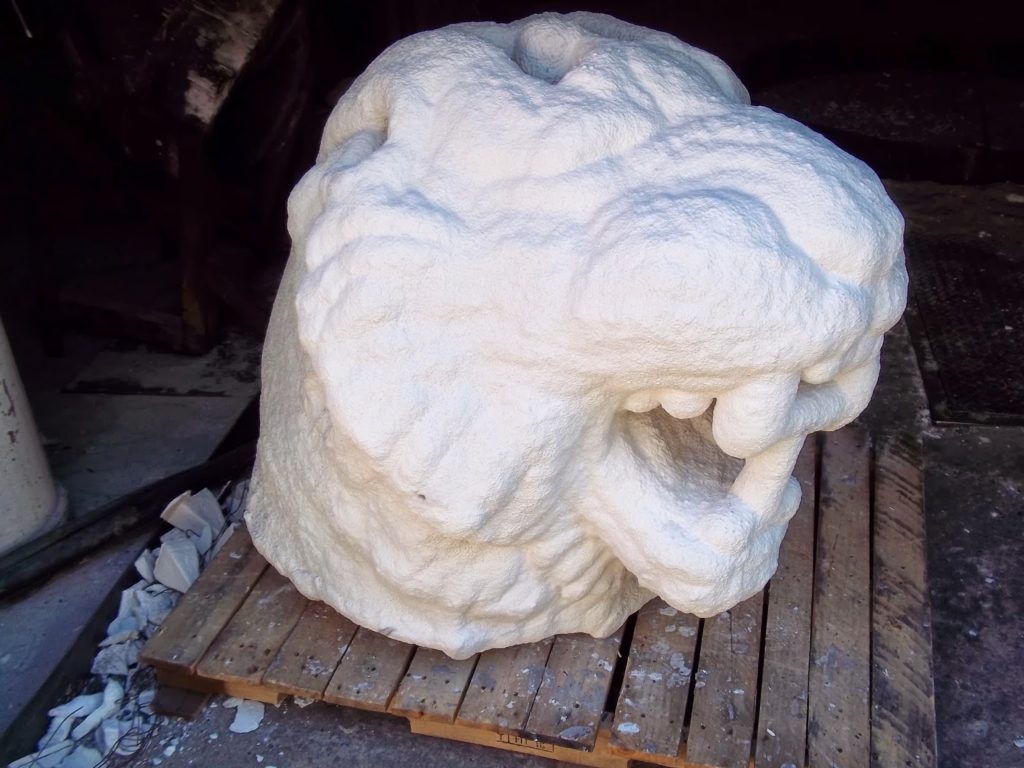
The second part of this video shows them taking the metal spurs off of the sculpture. I especially like the look of this video. Seeing the light from the torch shine through the holes in the sculpture.
Now, this piece will need to be sandblasted to get all of the ceramic shell off of the metal.
Taming The Beast: A Lecture On Fine Art, Craft And Technology
Taming the Beast: A Lecture on Fine Art, Craft and Technology
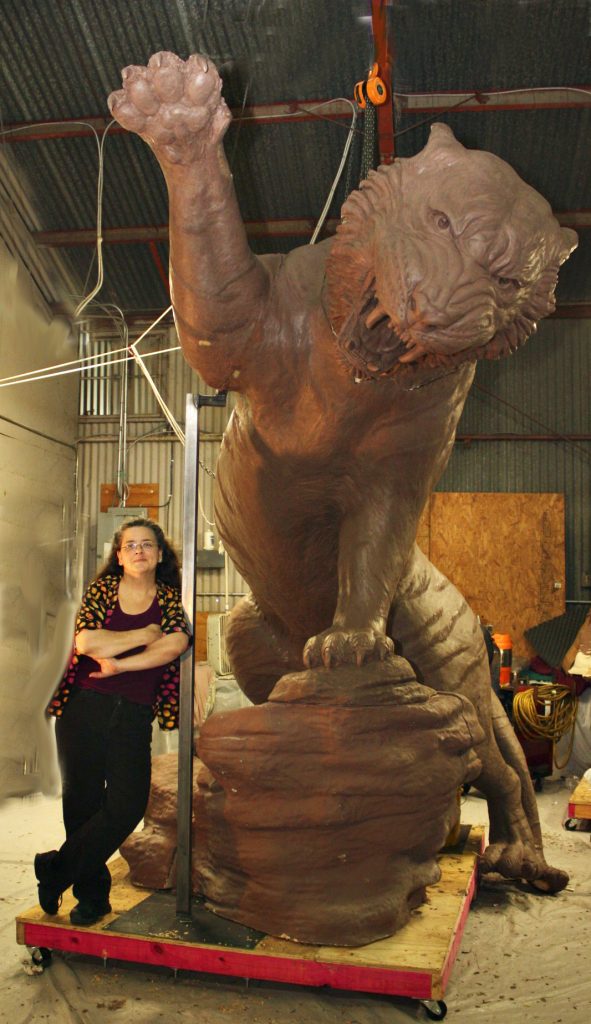
Sculptor Bridgette Mongeon will be presenting a lecture on incorporating digital technology in traditional art and craft on Saturday, November 16, 2013 at 10:00 at Shidoni Foundry, 1508 Bishops Lodge Road, Tesuque, NM 87574.
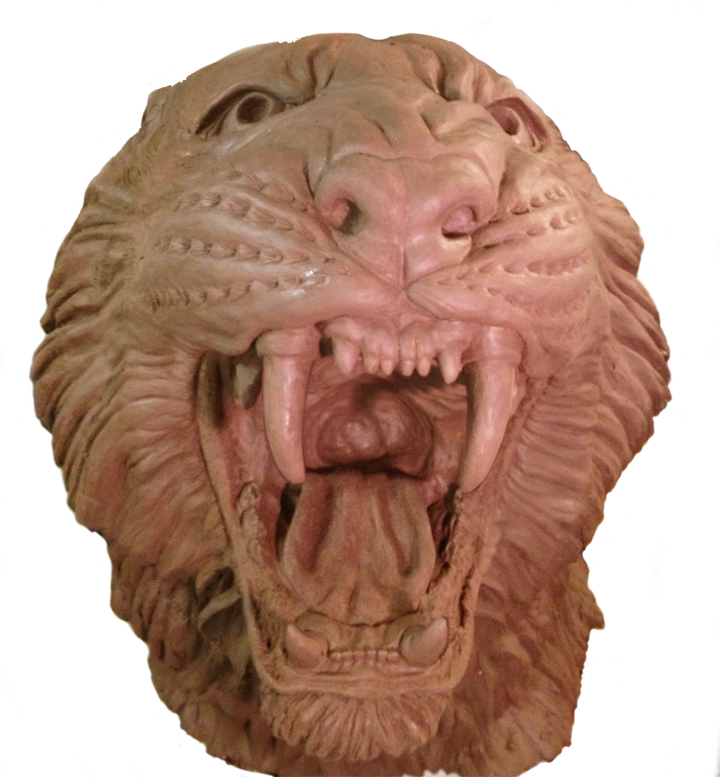
Digital Sculpting, CNC milling, and 3D printing, combined with traditional sculpture, is the way that Bridgette tamed the 15’ tiger that she sculpted for Grambling State University. Shidoni Foundry in Santa Fe, NM is casting the beast!
Bridgette will be discussing the technology, her process and how others are combining the technology in art, craft and science. The creative event will culminate with a viewing of the completed bronze tiger and a demonstration of a Shidoni bronze pour. Space is limited. To reserve space for Taming the Beast contact Shidoni Foundry office, 505-988-8001 ex 114
About the Artist
Houston, Texas sculptor, Bridgette Mongeon, is a traditional figurative sculptor of over 30 years. Bridgette began to incorporate digital technology in her work in 2008 and coauthored the book Digital Sculpting with Mudbox: Essential Tools and Techniques for Artists. Writing and lecturing about; art, marketing in the arts, creativity, and digital technology, gives her great pleasure. Bridgette holds a BA from Vermont College and an MFA from Goddard. She is presently working on a new book about 3D technology in art and craft.
_____________________________________________

Bridgette Mongeon is a sculptor, writer, illustrator and educator as well as a public speaker.
Her blog can be found at https://creativesculpture.com.
She is the vice chair of the planning committee for 3DCAMP Houston 2012 and 2013 http://www.3dcamphouston.com
Follow the artists on twitter twitter.com/Sculptorwriter
3D Technology in Art and Craft – A Question- 3D Printing in Color
I’m working on a new book that details 3D technology in Art and Craft. It will describe how to create art using such things as 3D printing, 3D scanning, 3D sculpting and 3D milling. It will show how to combine these technologies with traditional art and craft. It will also contain interviews with businesses and artists to discuss their processes. Finally it will be a one stop book that features vendors and other resources.
I’m culling through my many years of research and writing on this topic. I studied 3D technology as it is combined with art as my MFA, and have written and lectured on this topic often. I’m also looking at the new technology that is coming out. In light of that, I thought I would post some of my own questions on the topic. If you have an answer to these questions please feel free to post in the comments section of the blog or drop me a line. Please cite your answers when possible. I greatly appreciate it.
3D Question- printing in color.
I’m intrigued with printing in color.
As part of the book I really want to walk the reader through creating a piece of art that uses 3D scanning and 3D printing as the art interacts with natural surroundings. I wrote about that in a previous post. I love the video created by Greg Petchovsky who takes objects in the real world and then recreates them or adds to them in a 3D program and then prints them out using a 3Dprinter. I contacted Greg about this project, asked him how he scanned the color and what other details he could tell me about the quick projects in the video. He was kind enough to answer some questions. Here are his comments from the e mail

had my prints done by Shapeways, they used ZCorp 3d printers.
The material isn’t waterproof, it will warp and develop white discoloration if exposed to water. I haven’t left 3d prints outside for a long period of time, so I’m unsure how long they would hold up.
I set up the scale in 3ds Max. I just used calipers to measure the object, but in future I’m thinking I’d include a wooden ruler in the scan.
I don’t think I’d use masks or visibility to make meshes fit into each other. I’d try to use booleans. I haven’t experimented all that much with booleans in zbrush, but basically there’s a button over each subtool that lets you chose between additive, subtractive, or intersection. And the resulting mesh can be calculated using the “remesh all” button… though the results might be somewhat mushy. I believe similar (possibly better?) results can be achieved with dynamesh? And I guess the details could be re applied using projection.”
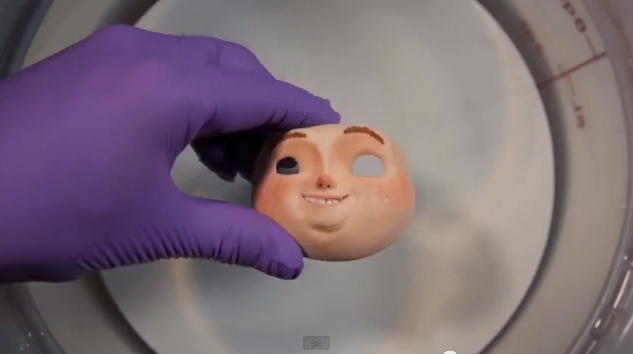
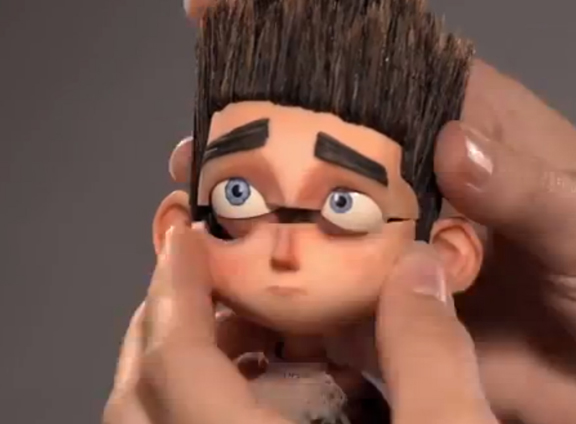
I am also intrigued with the work of Laika and how the puppeteers created the pieces for the making of the movie Paranorman. Each puppet was created using different expressions. These expressions were used with stop animation and some computer graphic work to create the film Paranorman. I’m assuming the super glue will help to strengthen the piece as well as keep it clean.
It is reported by the University of Texas at Austin Architecture school, in this article that using super glue can double the price of a 3D printed piece. I’m still not certain what the process is of “dipping” a piece in super glue/acetone. Seems like it would make a mess and be very difficult to handle. I can’t believe no one has figure out another way to harden these materials. Also, it looks like none of these things printed in color can be used outdoors, so I may have to modify my example for the book to use drift wood instead.
I contacted one of my go -to people on 3D printing Paul Cesak, who just happens to also be the guy that started the 3D printing group on linkedin. The 3D printing group is growing by leaps and bounds. He replies “only with 3D Systems can a 3D print have the full spectrum of color. The downside of that is that it is printed on plaster, is very fragile, and has the texture of sand. Indeed small details are either not printed or are lost in the post-processing.”
I contacted one of my go -to people on 3D printing Paul Cesak, who just happens to also be the guy that started the 3D printing group on linkedin. The 3D printing group is growing by leaps and bounds. He replies “only with 3D Systems can a 3D print have the full spectrum of color. The downside of that is that it is printed on plaster, is very fragile, and has the texture of sand. Indeed small details are either not printed or are lost in the post-processing.”
Another artist that I will be interviewing for the book is Eric Van Straaten. This video shows his work being created. I’m not sure he uses anything to strengthen his pieces. I’ll let you know after we talk for the book.
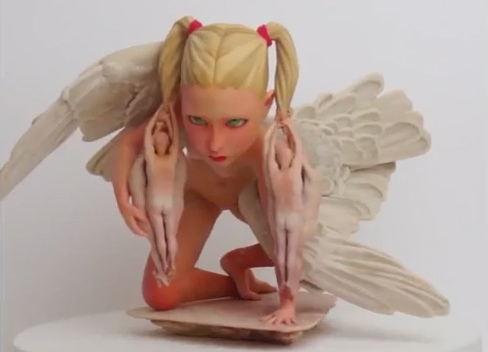
I have many questions.
QUESTION: how does an STL translate color? I though STL files did not have color?
QUESTION: What 3D printers can print in color?
QUESTION: If this is done through SLS printing, how does the laser depict color? ( I’m wondering if this can be explained simply)
QUESTION: is there nothing else that can strengthen the pieces using this type of 3D printing?
_____________________________________________
Bridgette Mongeon is a sculptor, writer, illustrator and educator as well as a public speaker.
Her blog can be found at https://creativesculpture.com.
She is the vice chair of the planning committee for 3DCAMP Houston 2012 and 2013 http://www.3dcamphouston.com
Follow the artists on twitter twitter.com/Sculptorwriter
That Is One Hot Tiger! Pouring The Tiger Head
I could not wait to show you all this video. Here is a spectacular video of the pouring of the tiger head that was provided to me by Shidoni Art Foundry in New Mexico. They report that the tiger is coming along. This is the last piece to be cast in metal and has you have seen by previous posts it is coming along nicely. We will not have it there for homecoming, but will be delivering it later in November. I can’t wait to see it all together. More news later. Until then check out the pouring of the Tiger head.
VIDEO NOT AVAILABLE ON THIS PAGE- IT does show up on the Grambling blog page.
Rocking Out! Putting Together The Tiger Sculpture In Metal
There is still much to do with the tiger. If you have been reading this blog you have found that the process of creating a mascot is quite laborious. Here is the process with links, once again. Note: there are a lot of other posts of the process in between all of these links below.
- The First blog post –The beginning June 1, 2012 The blog begins.
- Design process June 17th – The designing and working on project begins long before the actually sculpting.
- Approval process January 23rd- Approvals and final paper work is received by client.
- Enlargement of Design January 23rd – The enlargement of the sculpture is being made into foam for us to sculpt on. Meanwhile we search for a warehouse to hold this big creature.
- Foam Armature arrives in Houston. The CNC milled foam gives us an armature to sculpt on and arrives in Houston in March
- Approval of Sculpture May 27th post. Which means we have sculpted this huge cat in 2 months! this would never be able to be done without the digital technology of CNC milling to enlarge the foam pieces. It is a huge accomplishment. There were many interns who worked endless long hours.
- Mold making The sculpture comes a part and we begin the first part of the foundry process the mold making.
- Molds shipped to Shidoni art Foundry July 27th They will finish the foundry process.
- Wax and Sprues or gates Beginning in August the Foundry makes waxes from the molds.
- Pouring of metal- The pouring of metal happens each weekend at Shidoni art Foundry.
This is what we have accomplished thus far. In the next few weeks the last steps will take place
- Welding
- Patination
- Delivery
- Installation
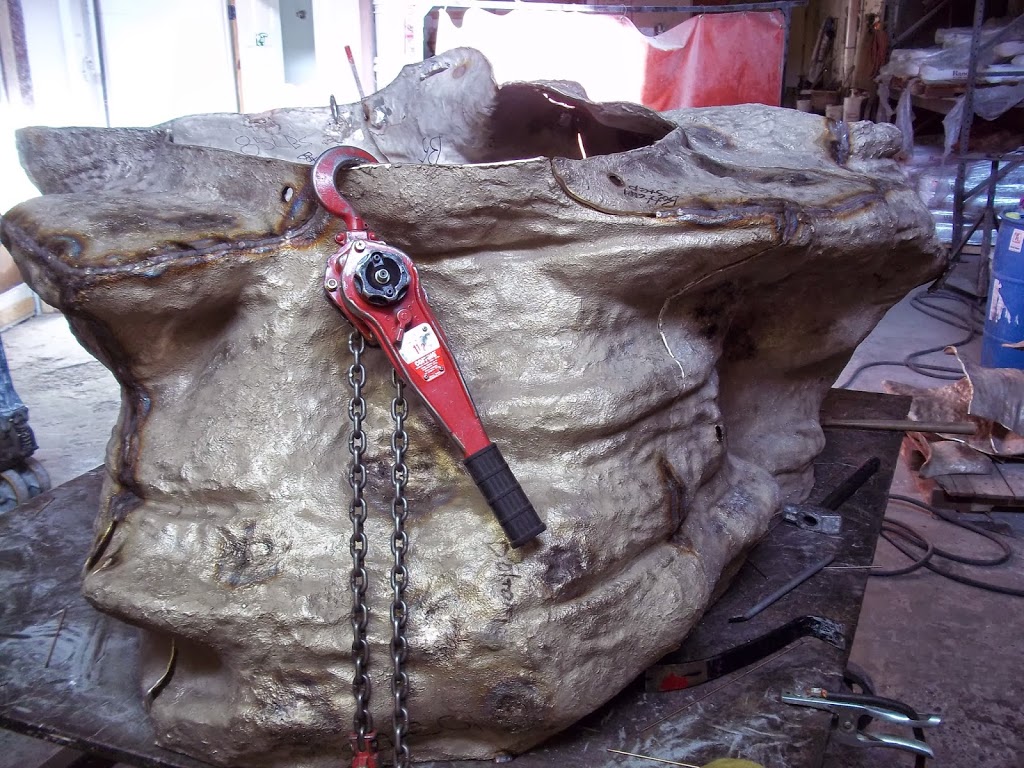
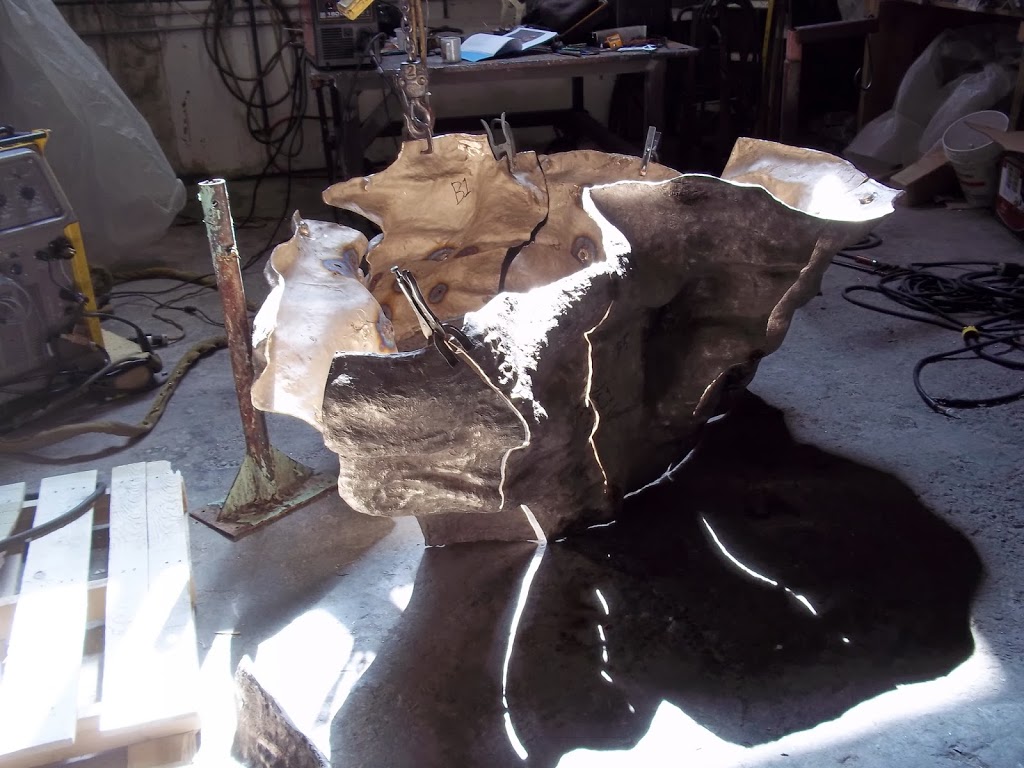
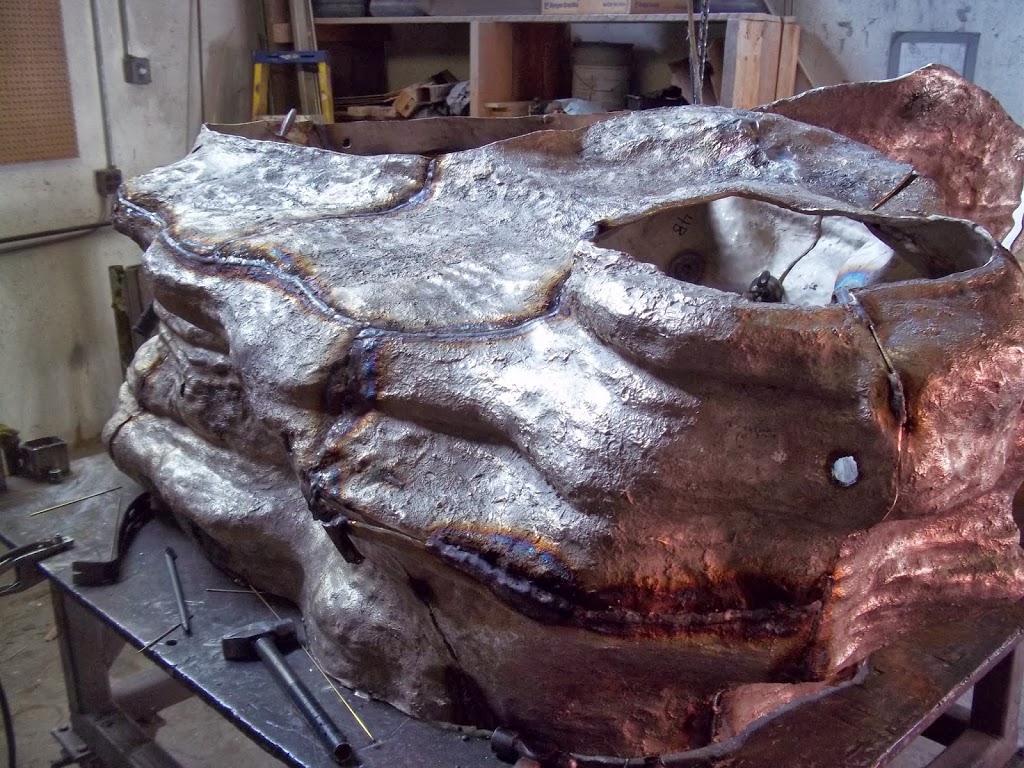
Here you can see that the many, many bronze pieces that are poured are now welded together.
Update
Someone pointed out to me today that this blog has not been updated in over a month.
I’m so sorry.
What I have been up to.
While Shidoni Foundry has been busy working on the tiger, I have been very busy with my own creative endeavors. For the last few months I have been putting together 3DCAMP Houston. 3DCAMP Houston. is a day long symposium on everything 3D. It crosses disciplines such as oil and gas, engineering, computer graphics and others. It is also used with my own passion- art. I am co chair of 3DCAMP Houston which was a marvelous success held at the University of Houston Architectural Department. It was a huge undertaking, I was also a speaker. My lecture was on Copyrights, Ethics and Responsibilities of 3D. I have been writing a book about 3D technology and fine art and craft and this lectures is from of my chapters.
I’m also happy to report that the Grambling Tiger head was displayed in the art gallery at 3DCAMP Houston. The art could be displayed because the show consisted of art that was created using some form of 3D technology. As you know by reading this blog, the tiger was first sculpted in the computer and then later it was CNC milled as it was enlarged, and then clay was added.
The Tiger update
I have spoken to both Grambling and Shidoni Foundry it is confirmed, that the tiger will not be at homecoming. Instead, I hear there will be a separate celebration at Grambling for the installation of the tiger.
I have been waiting on some more photographs and a video from Shidoni Foundry. I can’t wait to post those. I think they will be coming any day now. The entire tiger has gone through the casting process. The last piece that I was waiting for was the head. Now they have to put this puzzle piece together, create an internal armature and give it a patination. I am scheduled to come to Shidoni Foundry around the 11th of November. I will be monitoring the tiger the entire week at Shidoni. I’m not allowed to post pictures of the entire tiger together, until after the unveiling, but I’ll be sure to post some glimpses. The tiger, at this date, is scheduled to leave Shidoni Foundry on the 18th. It will be traveling in an open bed trailer from New Mexico to Louisiana. I wonder if anyone will spot it going down the highway?
Stay tuned for more information concerning the installation and celebration of the tiger.
Getting Ahead!
The foundry is saving the best for last on the Grambling State College mascot. I am so glad to see the head finally going into wax. Of course, this is just the wax, but that means from wax it goes to bronze. I have heard that all of the many wax pieces will be through the wax department at the foundry very soon. That is a huge milestone. If you have been following the process you can see that there is a lot of work that goes into the making of a mascot for a university. The workers at Shidoni Foundry rock!
We still do not know when the tiger will be delivered.
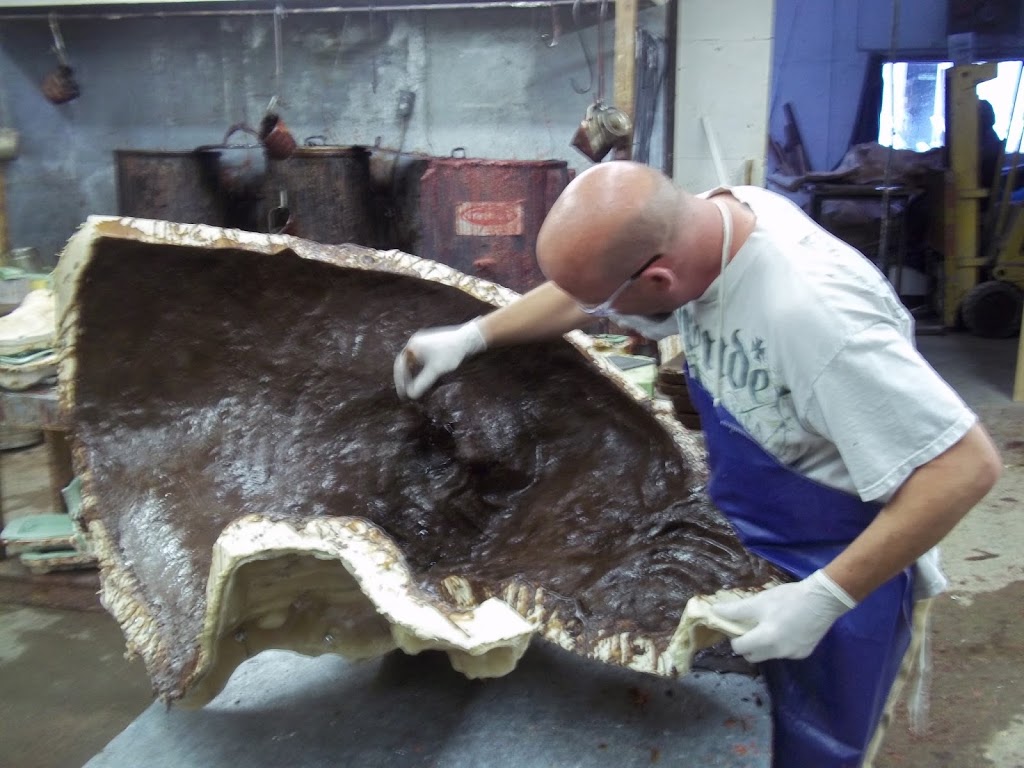
on a bronze is only as thick as the wax that is painted.
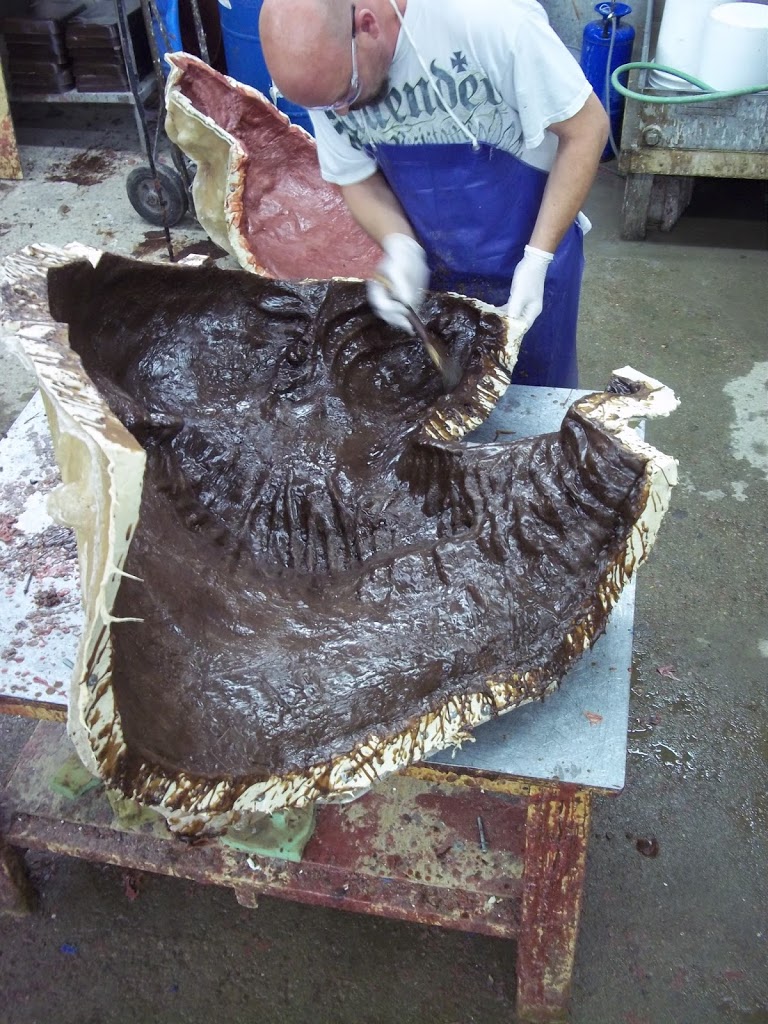
they are put together.
 |
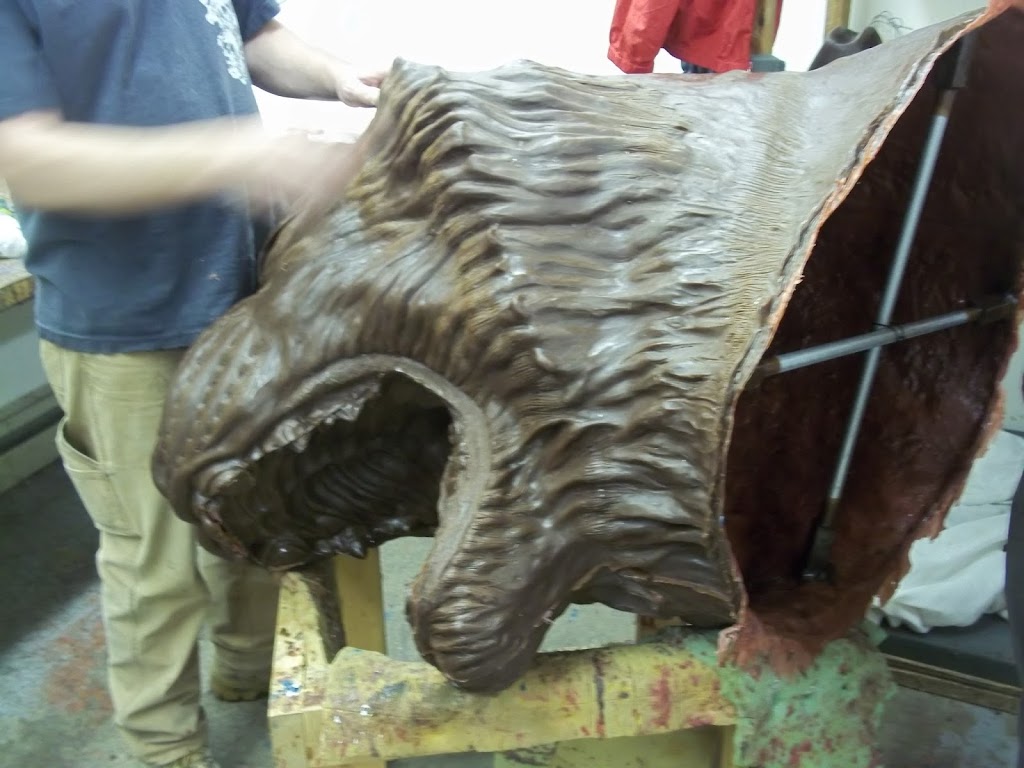
| Remember the wax head still needs a pour cup and sprues. A fangless grin from the tiger. And no ears. They are made separately and added later. |
YEA! We Have A Pour On The Grambling Tiger
The Grambling Mascot.
If you have been following the foundry process up to now, you have learned about
* The mold making that we did in May, June and July
* The waxes
* The gating up process and dip
* The burn out
and now we get to the exciting thing…. The pour.
When I dropped off the molds for the tiger at Shidoni in NM you may remember that I stayed at Bishops Lodge. I heard people at Bishops Lodge talking about the pour at Shidoni. Apparently Shidoni make this a regular Saturday event and people can come from the local hotels and watch.
A few weeks ago, I was on Facebook and heard that Susan Herndon was performing in the gardens at Shidoni. Then I saw a photo on Facebook of an empty bench with guitar and amps near by. I think the caption on the photo said, “stopping the music to see a pour.” I commented, and sure enough, it was our tiger.
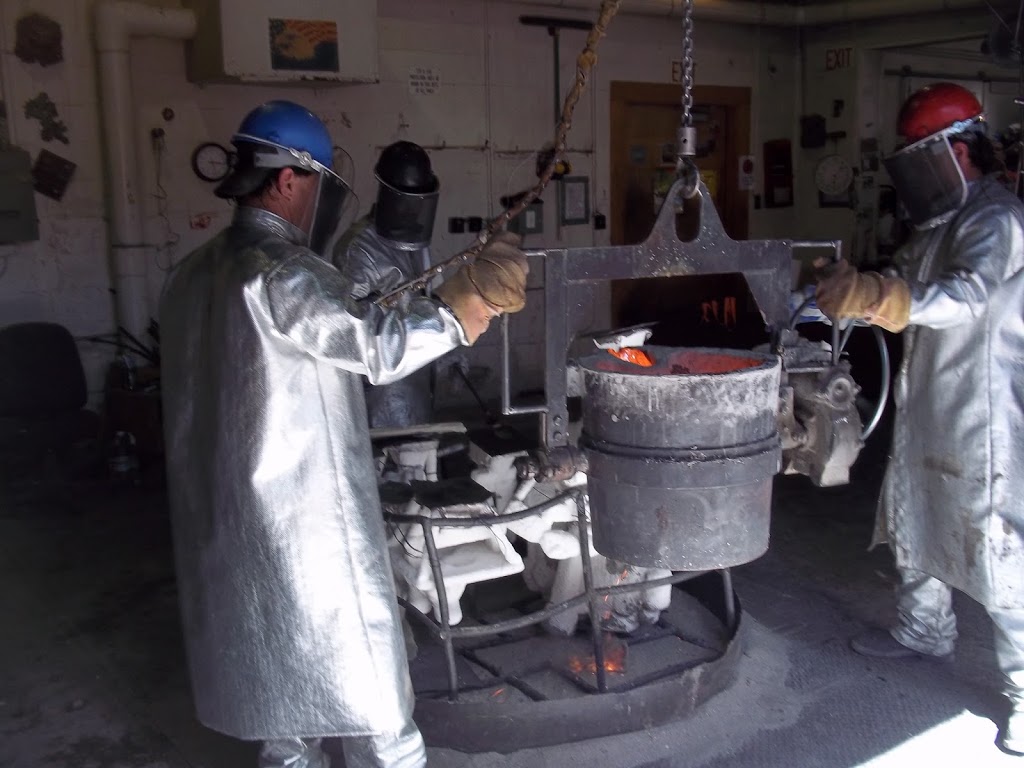
The pour on the tiger will happen many times in the next few weeks. For every wax, that is gated up and burned out there will be a pour of the metal into those pieces. So here are some recent pictures from Shidoni concerning the tiger. I have asked if they can video tape the head being poured. I can’t wait to see that. So stay tuned.
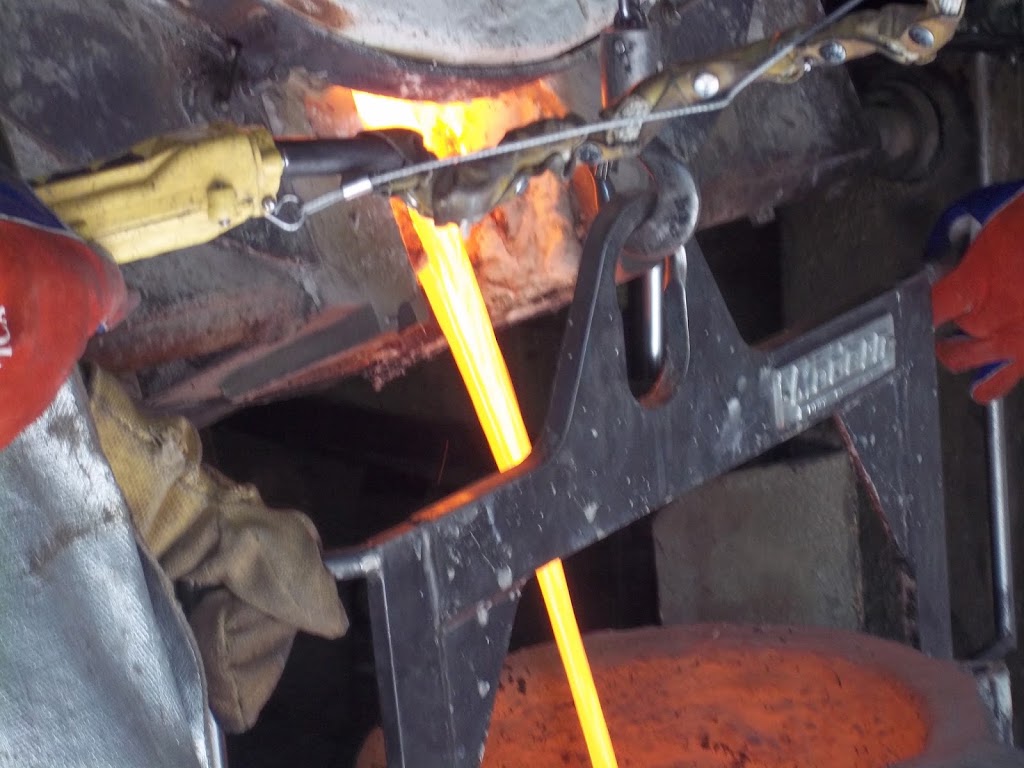
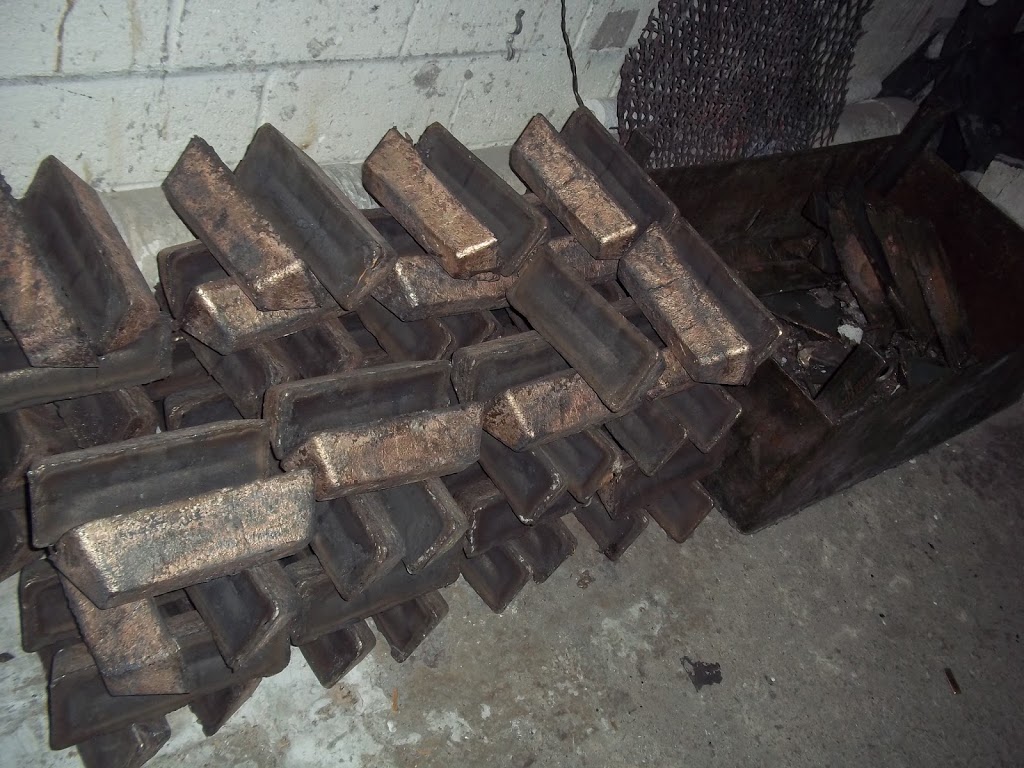
the look of this molten bronze.
wax burned out of them. Now that cavity where the wax
once was will now be filled with molten bronze.
The men wear protective clothing.
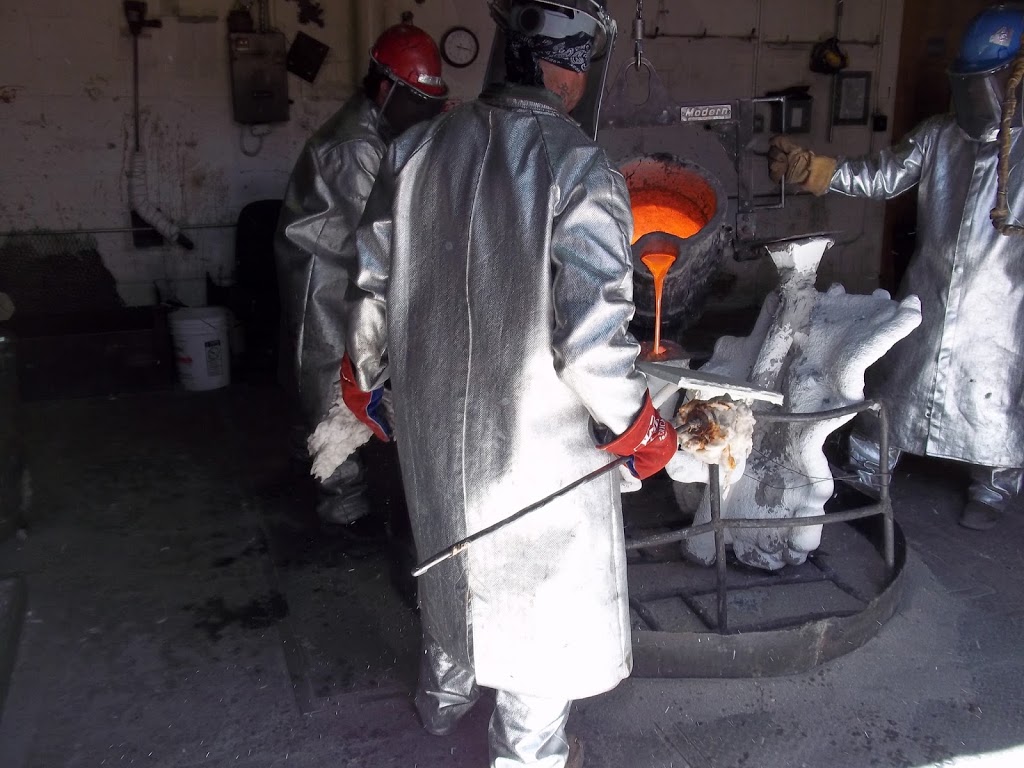
that have been or will be- made into wax from the molds, gated up,
burned out, and poured. And we still have a few more steps after this.
A Burn Out At The Foundry
A burn out is when they take the ceramic shell and then “burn out” the wax that is within the shell. That is why this process is often referred to as “the lost wax method of bronze casting.” We will lose the wax in this part and it will be replaced by bronze in the next part. These burn out ovens are some of the largest I have seen.
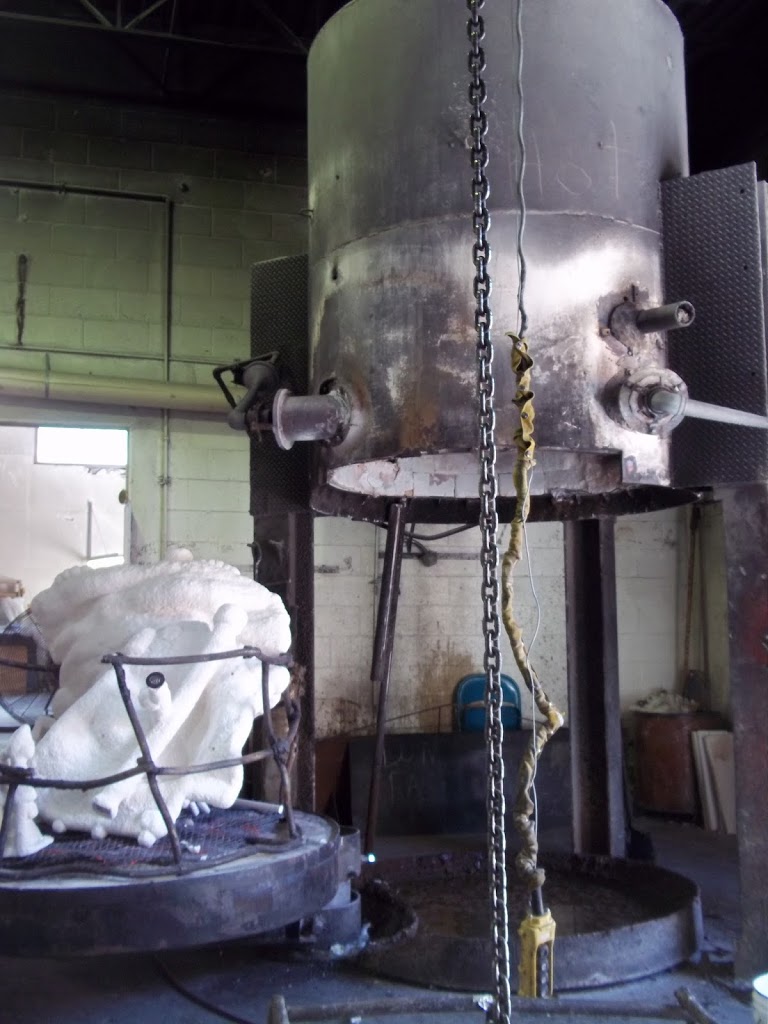
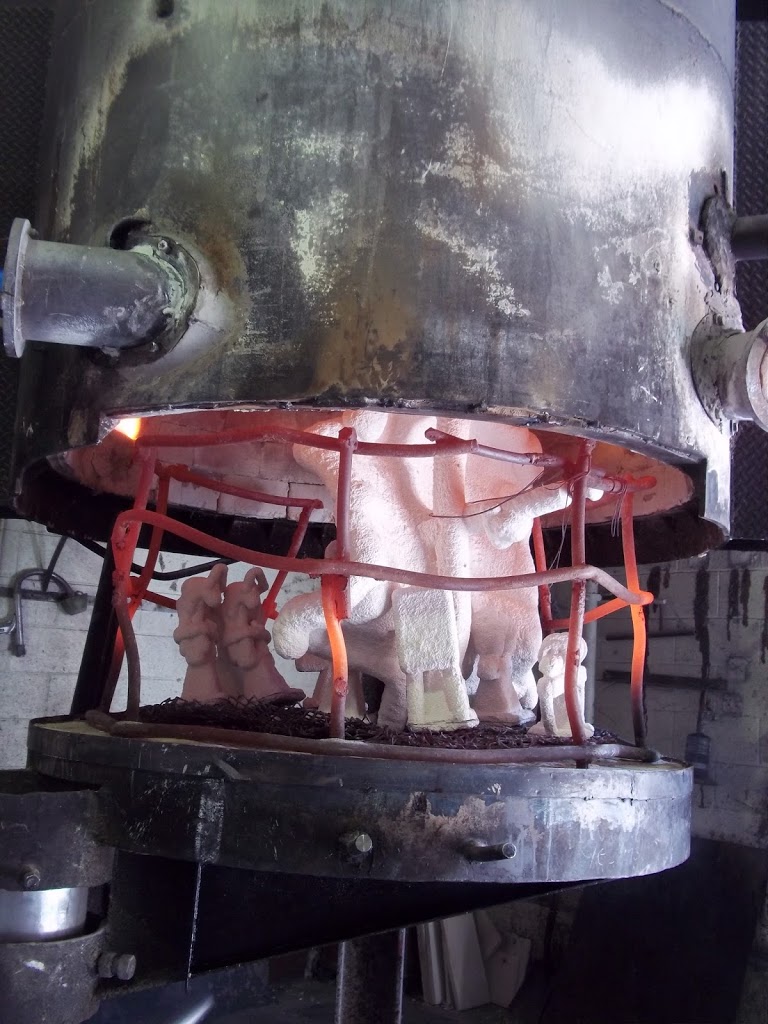
melt, leaving room for the bronze.

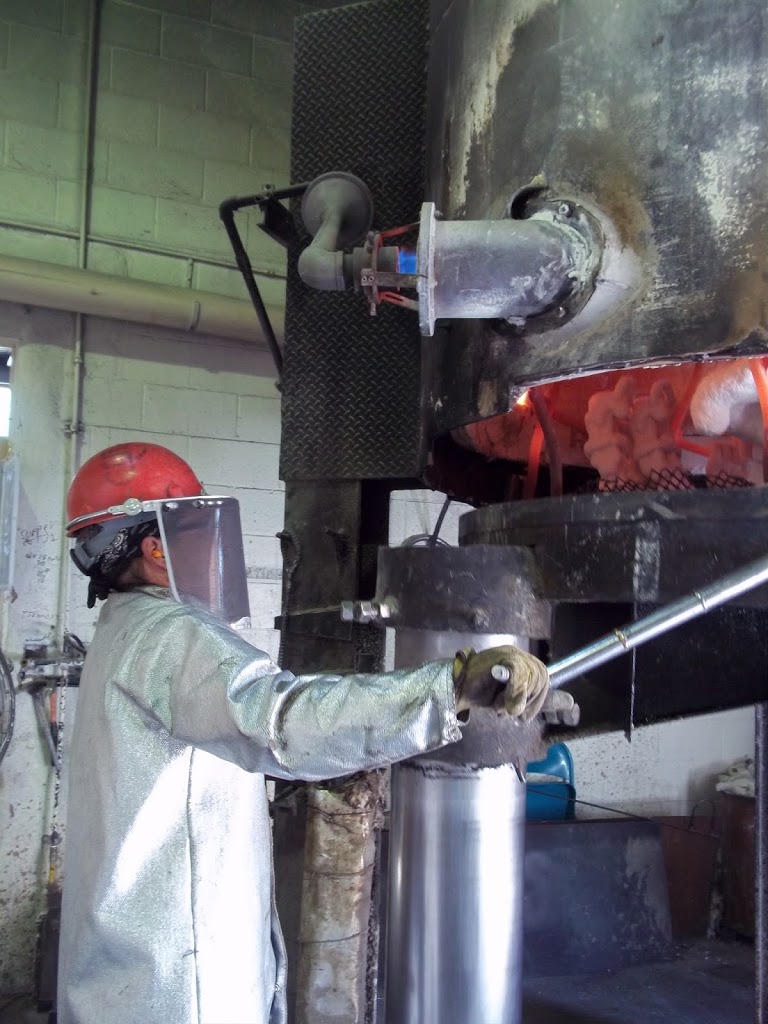
melt, leaving room for the bronze.
Getting To The Tiger YIPPEEE!
Hey, I recognize these piece! Here we have two legs/paws. It is so exciting to see the foundry move from working on the rock to the tiger itself. Wow! They are moving along. I can’t help but wonder if they will make homecoming. Still there are no promises. They said it was a 20% chance, and even if they get finished, I need to go there approve the sculpture, and we need to ship it. So if we are praying for anything pray that “everything ” goes smoothly, even down to the weather when the sculpture is supposed to be in transit.
More exciting pictures to come!