Posts by admin
Back At The Studio
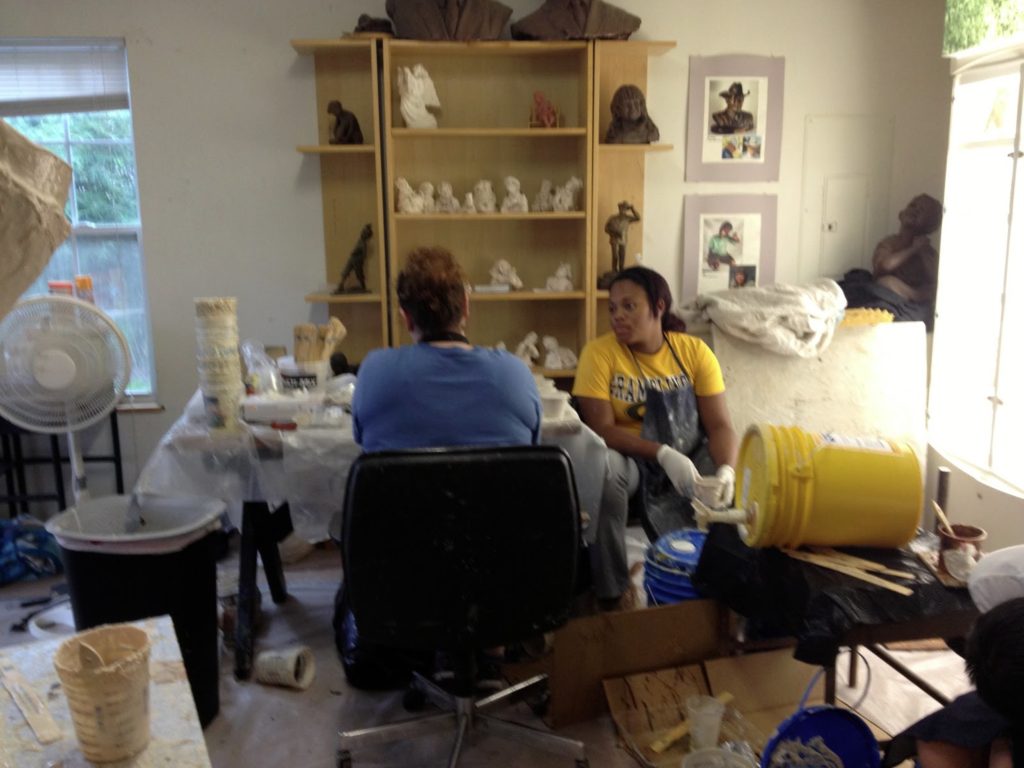
Once all of the torso molds have been done we have moved the entire operation back to the home studio to work on the legs, head, tail and rocks. it is great to be back at the home studio with AC. It is a whirlwind of activity.
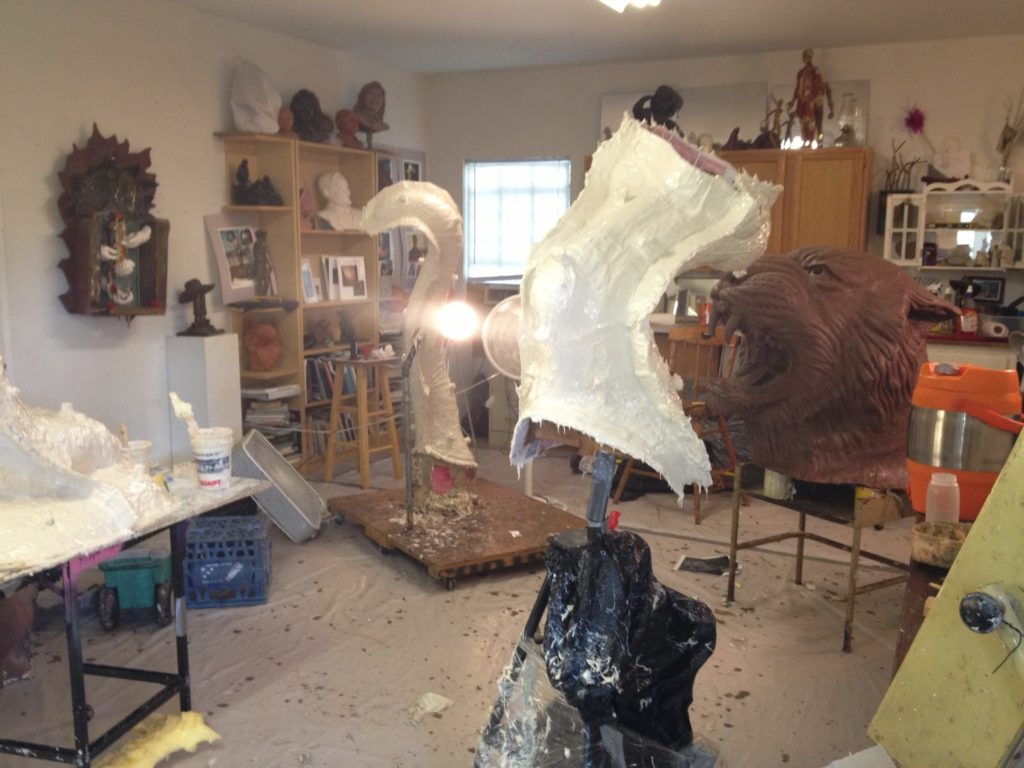
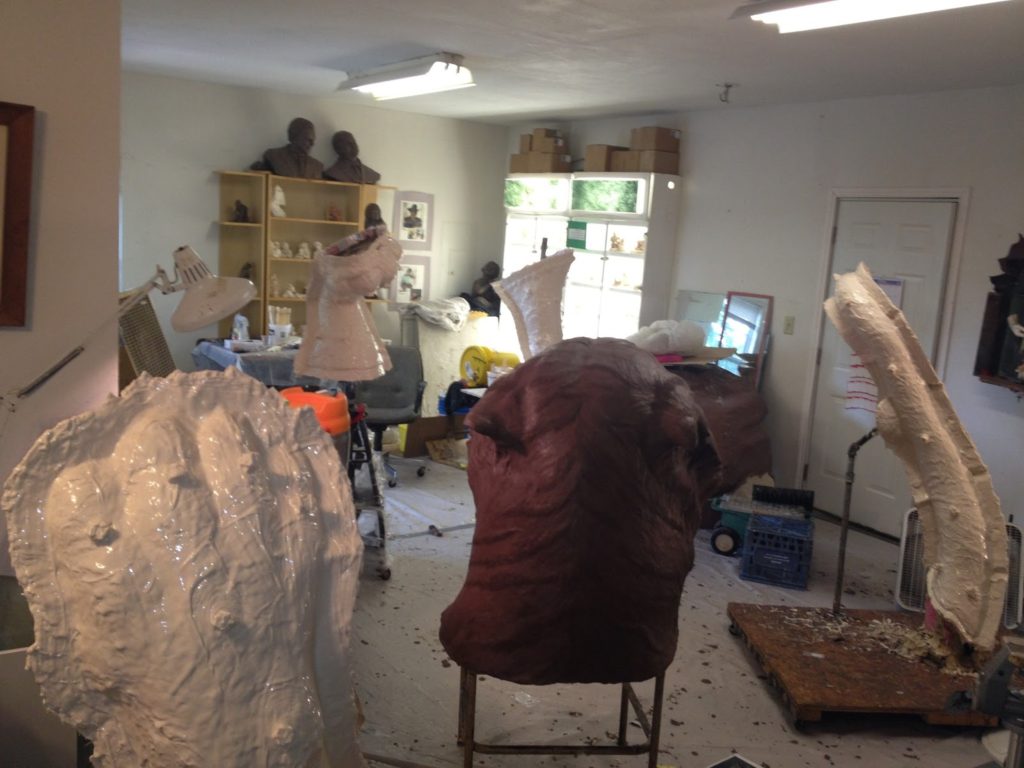
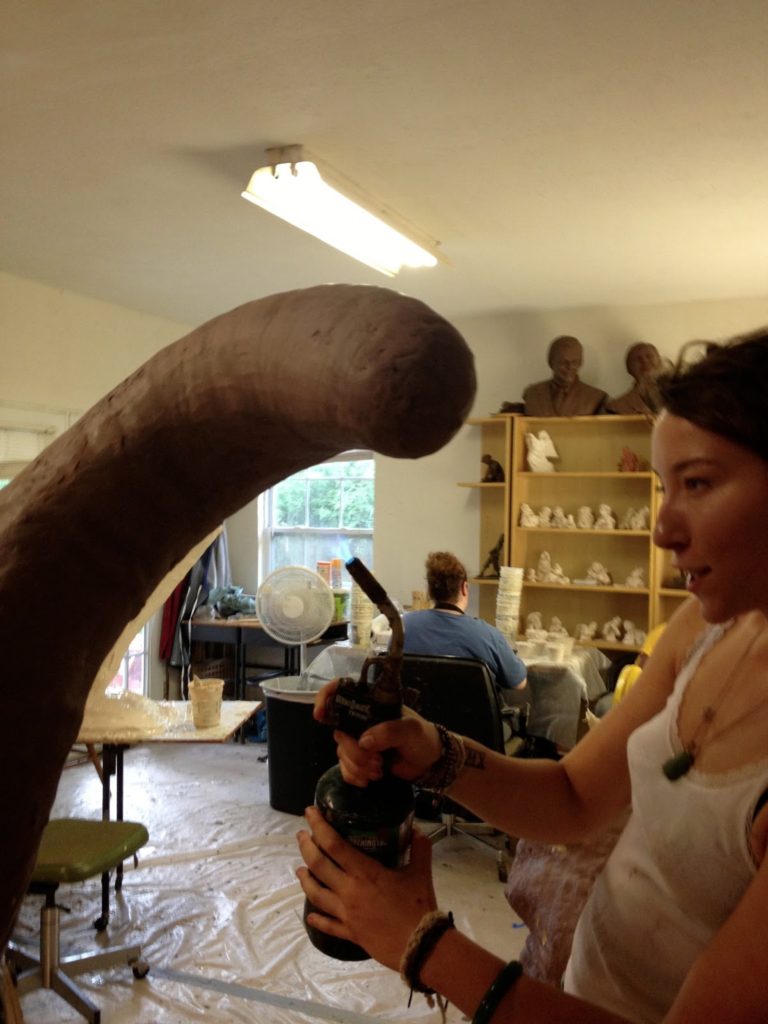
done to the tail while moving it back to the studio.
Gutting A Tiger
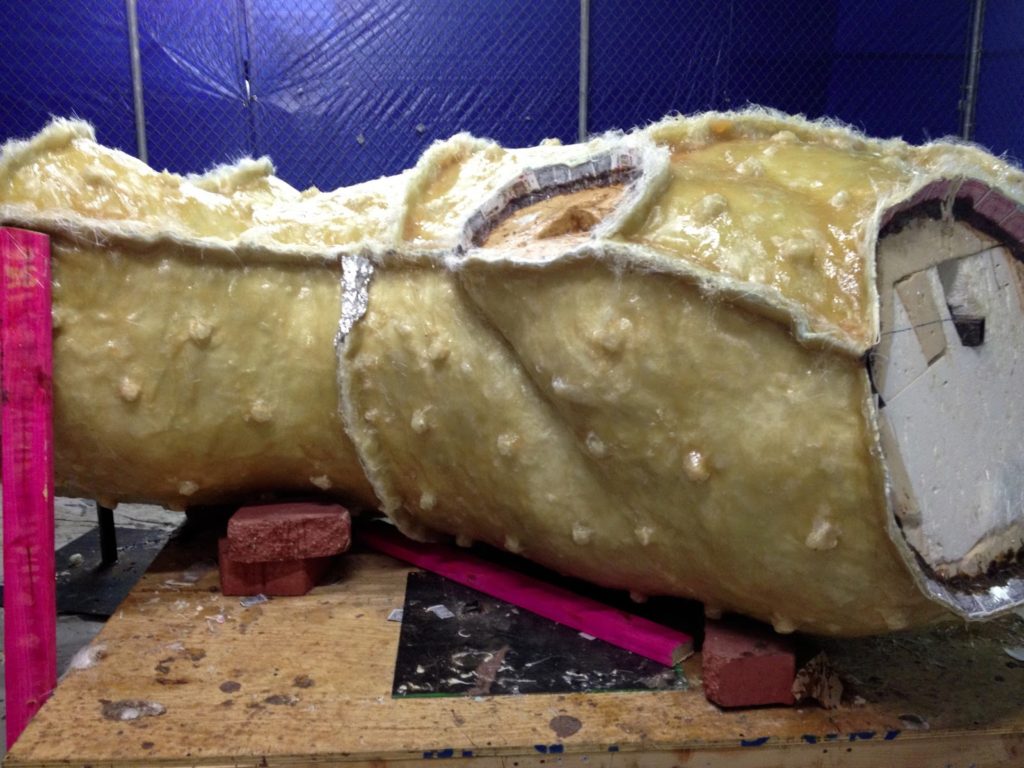
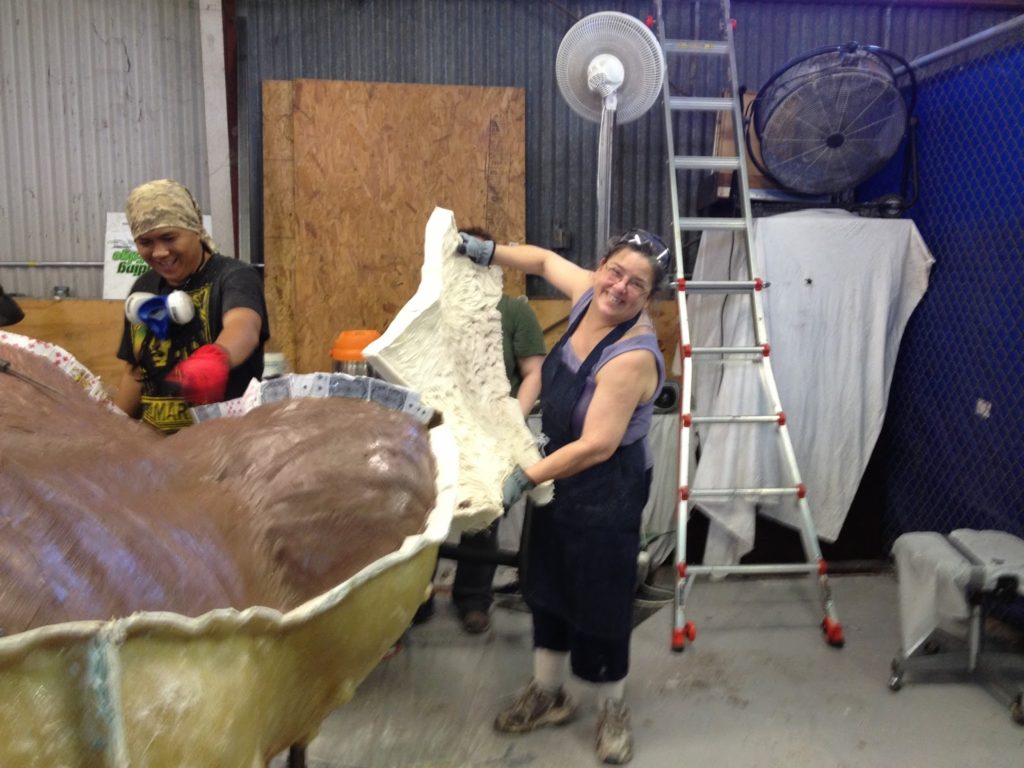
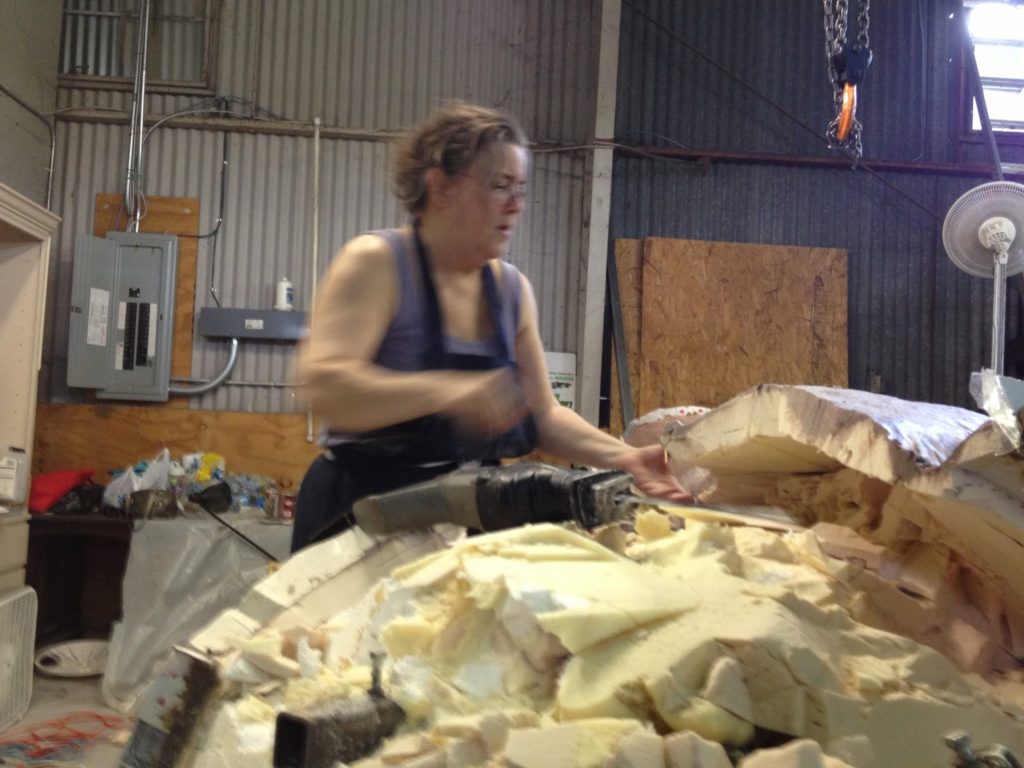
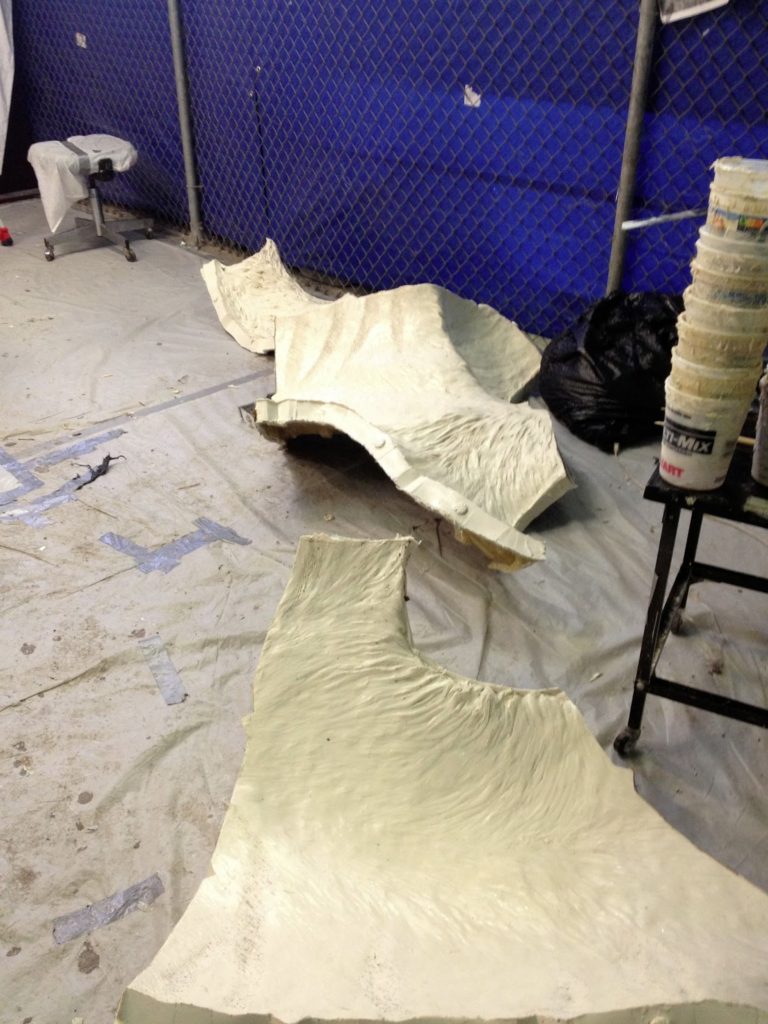
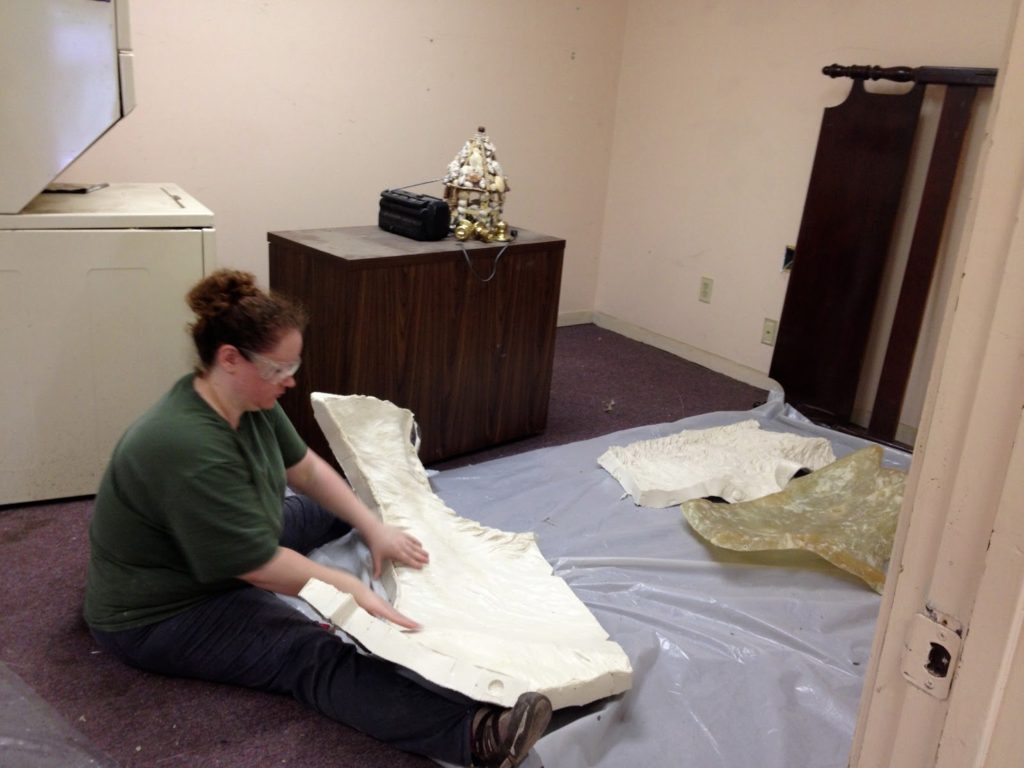
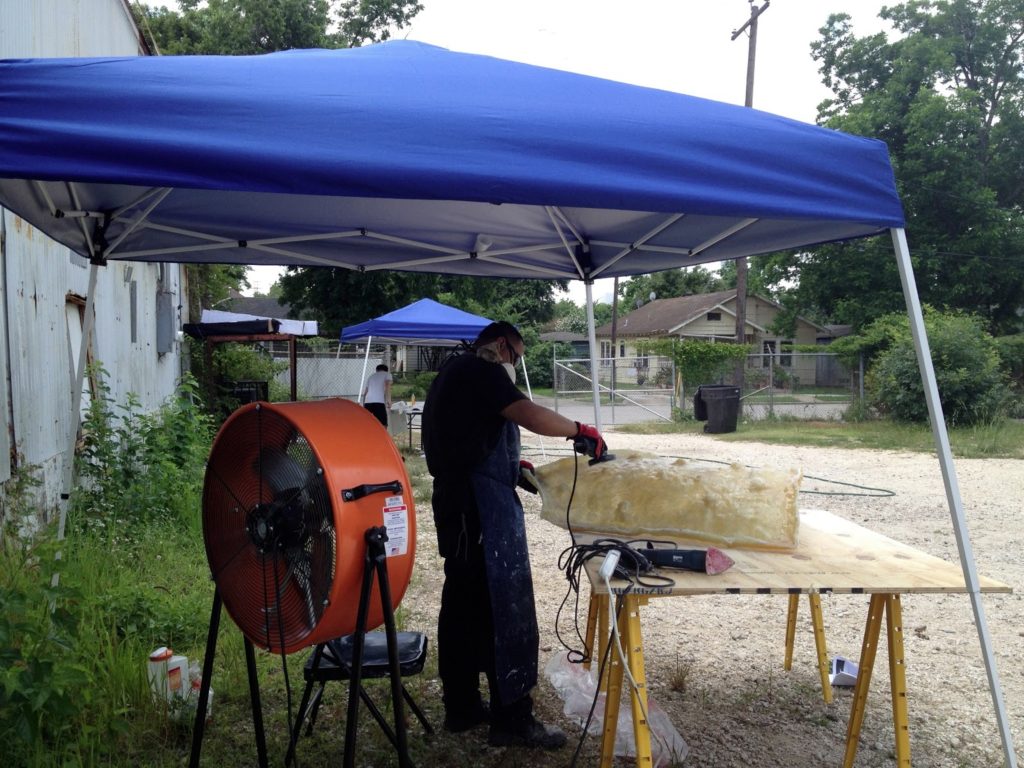
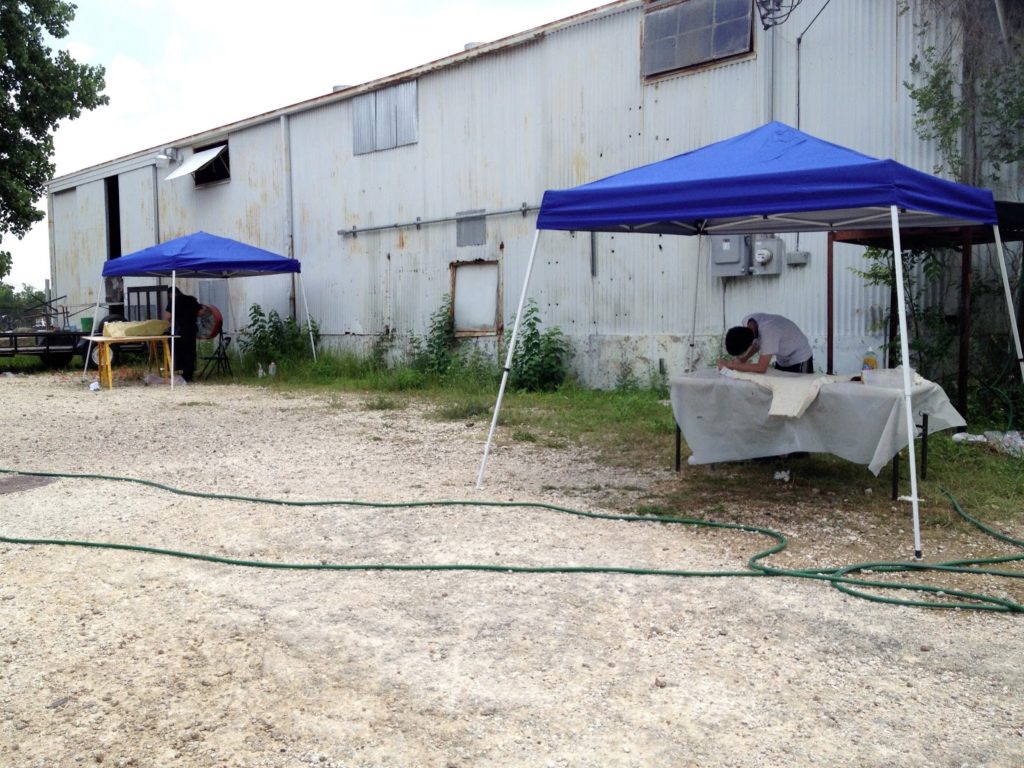
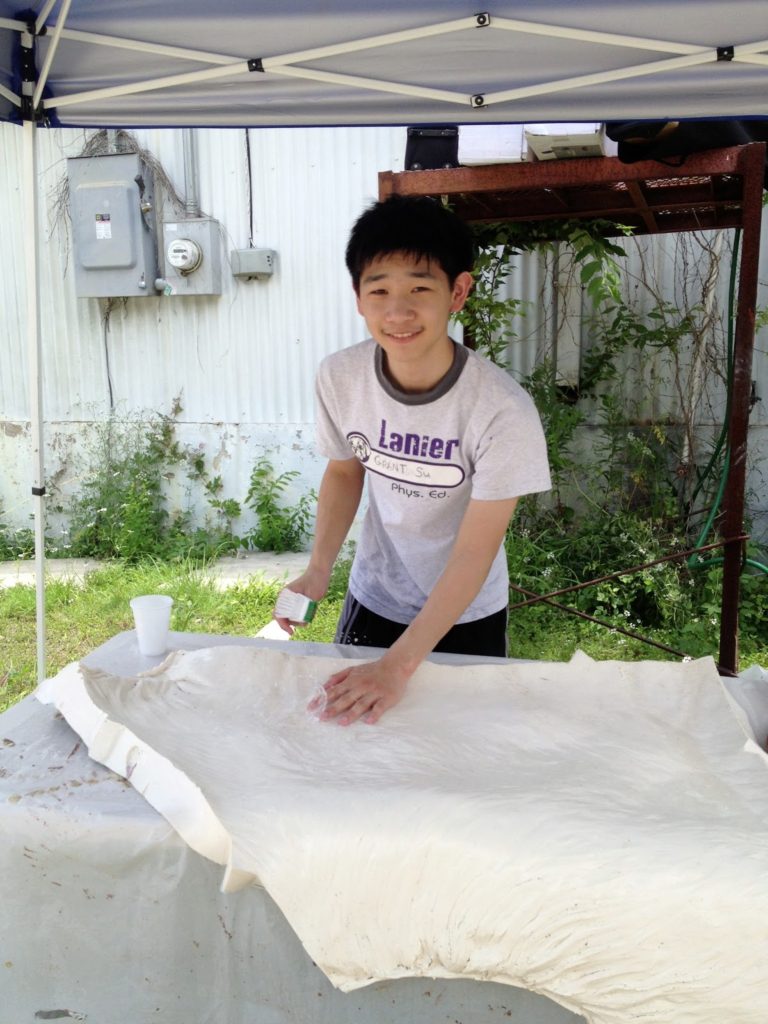
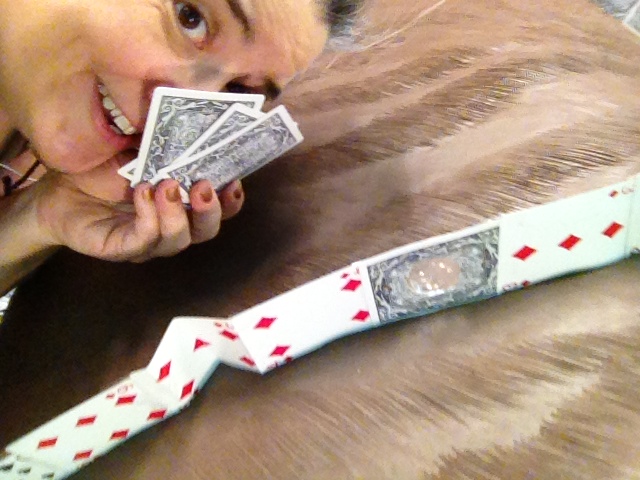
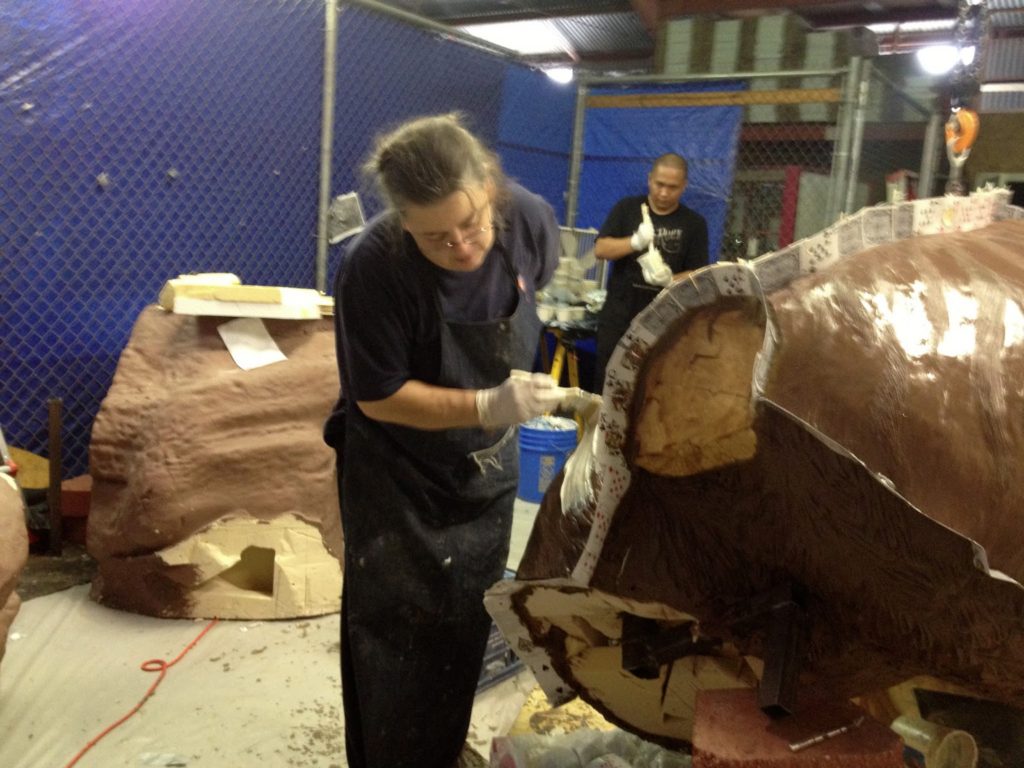
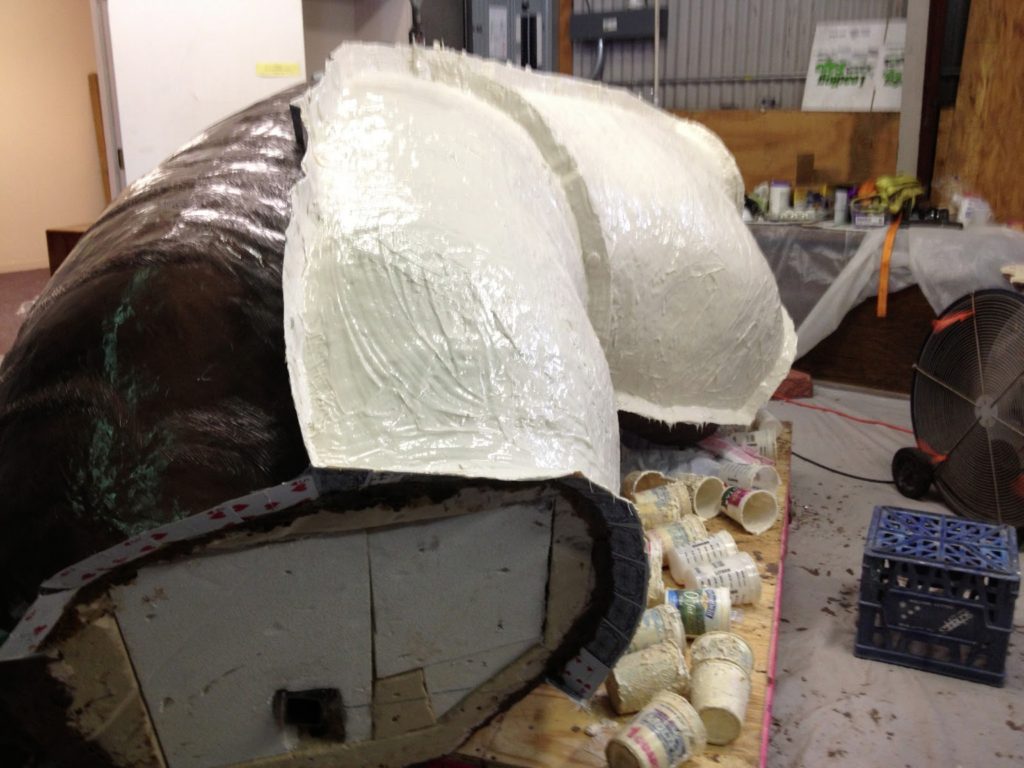
Both a rubber mold and a fiberglass mother mold have been applied to the torso. With this part complete we are about 1/3 the way through the mold making process of the Grambling Tiger. This week we separated these molds from the clay sculpture. Each mold had to be cleaned. The rubber is scrubbed and the fiberglass mother mold sanded. Then all of the pieces are put together. Even though we have these molds it is important to save the clay just in case something should happen to the molds. So this is our visual documentation of what is done this week.
Flipping The Kitty!
It has been a busy week. When I finally get to sit down in front of a computer to write these posts I feel so relaxed. I’m in AC. I’m not hauling, pulling, lifting or sculpting. I’m not in a hot warehouse.
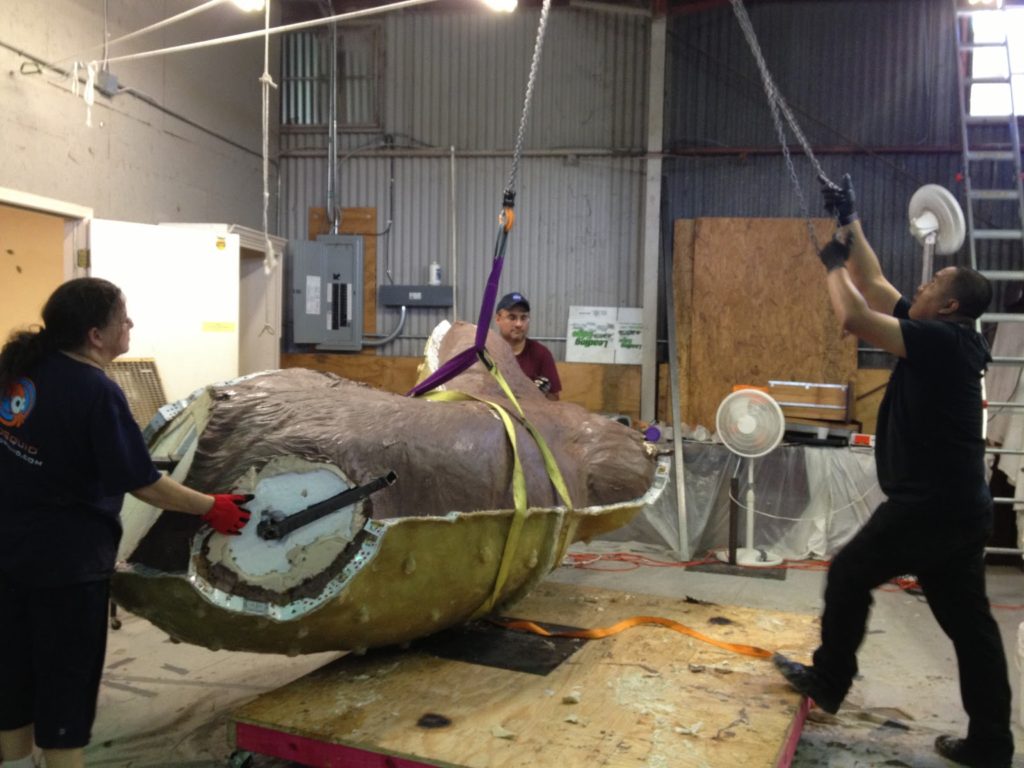
We have made many accomplishments this week. The top part of the big cat torso has both a rubber mold and am other mold. See previous posts for this explanation. The big challenge was to flip the entire sculpture and take it off of the winch. The cat has not been off a winch for weeks, and it weighs a great deal more than it did going on as a foam piece. It was a challenge to figure out how we could do this, but we soon had the “kitty” flipped and supported and I began the job of finalizing the details on the big cats underside. Then we made the mold for this bottom half.
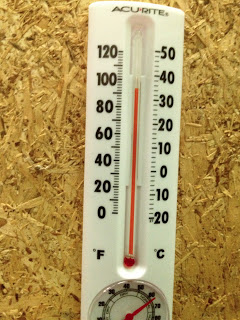
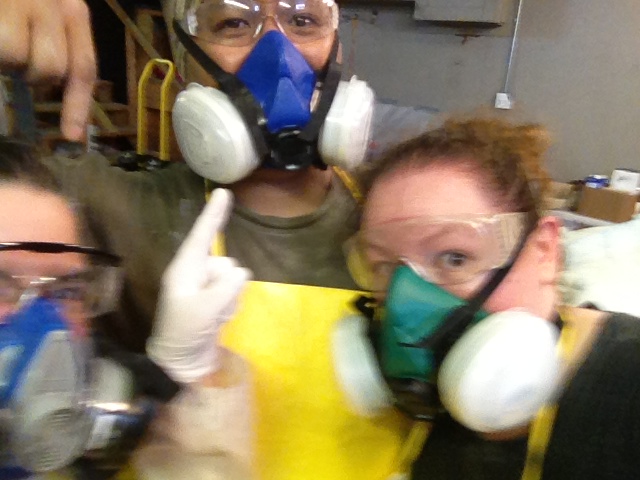
The temperature in the warehouse has reached 102. This temperature is tolerated by myself and my interns as we are forced to wear masks and long clothes to protect ourselves from the fiberglass and resin. Once this part of the mold is done we can move back to the air conditioned home studio where the paws and head await the same process. More to come.
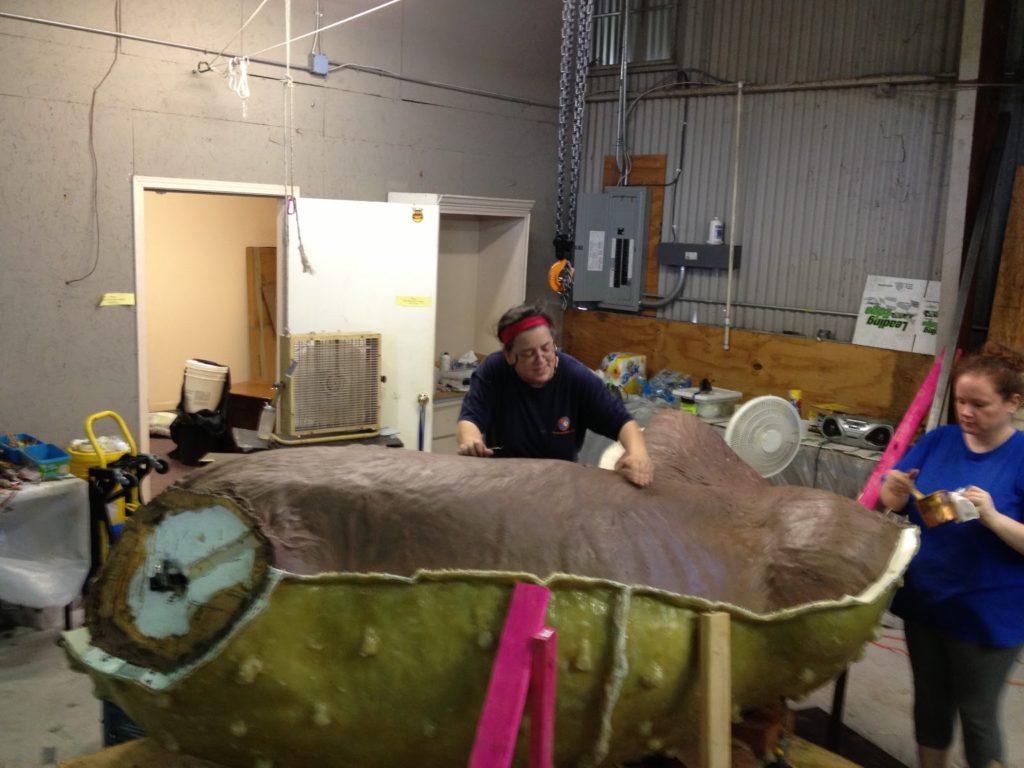
for the final details.
Why They Call It A “Mother Mold”
working in fiberglass in the heat.
You have to wear long sleeves,
long pants, aprons, etc.
Oh, we are racing against the temperature. 97 degrees in the warehouse! This temperature is when it is less than 90 outside. Usually the warehouse is 7 degrees higher than the outside temperature. We have moved most of the tiger appendages to the home studio, and do this late at night or early morning when possible. The clay gets very soft in the heat. We will work on the appendages later. For now, we continue with this massive tiger torso.
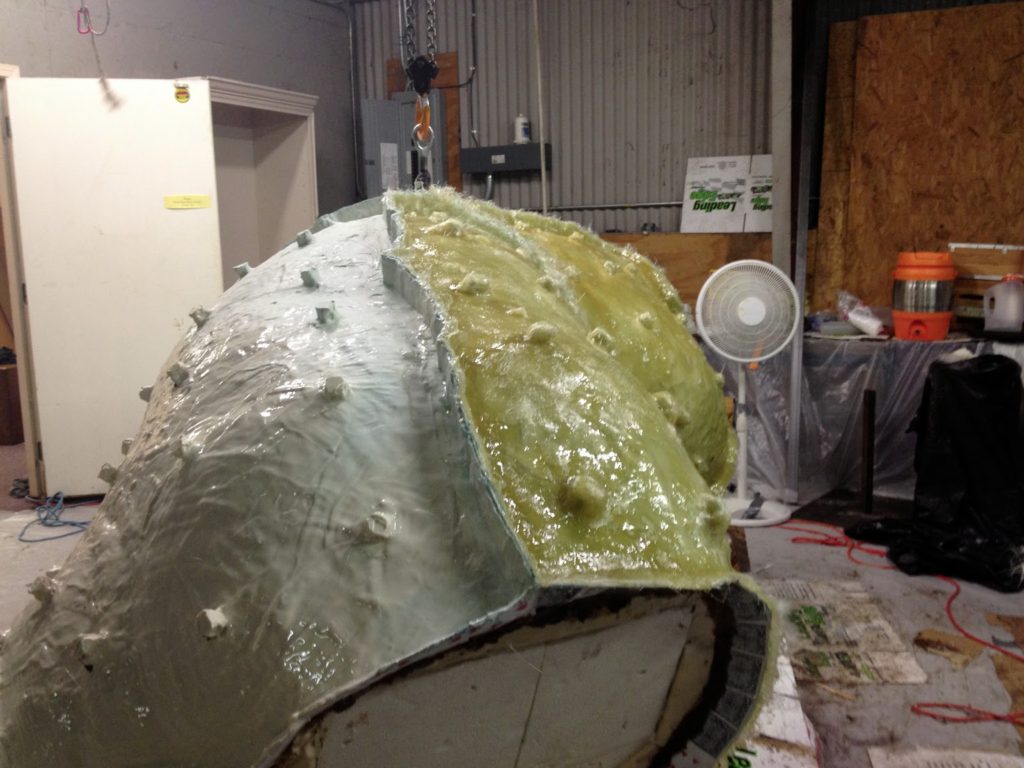
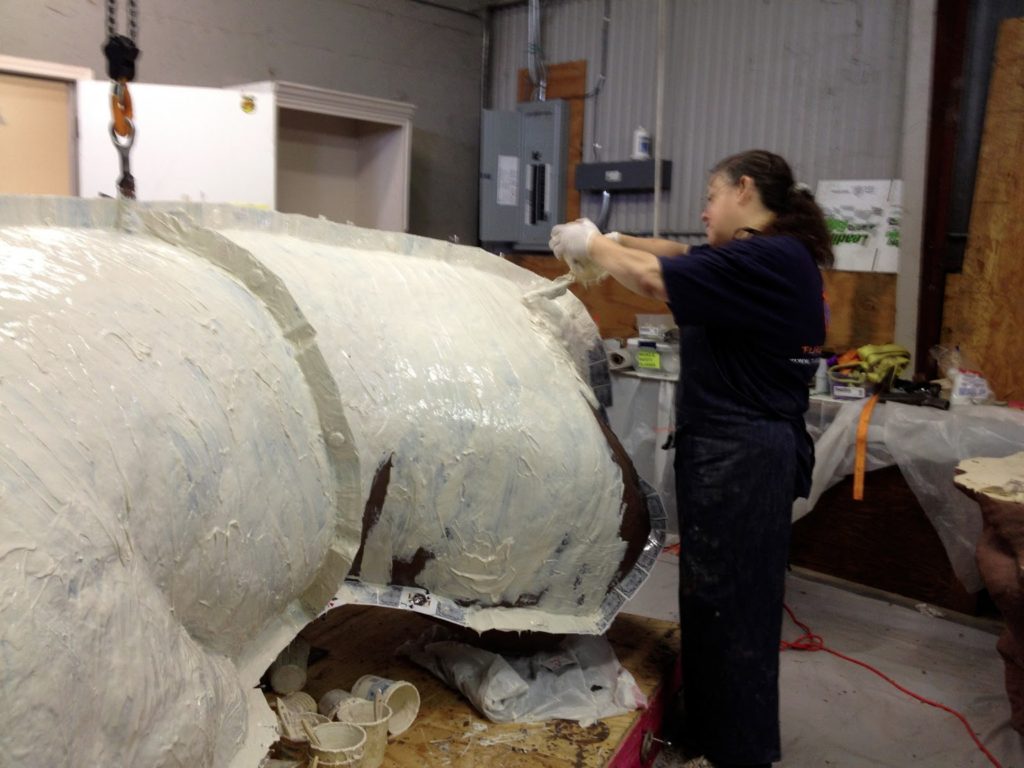
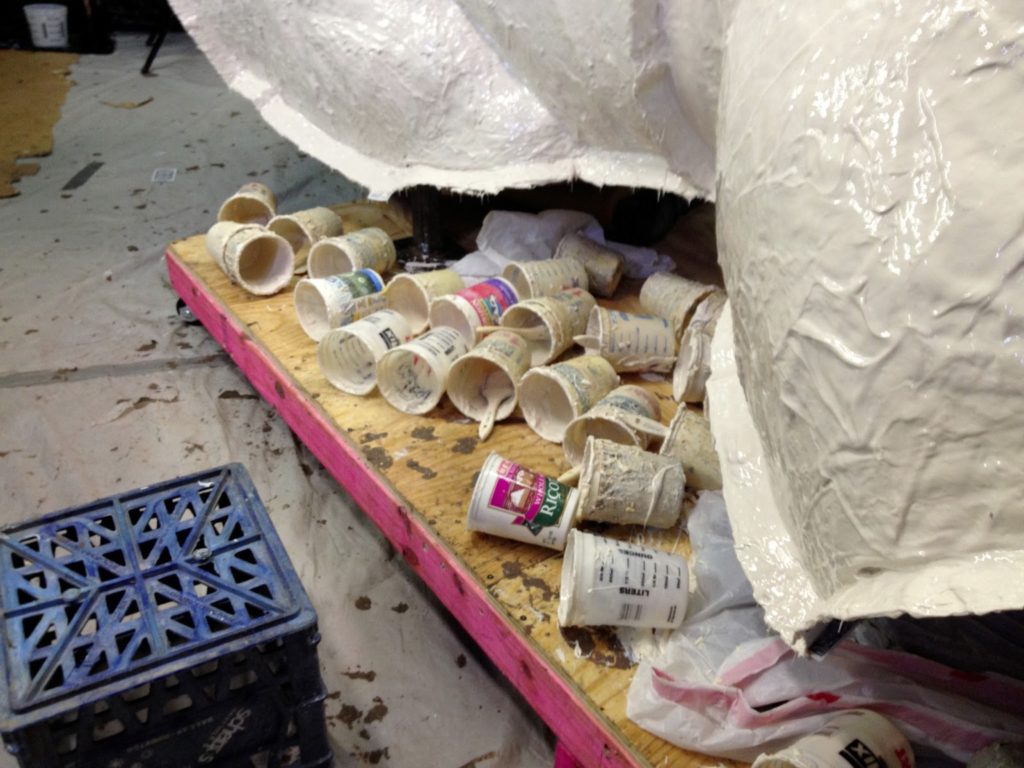
We now need to make a mother mold of the Grambling State Tiger. A mother mold is called that because it holds the rubber in place. Mother molds can be made of a variety of materials, but we are doing these mother molds in fiberglass.
I choose fiberglass because it is lighter. The foundry that is casting this tiger is Shidoni in NM. They work on monuments all of the time. They need larger mold pieces. This is good because it makes our mold making job a little easier. But the mother molds often make the mold sections heavy, plus I will be shipping these mold pieces to New Mexico for casting so we are looking for convenience. Fiberglass mother molds win over a plaster mother mold.
Now The Real Work Begins
Many artists take their creations, once they are complete, like the tiger at the stage that was featured in the last post, and they send them to a foundry. The foundry then takes them into the foundry process. The first step of this foundry process is mold making.
Well, we do our own molds at Bridgette Mongeon Sculpture Studios. Really mold making is back breaking work, and I have had several foundries that have said they appreciate that we make our own molds.
Many ask, “how can you cut up the piece, after all of that work?”
It is very simply, it all a part of the process!
Taking Apart The Puzzle
Once we have approval we can begin the next step, however, we must take the sculpture apart. We do this in the same way that it went together. However, an intern told me later, “it went together much easier than it came apart.” I was thinking the exact opposite myself.
piece by piece. Allison is posted on the
winch to life and lower as needed.
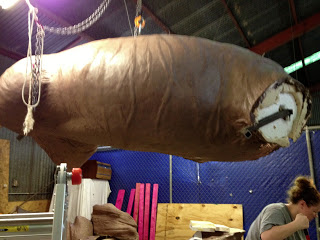
overhead while we clean up the area.
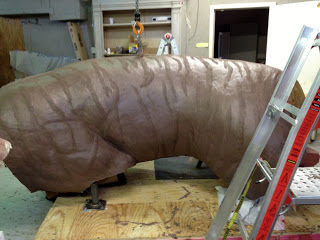
and we no longer have to move them around
I can look at everything and make sure the
detail is perfect before we go to mold.
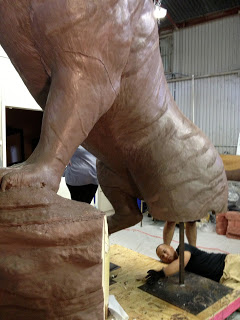
While I make sure there is a clean cut between
piece of the paws.
A Bit More Work
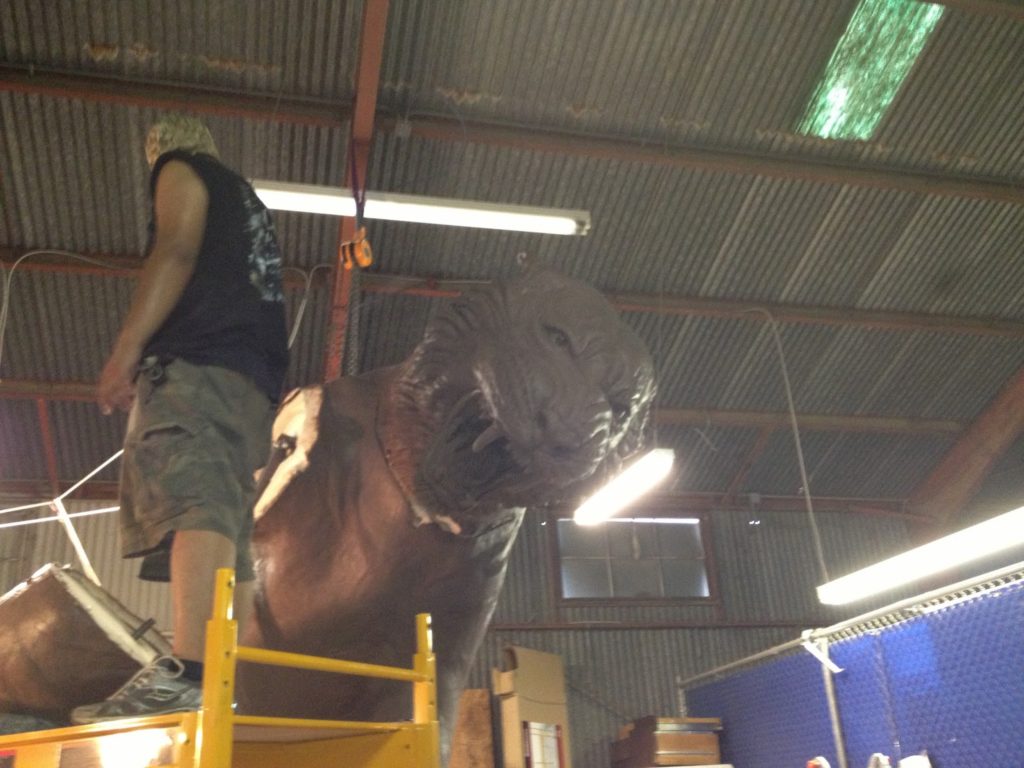
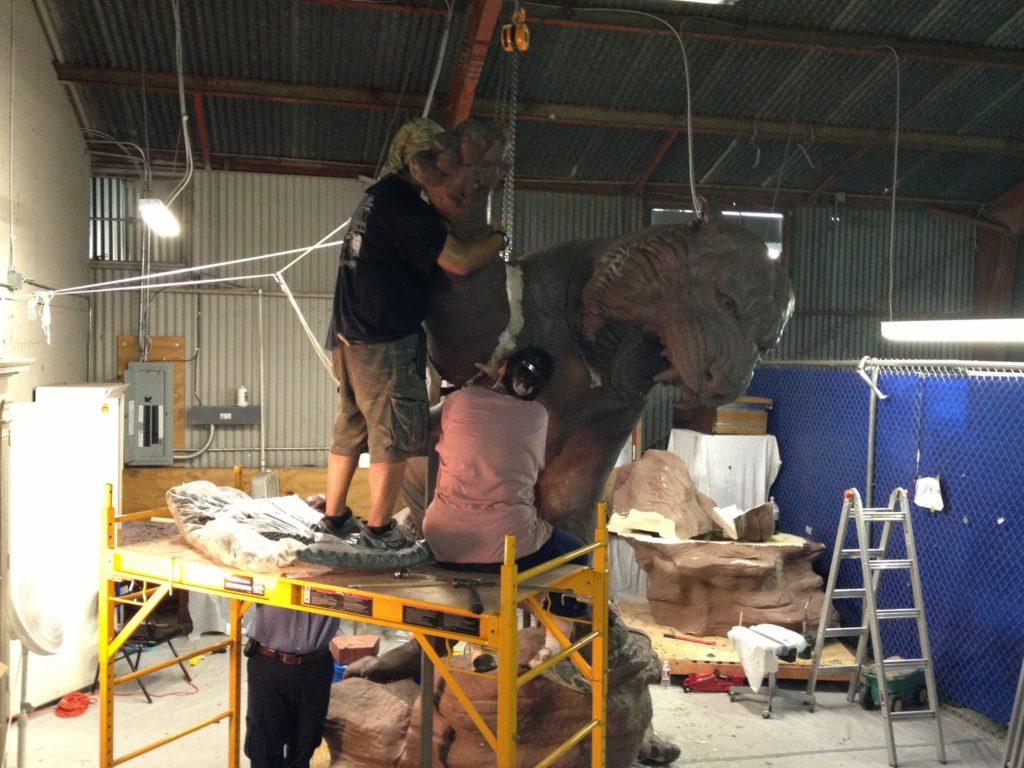
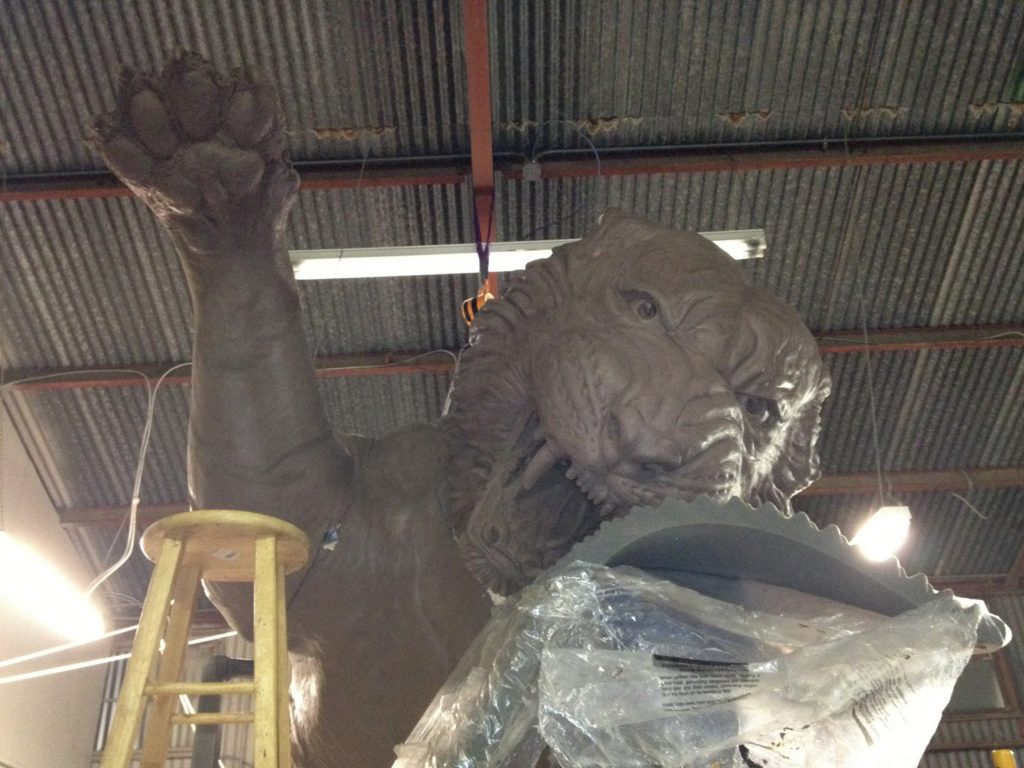
While visitors were coming to the studio, our work did not stop. I had notified Grambling State University before they approved that I intended to make a few changes, and there were details that were not finished. When we were attaching the arm to the body Allison Gonzalez, my lead intern, brought her family to help. A niece, Ingjierd Marquez offered to take my phone and take pictures while we worked. She went up into the loft and shot us attaching the head and arm. I noticed in one of the pictures when we were trying to get the arm on that it really looked better a bit lower. I don’t think I would have ever thought of this had I not seen the picture taken by Ingjierd. Thanks Ingjierd.
Had this been a table top sculpture I might have thought to play with the arm and step back, but stepping back when you are that far up in the air is not that easy. And moving an arm, that is made with foam, but has a metal armature and lots of clay on it, is not that easy.
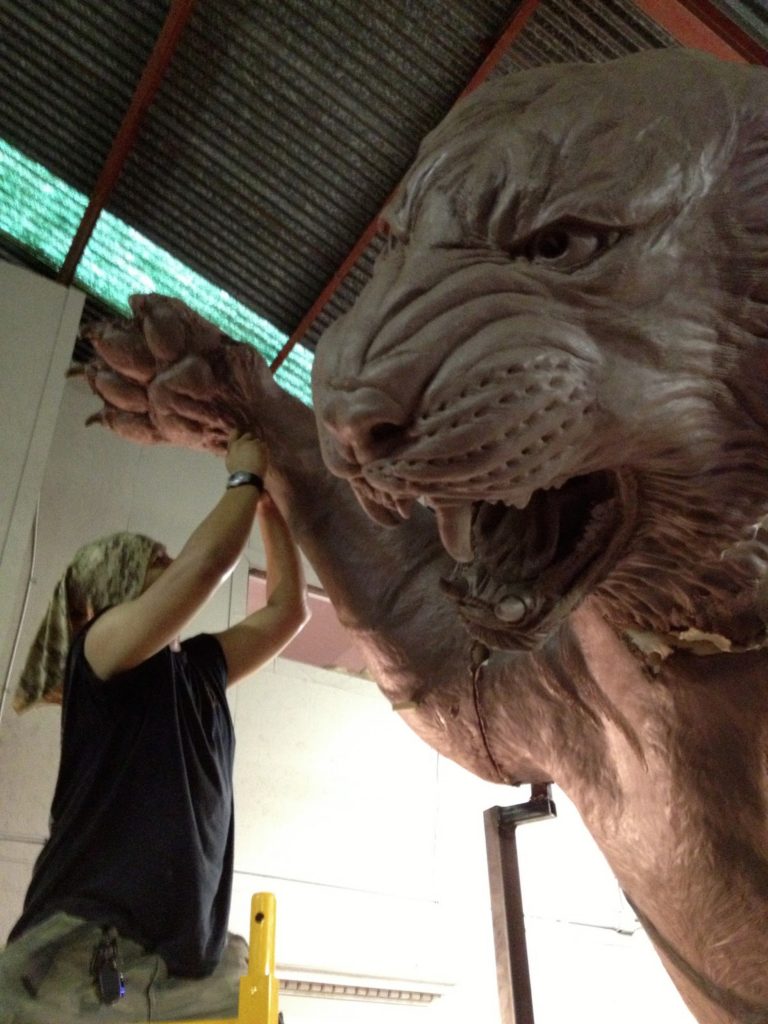
When I told Allison about my thoughts, she did not hesitate about climbing up so high and helping. Allison, God bless you for your fortitude. She went up on the scaffold and helped me to lower the arm to check it out. I loved it! The sculpture looks more threatening.The tiger is not just raising its arm to attack but the paw is coming down on you! However, this minor adjustment meant that I had to spend 2 days up on the scaffold fixing the arm and the areas surrounding it. Well worth it.
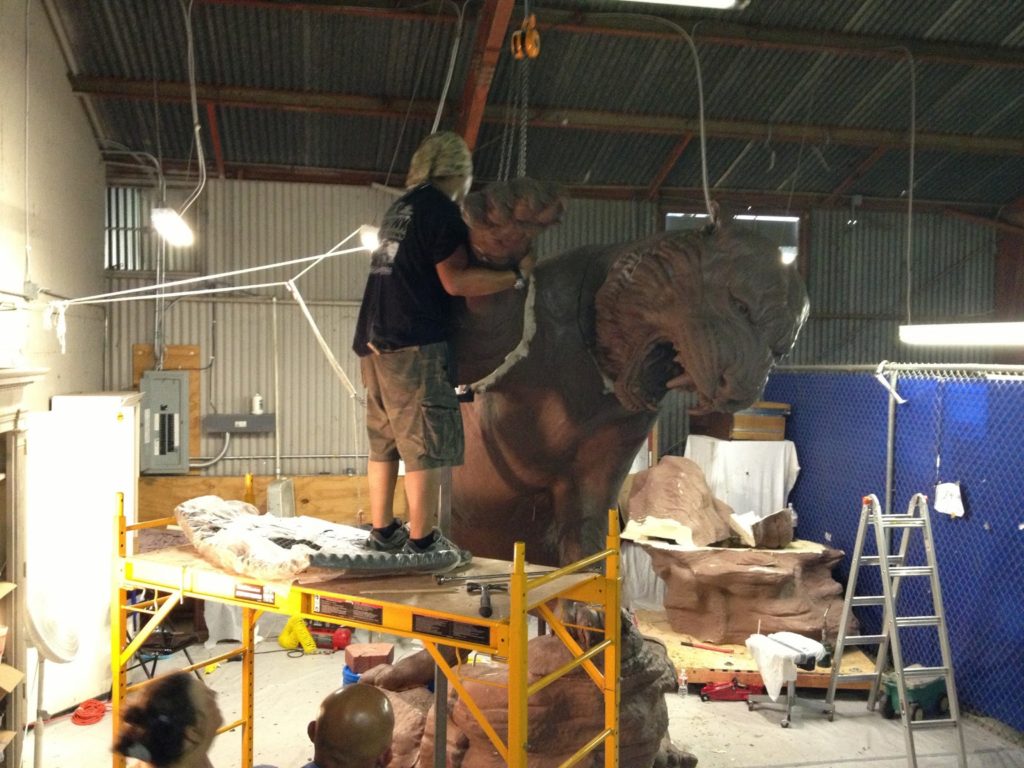
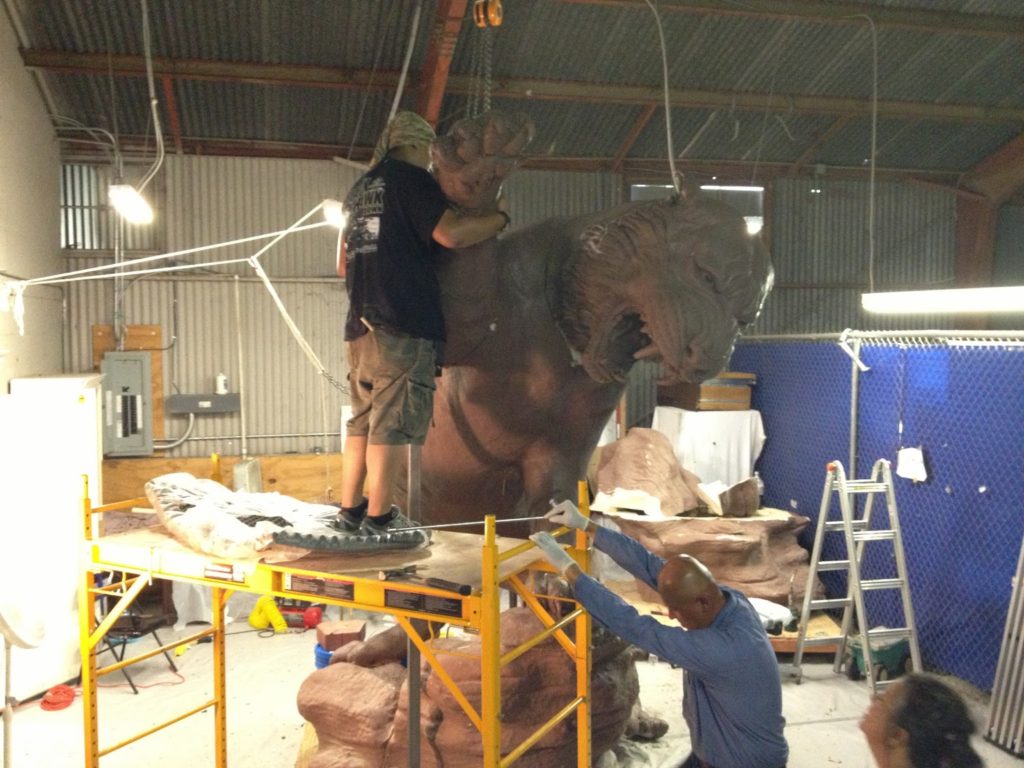
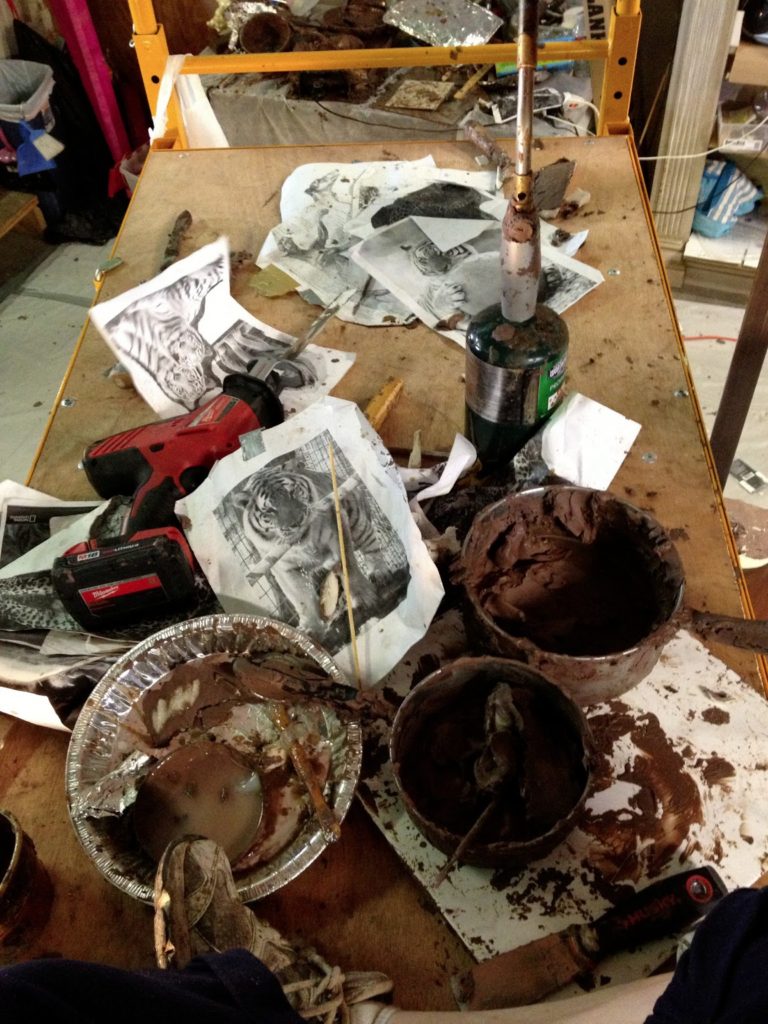
So I sat up here for a few days. My work area the atop of the scaffold.
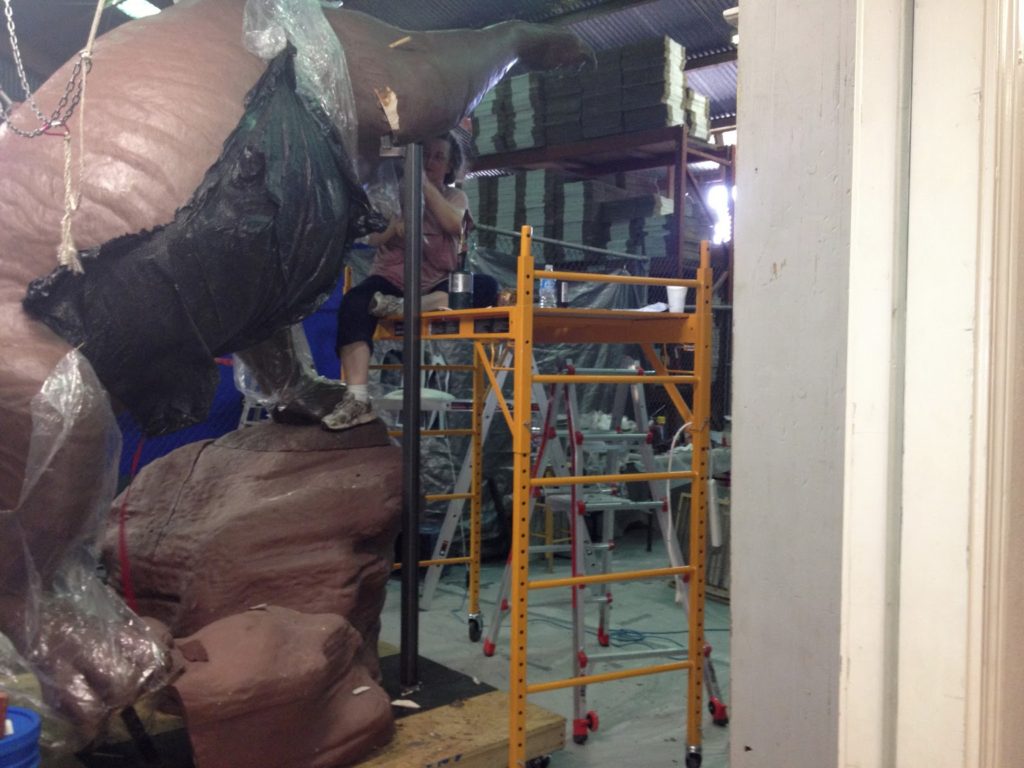
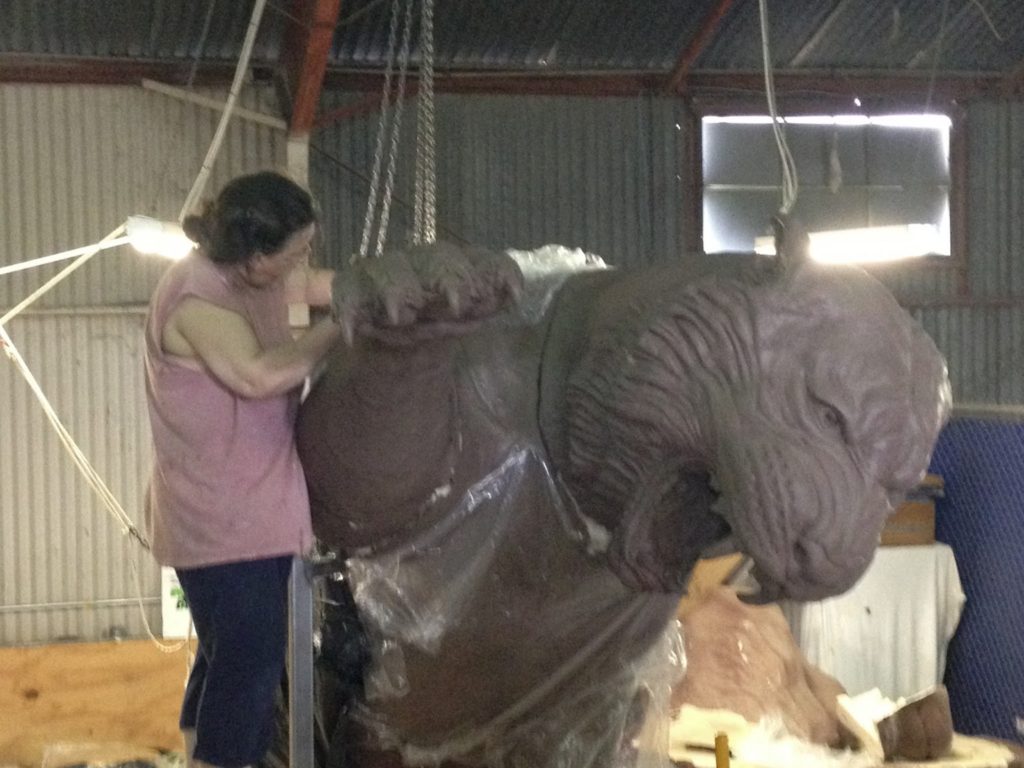
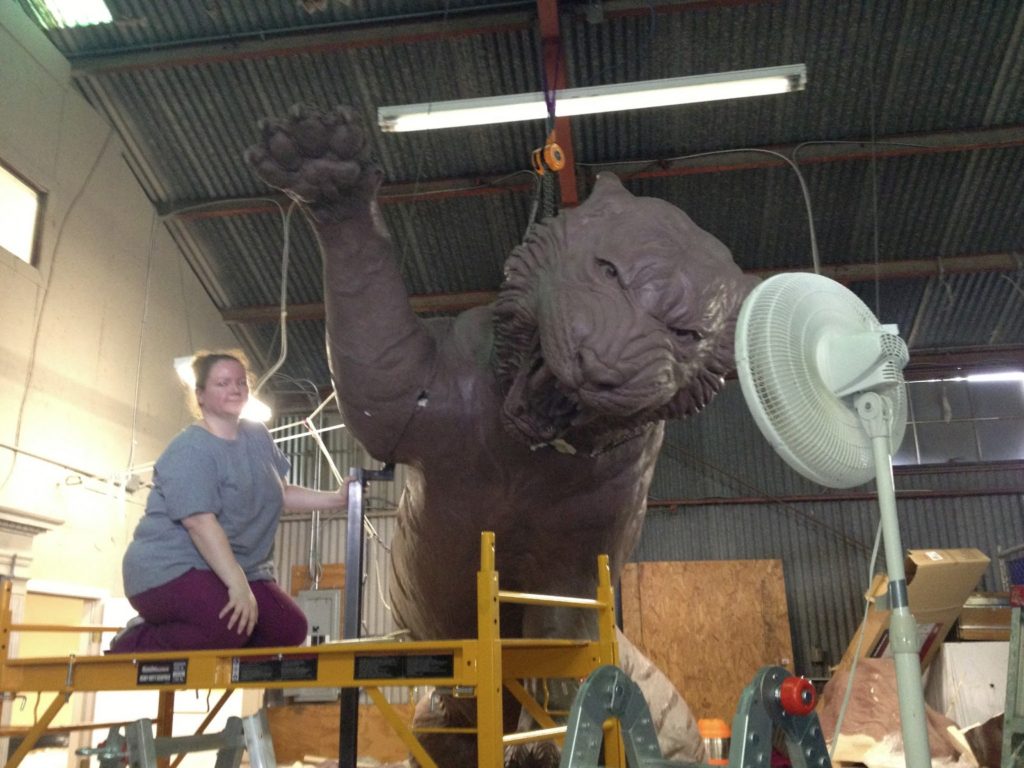
The paw before it was changed.
We Have Our Approval
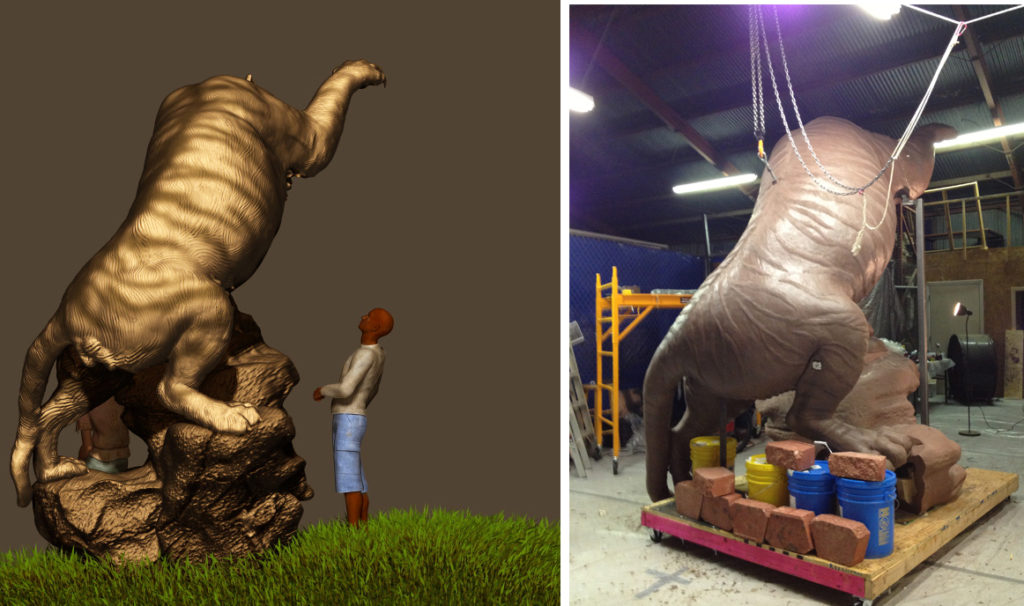
Grambling State University promised to get me an approval on the tiger within 24 hours of sending pictures. I did tell them there were a few minor changes I was going to do to the sculpture. The chest and arms needed a different type of fur, the tail was not complete, and of course there are more rocks under this cat.
The left back paw was temporarily modified for this armature, but will be fixed in the final sculpture.
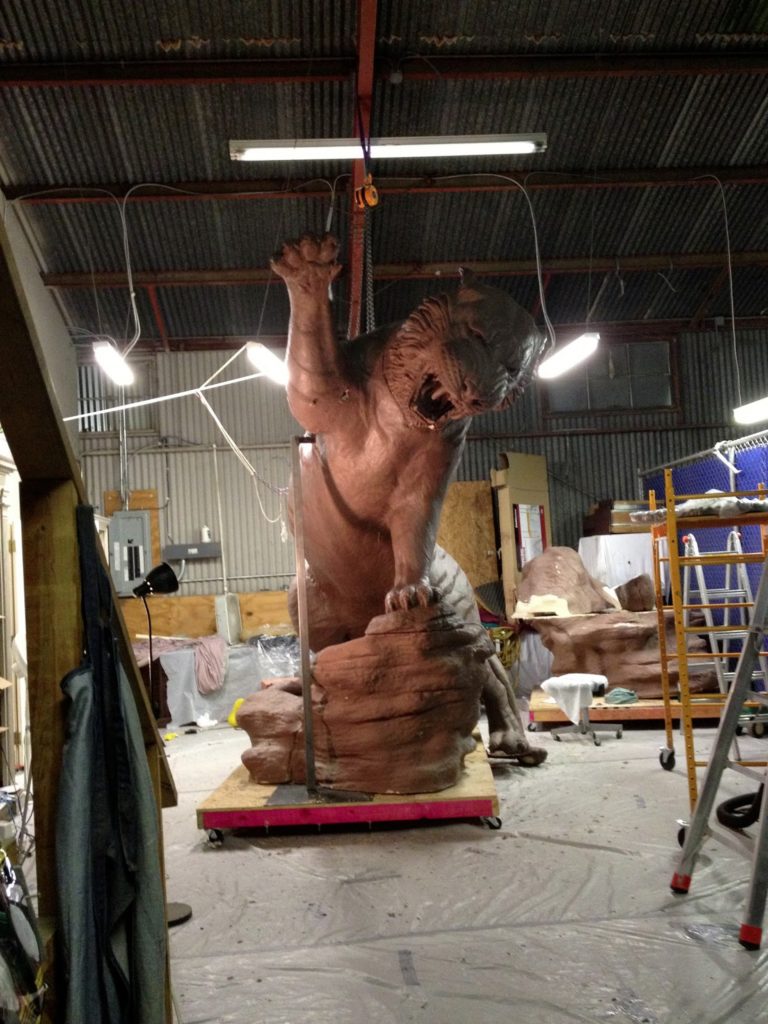
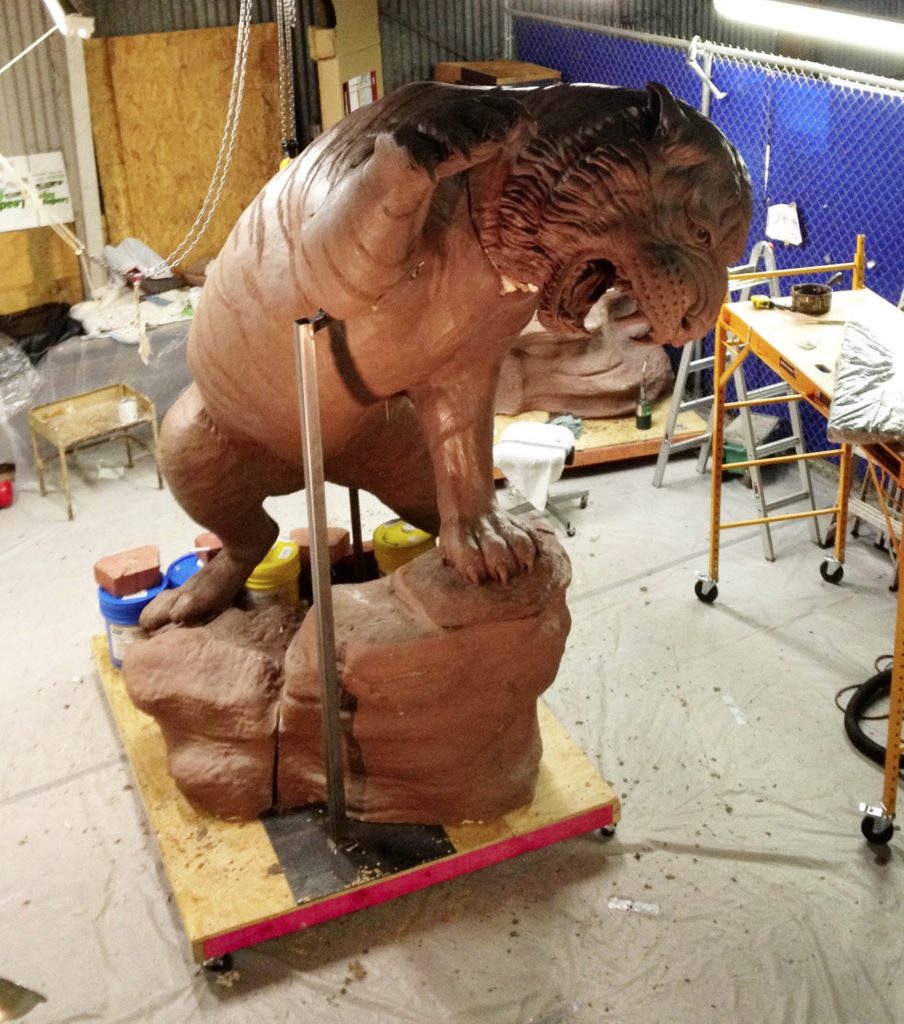
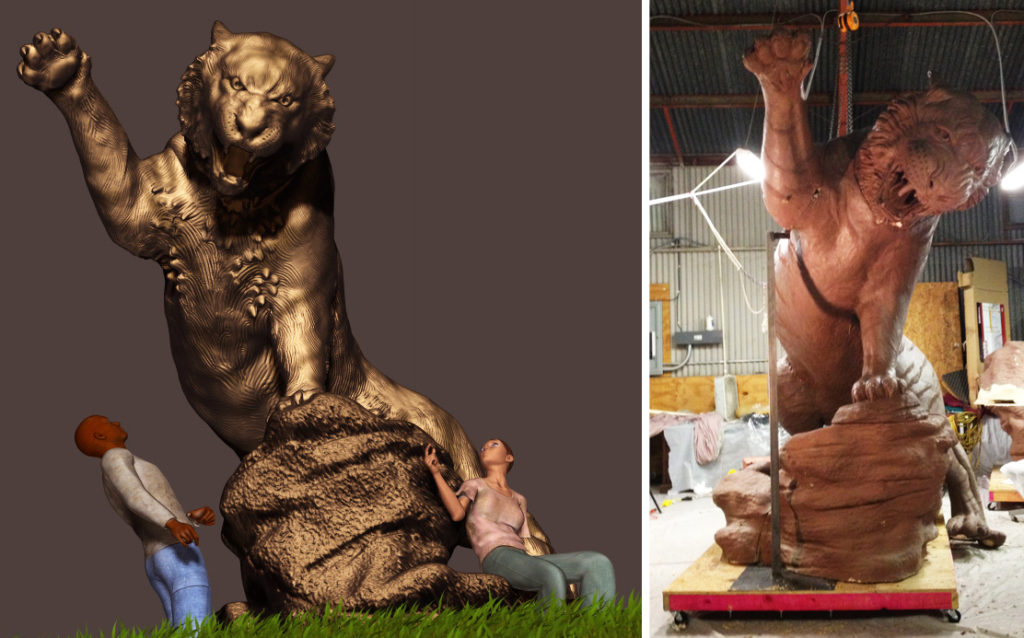
A view of the digital model used in our proposal and the final version.
Visitors
My family and friends have not seen me in a very long time. I have been working on the tiger night and day. My hope is to get it finished before homecoming. No promises, but I’m really kicking it trying to get it done.
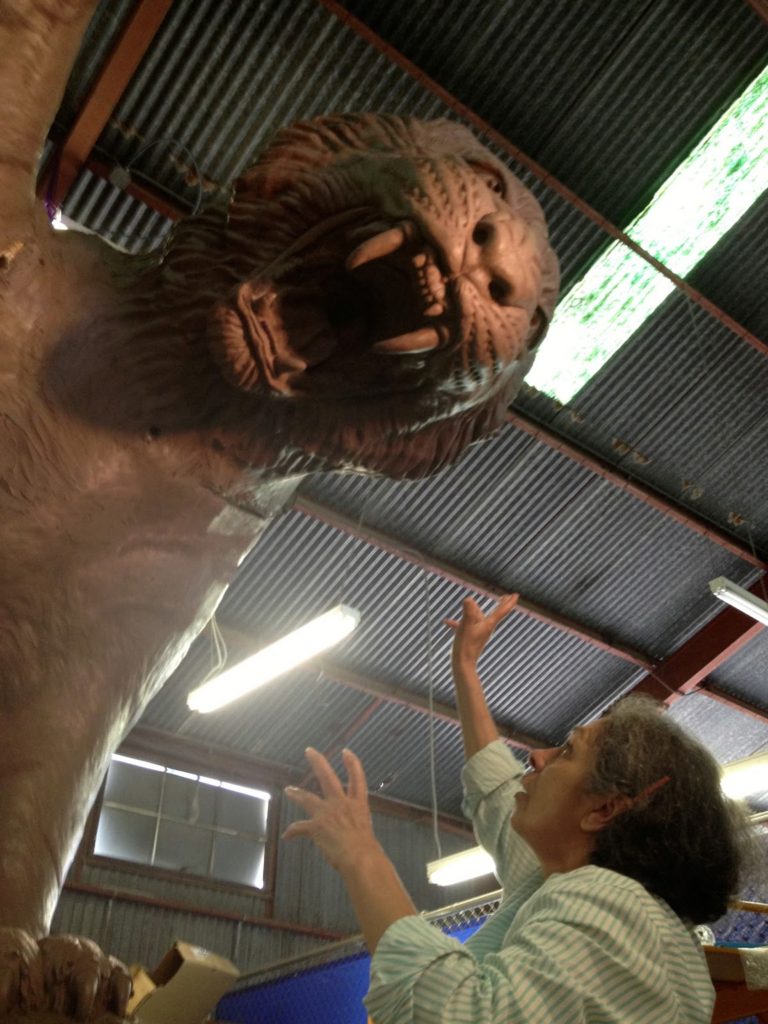
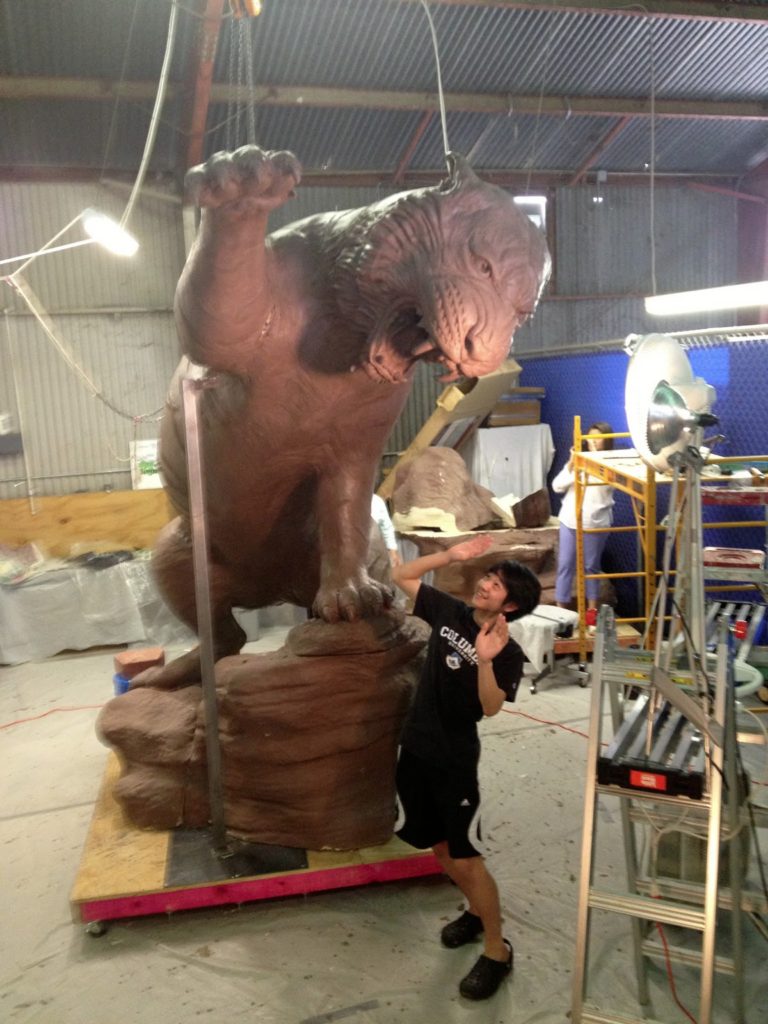
So, I opened the warehouse to a select few to come and see the finished creation. I was waiting for approval anyway, so I decided to make the most of it.
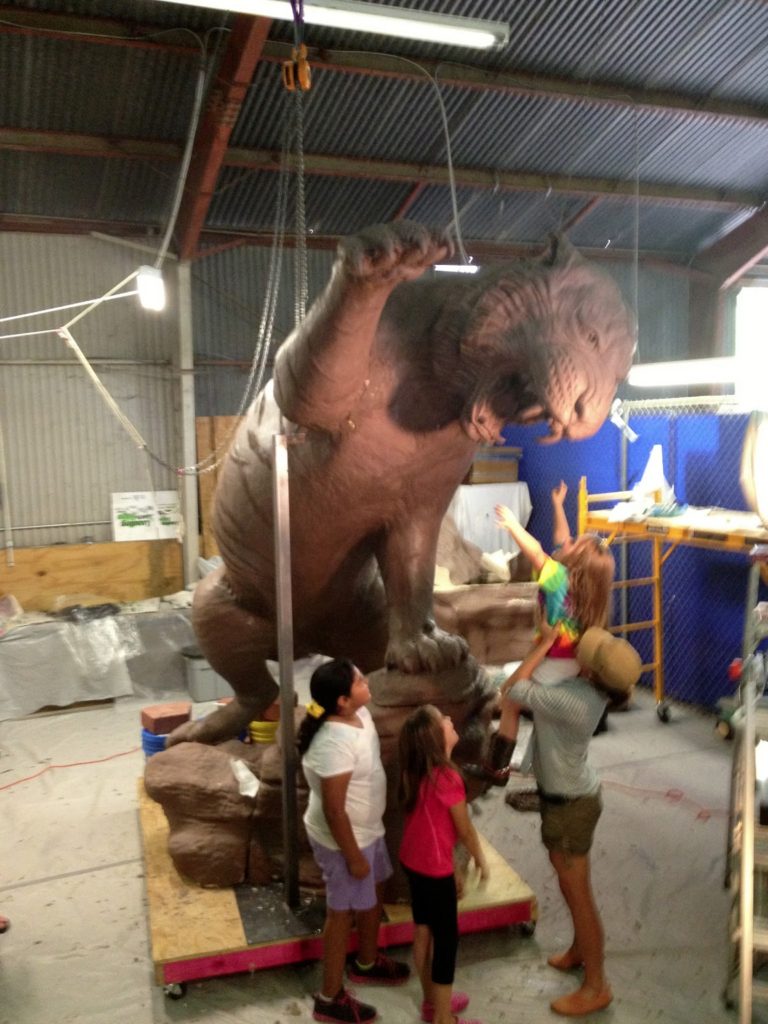
Raising The Beast And Adding The Paw And Head
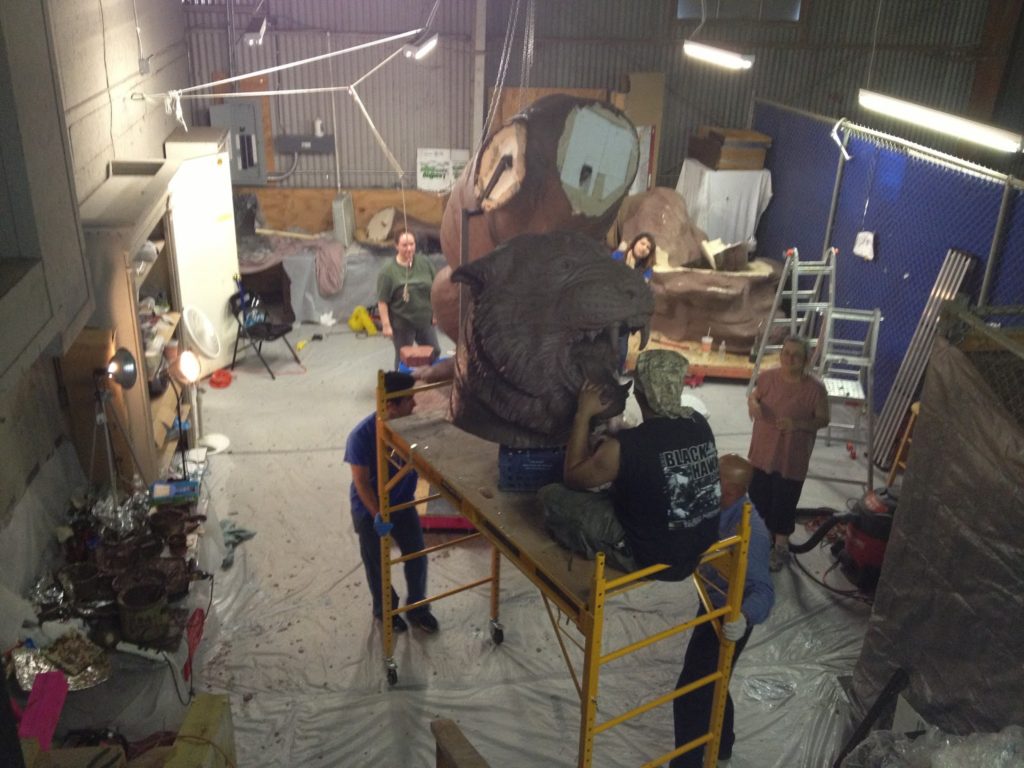
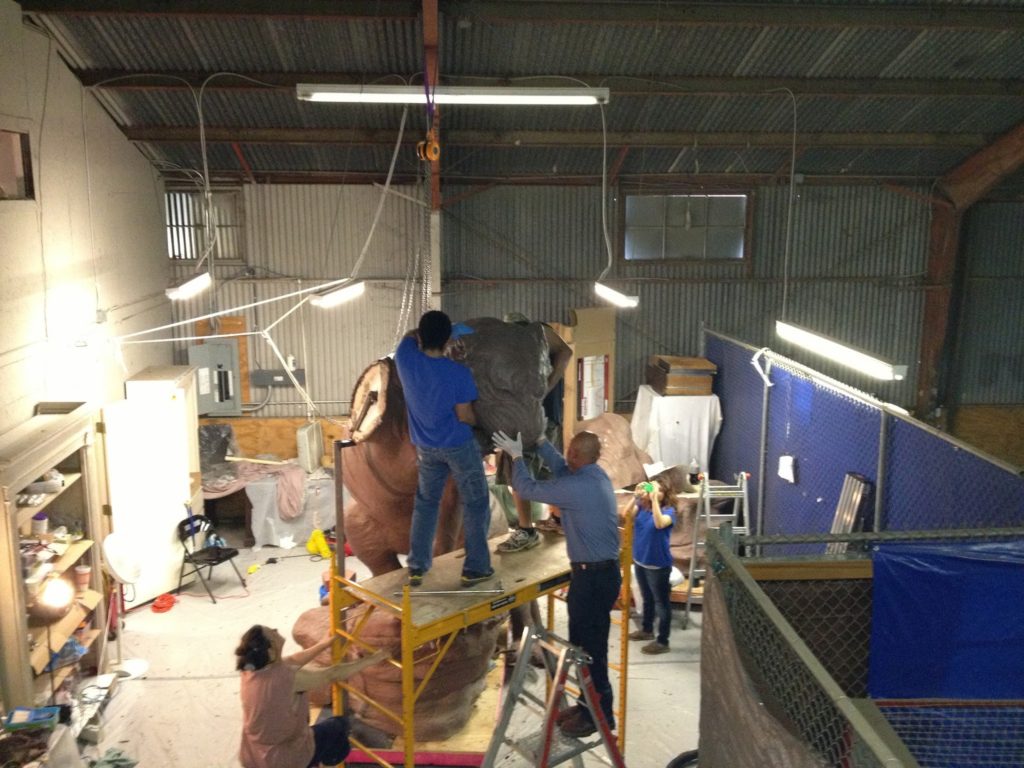
Then I can make any revisions and receive my approval.
