
Measuring Tape in ZBrush
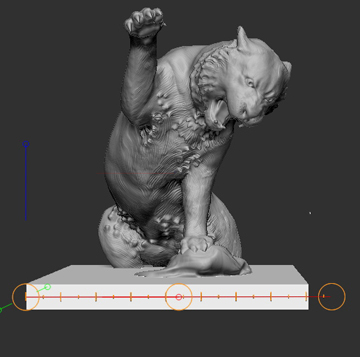
Recently I posted about my need for a measuring tape in ZBrush,. I created an entire post about my need. I have to say, this is not my first time requesting this from ZBrush, but it is the first time that someone replied and said, “hey, they finally gave us one and this is how you use it.” Apparently the transpose line can be made into a measuring tape. The transpose line is the line that comes up when you are trying to move, scale or rotate an object. To create the calibrations of the transpose line find “preferences” in your menu and scroll down to “transpose line” and then indicate your units of measurements.
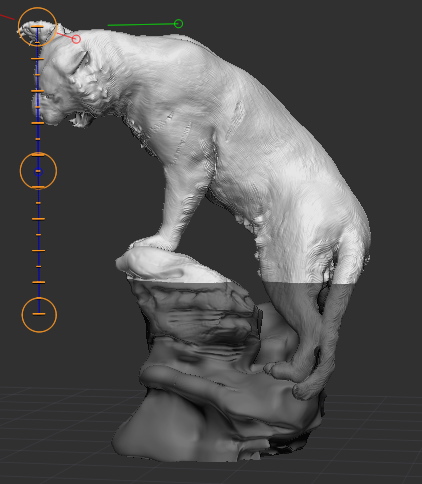
Thanks to the guys on the Pixologic forum for sharing as well as the ZBrush, group on Facebook. I get all of my answers from these guys.
Thanks also to Pixologic for hearing my request for all of these years. I do find that I actually still have to count the units as I’m working. Don’t make the mistake like I did, If you want 13 feet you need 15 tick marks. I would suggest to set your measurements and then count the units to be sure it is correct. Missing a foot on my sculpture or even a 1/2 a foot would be tragic.
It would be great if all of the measurements actually appeared in a box when you used the transpose line. For example, after using the transpose line I could look ,and see if what I have drawn is actually the amount of feet I need? In the case of the tiger I have decided to sculpt him in two parts and I need to be sure those two parts will fit in the 9 foot clearing of the studio. I’m working through this, and ZBrush, is helping considerably not only in figuring out the perfect division for the tigers parts, but also to know how big to make my base and and how that all fits together. Maybe these measurements appear somewhere that I don’t know about but my further request for Pixolboic would be if these measurements showed up and as I use the transpose tool I could check myself. IE… Ah yes, that is 15′ 3″ and the width then this is……
NOTE: the way I separated my tiger into two subtools
1. I made a mask over the area I wanted to divide ( control, click and drag)
2. I split those polygroups to make individual subtools here is how.
FYI HERE IS THE ANSWER?
Someone suggested I try these calipers. Why have I not heard about Screen Calipers from Ionico sooner? With all of my posts and rantings about a sculptor needing calipers you would have thought this would be brought to my attention sooner. I checked… they work on PC and Mac. Well, I’m going to contact the company to see if I can review these calibers and if they work post some tutorials about how I use them. I’ll let you know.
_______________________________________________

Bridgette Mongeon is a sculptor, writer, illustrator and educator as well as a public speaker.
Her blog can be found at https://creativesculpture.com.
She is the vice chair of the planning committee for 3DCAMP Houston 2012 http://www.3dcamphouston.com
She is also the owner and creator of the God’s Word Collectible Sculpture series http://www.godsword.net
Follow the artists on twitter twitter.com/Sculptorwriter and twitter.com/creategodsword
Listen to The Creative Christian Podcast or the Inspiration/Generation Podcast
Click on Podcast Host Bios for a list of all podcasts.
The Bible
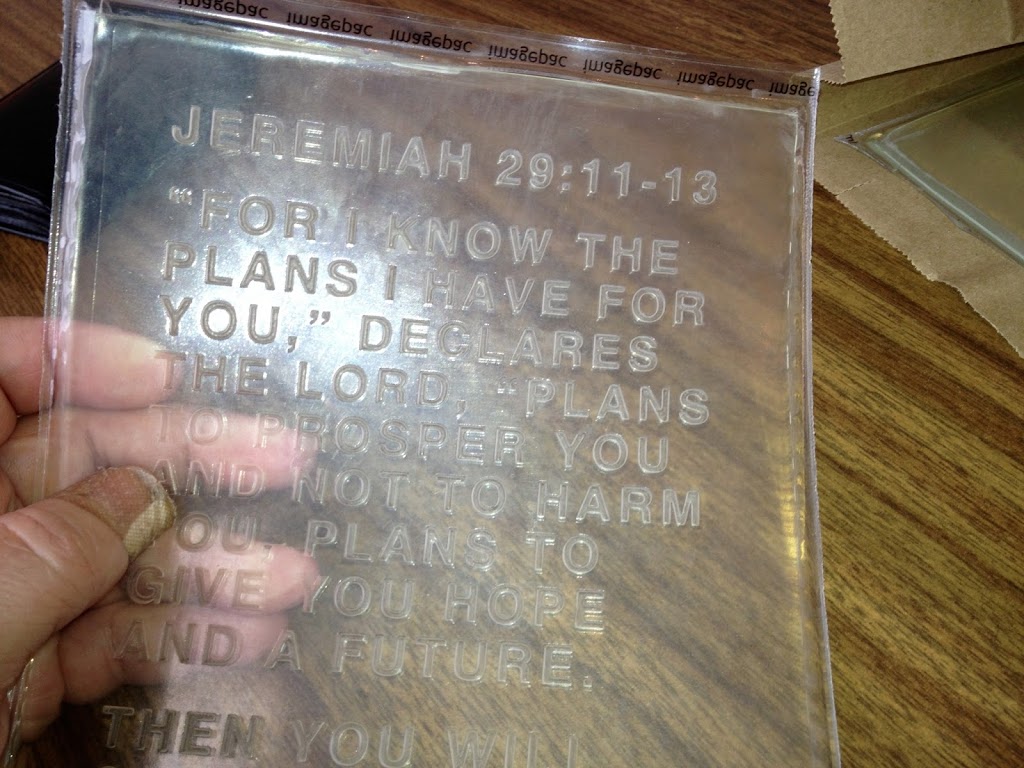
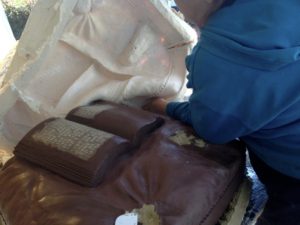
The last and final piece to be complete for the praying man is the bible and seat. The biggest hold up with this was the text that was to be created in the bible. Usually I hand carve the text; however, this was three verses and quite a bit of text. After much deliberation I had the text created as a rubber stamp that is reversed, the type is indented into the rubber. I completed sculpting the bible and then put this stamp inside the pages, claying up to the edges.Then we made a mold of the seat and bible. THE FINAL MOLD IS COMPLETE! Everything will now go to wax and metal.
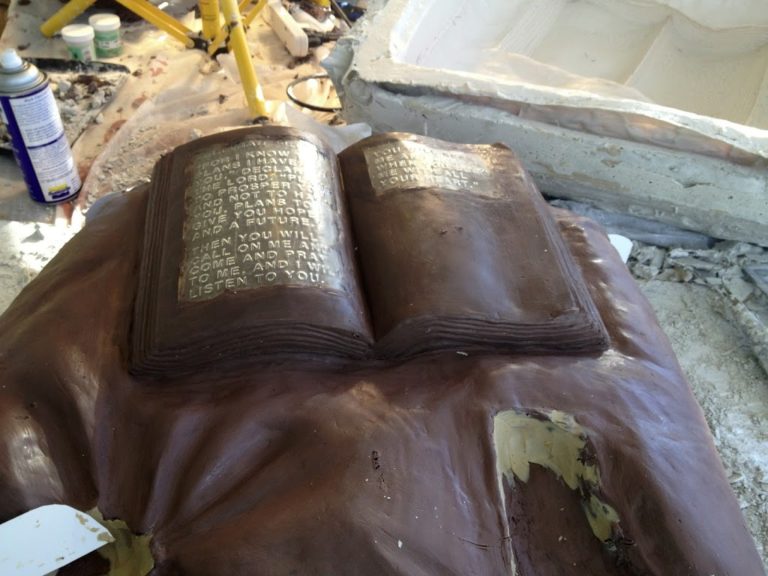
pages. Here is the seat after the mold was made.
clean the studio and get ready for the next project.
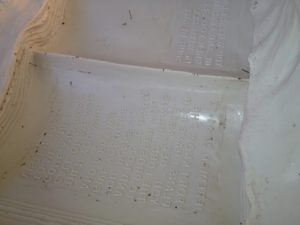
The text on the bible looks great!
Waxes—Gating Up
Once the waxes are poured and cleaned the foundry will gate them up. Gating is adding wax channels to the wax pieces so that gases can escape. A pour cup is also added to the wax.
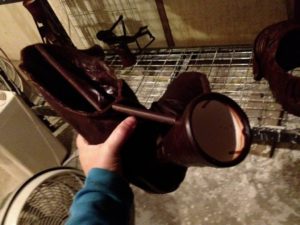
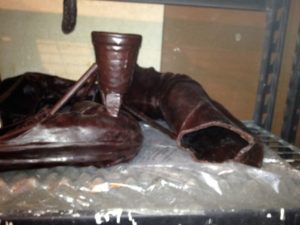
Today I went to the foundry to check on more waxes and saw that a good deal of the praying man has been gated up.
Planning
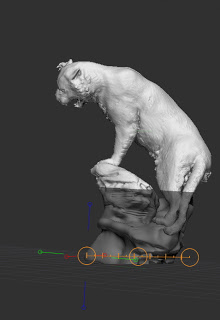
It is safer for my interns and myself and
means that we are not held up by finding
warehouse space for a 15 foot tiger.
Now that we have the green light on the tiger I am spending a good deal of time planning. We are calling vendors and securing our schedule, and ordering materials. There was a bit of delay in getting the green light so we have to start over in this planning stage.
Besides planning vendors we are also planning the armature. Planning an armature is an important element to any sculpture. I always tell students, “if you armature is bad it can ruin your entire sculpture. ” Just imagine you are working on a large sculpture and all of a sudden it begins to fall over. In the case of the tiger, it could actually hurt someone.
An armature is what is inside the sculpture to hold it up while we are working on it. It takes a bit of engineering and a bit of history to know exactly what to do when building an armature. While I plan I send my plans off to others for them to look at and weigh in.
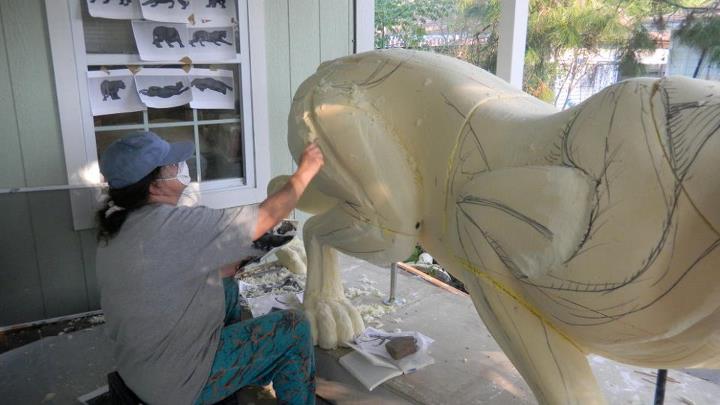
The main body of the cat will be milled out in foam. The foam, when it is together will probably weigh in at about 160 lbs. We will be adding wax on top of this as well as clay. This may add approximately another 300+ lbs to the piece. That is a lot of weight to be so high in the air.
The rocks are another element that has to be created. This will most likely be sculpted out of a different type of foam and then covered in clay.
We are still figuring the best way to sculpt this tiger. The artist in me says let’s put him together and work on him, which means I need a warehouse that is about 15 feet and have to move my entire studio. I like the idea of being able to see him all together. It also means I’m sculpting very height in the air, on ladders and scaffolding.
Another thought is to sculpt him in two pieces The first piece will be the rocks and his tail and back legs. The second piece will be the upper half. This way it is much safer for myself and my interns. I’m leaning in this direction. Though we will have the basic shape of foam and tiger put together before we separate these two pieces. So we will be able to see the design as a whole.
More to come. Meanwhile we are finishing up our last project and moving things around getting ready for the tiger while the vendors are getting our foam ready. Time before we receive foam should be about 3 weeks.
I Really Need A Measuring Tape in ZBrush or Mudbox
When I started in ZBrush and Mudbox years ago, the computer graphics world ( CG) would often say, “Why do you want to get things out of the computer?” I felt like I was just told I had purple spots on my face. I am a traditional sculptor who uses digital process to create sculpture in the physical form. I have a variety of things that I do that incorporate both traditional and digital or what I call tra-digi art. I know my use of these digital processes is not the way others use them, but it is how I make my living. Oh, and by the way, if you ever want to bring me in to lecture on this subject I would be happy to do so.
When I was at the ZBrush booth at SIGGRAPH last year I saw that someone mentioned that others were translating their designs into the real world. So, I’m not alone.
PIXOLOGIC>>>>GIVE ME A MEASURING TAPE.. PLEASE!
Over the years I have found one thing is a constant – I need a measuring tape! The hard part about this is that in the computer your sculpture is not really any size. It lives in a virtual world with virtual coordinates. However, to get this virtual sculpture to live in a real world I need to compare it to the real world. Over the years this problem has come up again and again.
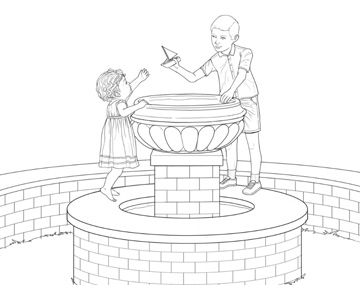
I would still need to create this digitally.
PRESENTATIONS- Comparison to what is there.
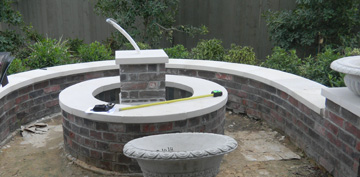
This usually happens when I’m working out the design, For example the landscape architect gives me blue prints and I need to come up with something. In the case of the fountain I could go and take pictures of what was created on the job site. The client wanted two children, and I was to incorporate the fountain base, and another piece that would sit on top. I would have loved to create this in ZBrush, but I opted for a simple sketch because of the limitations of measuring.
CAN I SHIP IT?
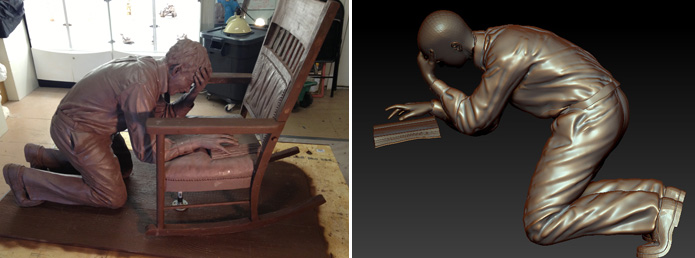
I know that someone working in the computer may not be thinking about shipping their final product. But I ship bronze sculptures all of the time. In many cases this is something I work out in the design process. If I can figure out how to modify the sculpture sometimes, it can save thousands of dollars. For example, I modified the design of the floor of the sculpture of the praying man to be able to fit the width of my van and still be life-size. I was able to do this in the sculpting process when in my traditional studio but there are other times I need this as well. Shipping the Tiger sculpture from my studio in Houston, Texas to Louisiana is a massive investment 7,000- 10,000. The tiger will have to ship on its side. However, I need to be sure that it can do so and fit on the flat bed trailer with packing.
MILLING?
Most of my sculptures, once created and revised in the computer are enlarged digitally in foam. This takes the place of doing the traditional armature of welding and pointing up as done in the past. Synappsys Digital Services does most of my enlarging. They figure out the mass if I give them the height, but it is often necessary to figure measurements out in the design. In
Often in the design stage it would help to be able to say, if it is this height,
what is the width at this place in the sculpture.
the case of the Tiger sculpture I lowered the head and the arm of the tiger, mostly because I could not find a warehouse big enough to allow me to sculpt that size piece. Subtracting a foot, by lowering the hand/head helped the design, but also give me a little more room to work. I would not have known to do that had I not measured in advance.
ARMATURE?
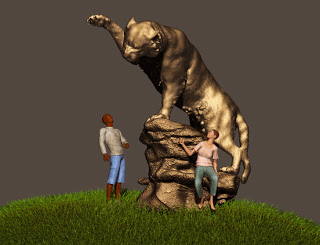
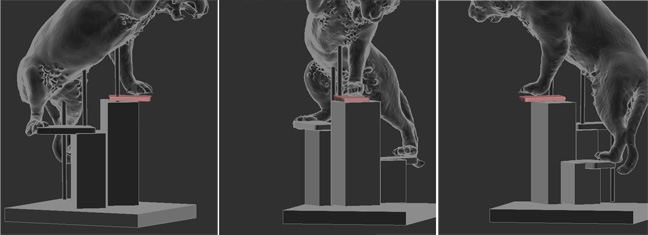
I’m taking time to write this post as I work diligently on trying to figure out the armature for the 13+ foot tiger. Though I can twirl the image around in my computer by pressing certain keys, in the real world this sculpture will have gravity and weight to deal with. The foam of the tiger, once togther will probably weight about 170 lbs. Then we add a layer of wax and a fine layer of clay. This will probably add about 400+ lbs to the tiger alone. Having the proper armature to hold this tiger up is imperative. Without it I could have the entire thing fall and, God forbid, be under it when it does. If I had a measuring tape in zbrush I could be making a schematic for my carpenter to build my base and armatures. I am also looking at a way to create the sculpture separately cutting the pieces in 1/2 so that I don’ t have to carve 15 feet in the air. Oh I wish I had a measuring tape.
Work around.
Yes there are probably ways to work around this. For example, I know the man in the scene if 6 feet, I can make a long flat piece that measures 6 feet and work with that. But being able to give one element a size, the man is 6 feet—and then able to click anywhere else on the sculpture to see what that size is in relation to the given size of the man- this would make my life a lot easier. So how about it Pixologic? Can I please have a measuring tape in the next version?
These are only a quick few ways I can see that having a measuring tape in a program like ZBrush or Mudbox would really help my work flow, and might even help to extend the buyers of these programs. In my speaking engagements I often tell my audience that I turned to the use of digital tools to extend my career. Pushing around clay with my hands has caused some great aches and pains over the years. Most of my audience wants to learn these processes as well, for just these reasons. Please give a listen Pixologic and Autodesk lets see how you measure up!
_______________________________________________
Bridgette Mongeon is a sculptor, writer, illustrator and educator as well as a public speaker.
Her blog can be found at https://creativesculpture.com.
She is the vice chair of the planning committee for 3DCAMP Houston 2012 http://www.3dcamphouston.com
She is also the owner and creator of the God’s Word Collectible Sculpture series http://www.godsword.net
Follow the artists on twitter twitter.com/Sculptorwriter and twitter.com/creategodsword
Listen to The Creative Christian Podcast or the Inspiration/Generation Podcast
Click on Podcast Host Bios for a list of all podcasts.
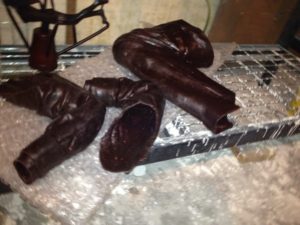
Waxes- Cleaning
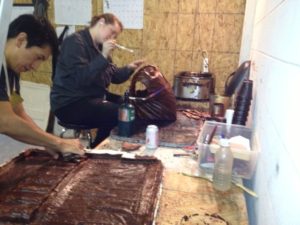
or with larger molds they brush it in. Then because the molds
are in two parts each wax must be cleaned. Blemishes from
the pouring process and seams are removed.
Today was a day at the foundry. Once again, most artists don’t go to the foundry and look at their waxes. I suppose it is because I’m a perfectionist, or maybe I have a hard time letting go. I tell everyone it is because I might want to tweak something in the wax. Today I only had to do a little bit of tweaking. Here is the foundry process of waxes.
I’m headed back on Tuesday, maybe they will be able to take pictures of the next stage- gating up.
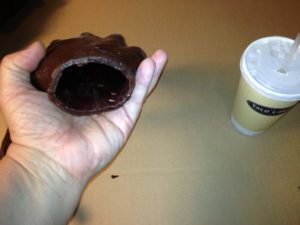
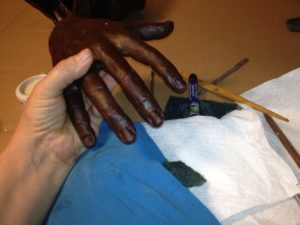
of the bronze- more on that later. Many people think that
when they see a bronze it is solid. It is not. This will all
make much more sense once you see the rest of the process.
ON YOUR MARK, GET SET, GO!… Wait Searching For Space
The sculpture details have all been ironed out! We can begin sculpting. I am presently trying to secure our schedule with the vendors. My first line of business is to find a temporary studio space as the tiger is much too big for my Houston studio.
I am presently searching for Houston warehouse space to create the Grambling Tiger in.
What I am looking for:
- Must have at least 15 foot ceilings as the tiger is big and with the rolling base we will need 15 foot clearance.
- No need to have a large door, believe it or not the tiger is cut up into many, many sections as we make molds for the foundry.
- Climate controlled is preferred, but may not be necessary if we can get going on this ASAP.
- Will need the space for approximately 3-5 months
- Need bathroom and running water at least on the premises.
- Concrete floor so that we can roll that tiger around
- A big enough area to work on tiger, get scaffolding around him and step back to check proportions from time to time.
- I’ll be working late hours so a safe location is also important.
If you know of such a space to rent please contact me and email your phone number. I MUST MOVE INTO THIS SPACE BY THE FIRST WEEKEND IN FEBRUARY- We start in February!
If you are an alumni and would like to be part of this project, please stay tuned to this blog. I will be looking for interns that want to be creative and assist in the building of the big tiger. This is a great opportunity for artists, but artistic propensity is not necessary, passion and commitment are. I believe any alumni will have that.
Figuring Challenges, Both Digitally and Traditionally
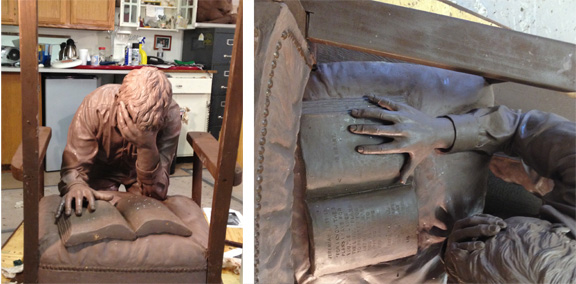
Here is the challenge
I’m trying to create quite a bit of text in a sculpture. Traditionally I prefer when text is created in a sculpture is is recessed as apposed to sticking out of the clay. Usually I create this type of affect with the following steps.
TRADITIONAL WAY
1. Set the text in a program on the computer. The kerning or the spacing between the letters must be a lot as you want the words to translate to the clay and not get cut apart in the steps that are to come up- the mold making, wax pouring and bronze casting.
2. Text also must be a good text for this process. Having small white space in the middle of a P is hard to keep through this process. I usually go with a Futura or Helvetica type face and make it bold. In this case all upper case will translate better through the process.
3. Print out the properly kerned text and then lay it over the clay. Very carefully scribe each letter into the clay. Then when the paper is lifted off you must carefully cut each letter with an exacto knife, holding the knife on an angel so you get the “chiseled” look and the mold will pull easily.
The difficulty with this traditional way, even though I have already paid an intern to scribe every letter, is that it is taking me about 1 hour per 3 lines and I don’t really like the way it looks. So I’m exploring digital processes.

with these “cut out letters” www.godsword.net
WHAT THIS IS FOR?
This is for a life size bronze sculpture. The bible that sits on the seat and is already roughed in. The client wants text in the bible so a scripture will be read. It will set into the bible, not come out of it. I started hand carving it but it is not crisp enough and taking forever.
POSSIBILITIES?
I have in the past had rubber stamps made for a sculpture, but remember these are in reverse. A vendor suggested using this company in Houston. They have done a lot of work for my other vendor American Collectors Studio
Lobue’s Rubber stamps# is 713-652-0031 ,1228 McGowen at Caroline

I also own a variety of “press in letters” for clay. But when you press in letters the clay has to go somewhere and so you get this bumpy look. It also is a fine art to make all of your words line up and not be bouncing all over the place. And finally will they have a good type face at the right size that you need? That is the hardest part. I will try to list these press in type letters at a later date. Some sculptors might find it useful.
DIGITAL WAY
I know that there are 3d printed materials that are flexible like rubber. So I am looking for this to be printed as a flexible material. Crisp text. That way, I can cut away the top layer of this clay page and set this into the clay. Because the bible is created with a dip the flexible material will allow me to creatively put it on the bible with the wave that it needs. So I’m presently searching local vendors that can do this in Houston. I know that I could probably go to imaterialze or Shapeways, but they do this out of the country and I’m on a deadline.
Jose at the University of Houston 3d printing department made a suggestion- more on that later.
BUT WHAT ABOUT YOUR FILE?
We needed an stl file. That is what is used for 3d printing. I tired doing this simple project of insetting copy in zbrush and did not have much success. I was disappointed. I love the program but really wish some things were not so hard. My 3d super hero husband created outlines in illustrator and brought it into 3ds max using Boolean to extract the type. We estimated it to be 1/4 inch thick with a 1/8 inset. I know that the more material the print the bigger the cost. I’m waiting to see if I need to revise the files. More on this later. Lets see what company saves the day, with as little cost and quick turn around!
MORE TO COME!
and the winner is…. Loboue’s! they are charging $80 a page, certainly worth it. Having it set digitally was 500-1,000. Sometimes the old way is the best way.
Bridgette Mongeon created this sculpture for Dallas Baptist University. If you would like to read the entire process on the artists project blog for this project visit http://prayingmansculpture.blogspot.com/ .
Mold Making
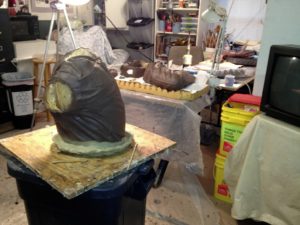
Interns are smoothing, cleaning,
and claying up. The place is quickly becoming
quite a mess.
The mold making process is a long and grueling part of the lost wax method of bronze casting. This part is usually done by the foundry. I enjoy having a bit more time to look at the pieces and see what more work I can do on them when I create the molds. Because of the time crunch on this project and my desire to tweak just a bit more we are making the molds in my studio. Now be careful, if you don’t leave the studio with some rubber attached to your clothing you will leave with plaster dust. I have until January 28th to get these molds done and out of the studio as I need to clean up the space for my daughter’s baby shower on the 2nd. Oh Lord, give me strength.
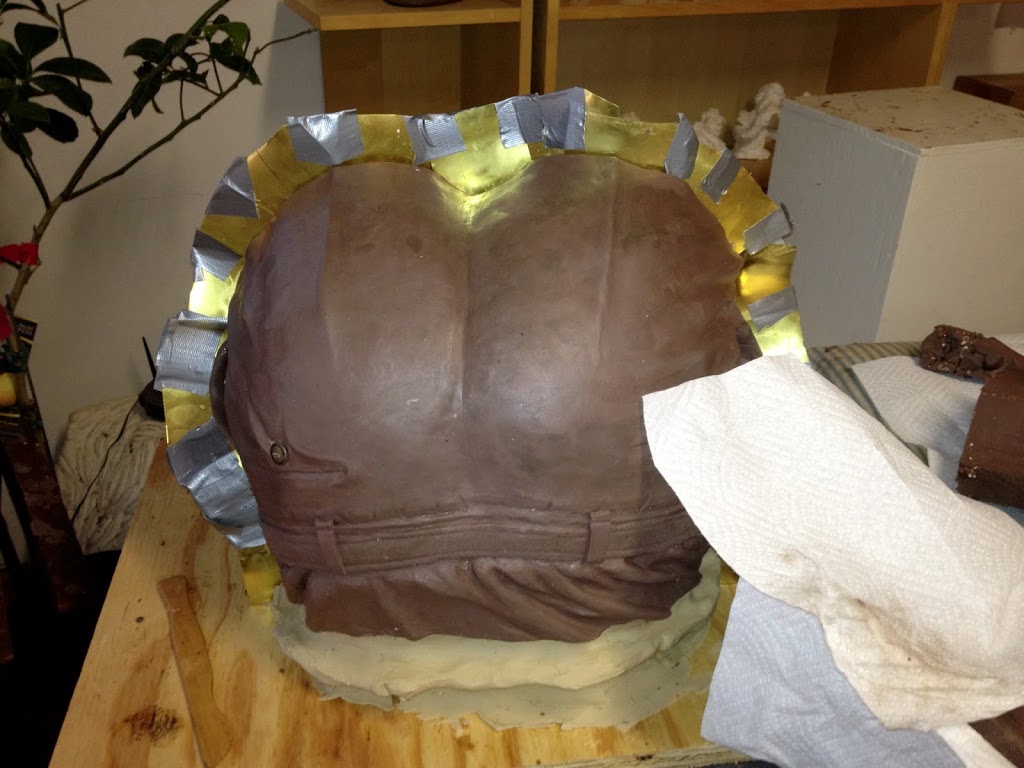
using shims. The advantage of this way of making the
mold is that both sides can be covered with rubber at the same time.
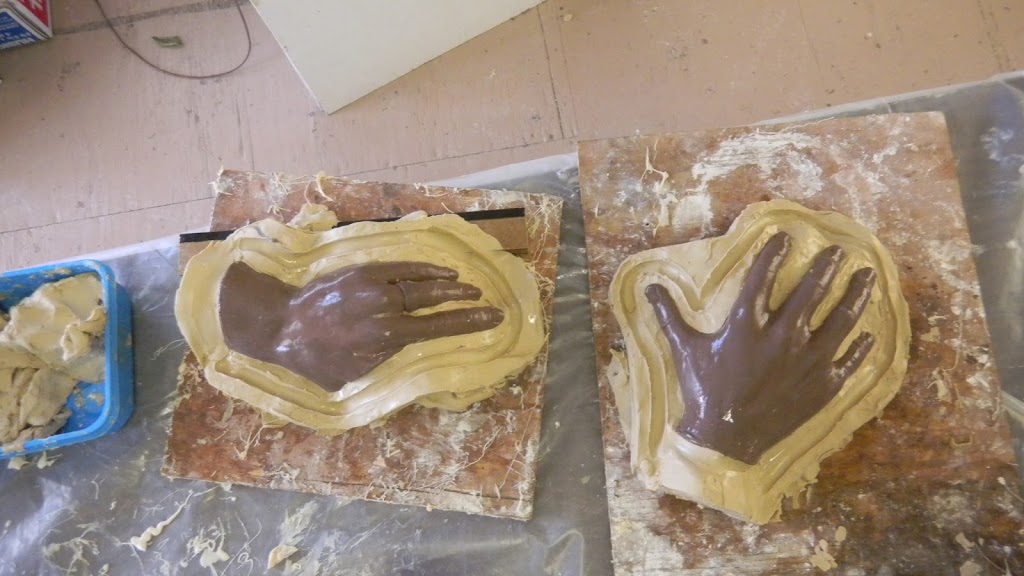
individual molds. Sometimes this is done by “claying up”
one half, then painting rubber on the portion.
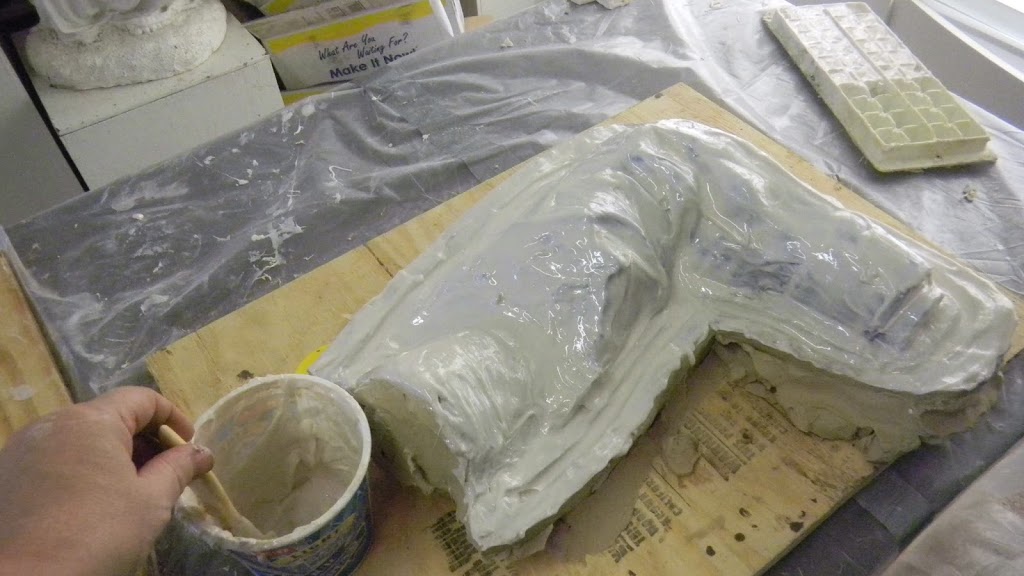
step in gathering all of the detail.
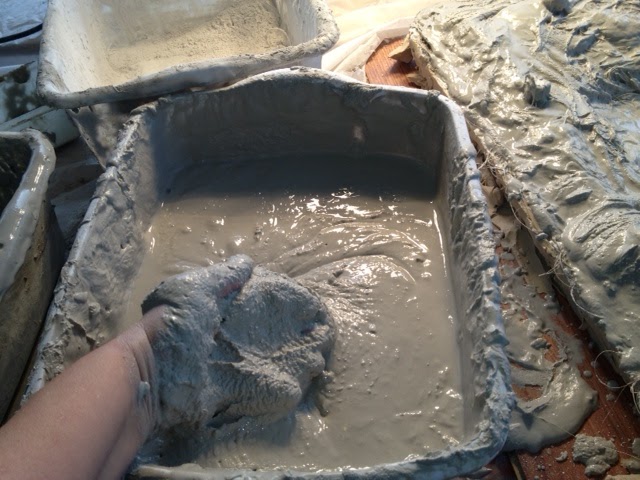
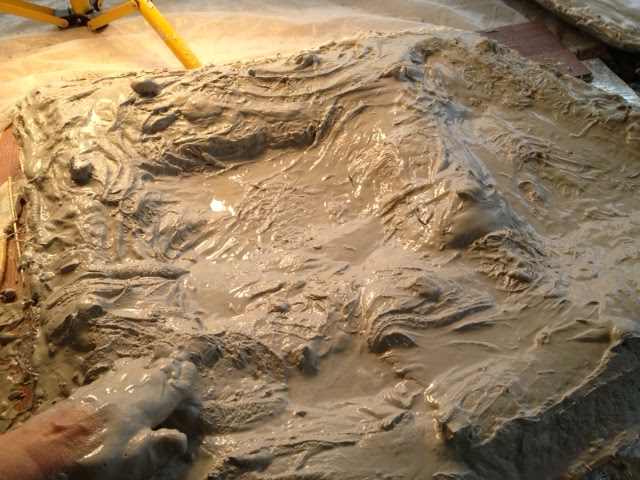
rubber is covered with plaster must be separated.
The original artwork is taken out of the mold, the mold is
cleaned and then it is inspected, put back together and sent
to the foundry. Antoinette and Alison work on cleaning molds.
Bridgette Mongeon created this sculpture for Dallas Baptist University. If you would like to read the entire process on the artists project blog for this project visit http://prayingmansculpture.blogspot.com/ .
Sculptor Bridgette Mongeon Awarded The Grambling Tiger
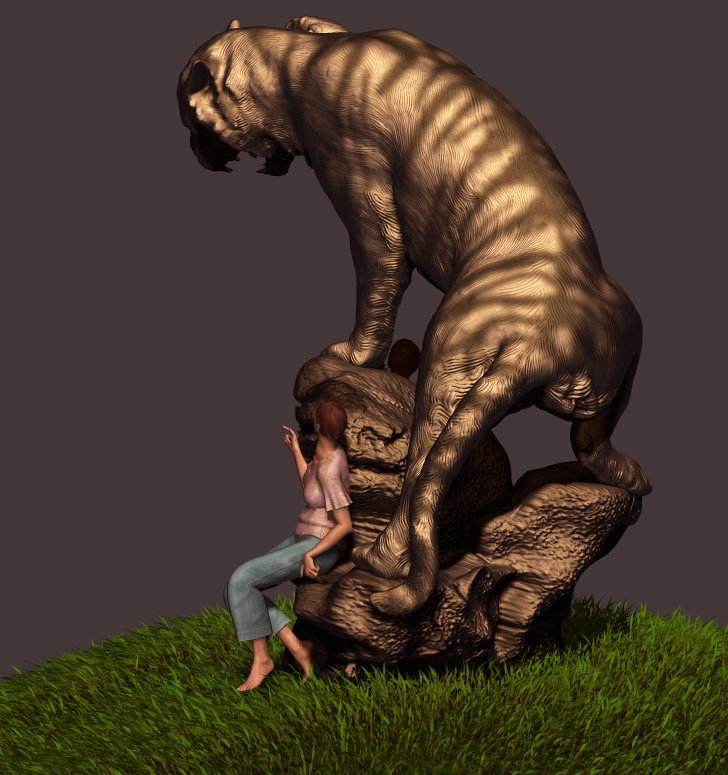
Sculptor Bridgette Mongeon has been awarded a contract to create a sculpture of the Grambling State University mascot. The sculpture, measuring nearly 15 feet, will consist of a monumental tiger climbing on rocks. The sculpture will be completed and placed at Grambling State University in Grambling Louisiana in the fall of 2013.
The sculpture process on this monumental piece of art is more than just sculpting. It means that the artist must move her entire studio to a temporary location- a warehouse that is large enough to accomodate the big cat.
The artist is presently searching for interns in the Houston area that would like to learn the fine art of sculpting, mold making and bronze casting of a larger than life-size sculpture. If you are interested visit her website at https://creativesculpture.com and fill out the contact form.
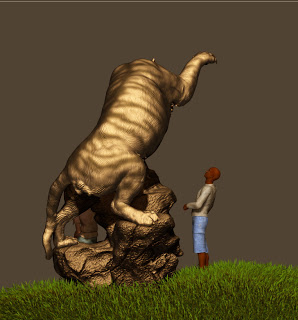
Bridgette Mongeon is creating this sculpture for Grambling State University. To watch the entire process you can use the categories on this blog or visit the project blog she created for the client at http://gramblingtiger.blogspot.com/